Einleitung
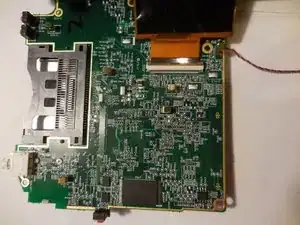
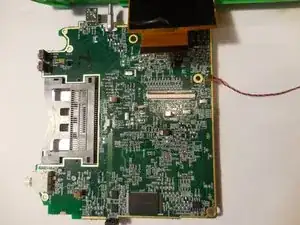
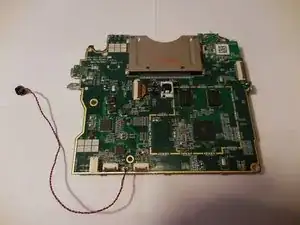
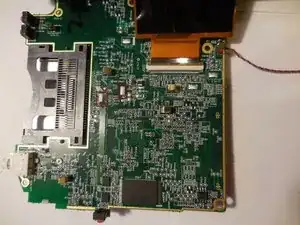
The camera is a component of the LeapPad that isn't necessary to function properly, although not being able to take pictures can be a big hindrance. This guide walks through the steps to replace the camera. Once again, take caution when handling the opened device so that the cables and components do not suffer damage.
Werkzeuge
-
-
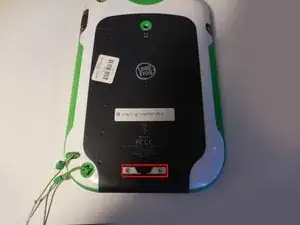
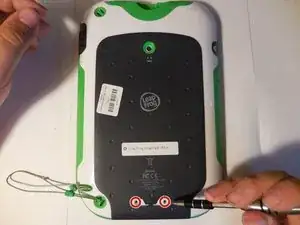
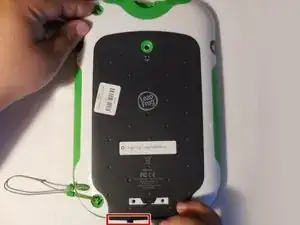
Using a plastic opening tool, pry off the outer protective child proof casing, starting from the bottom.
-
-
-
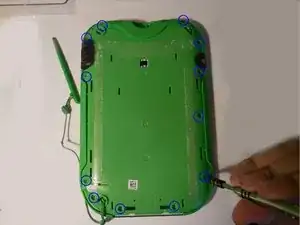
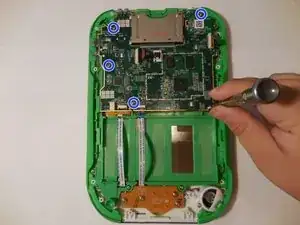
Remove the 7 mm screw to the right of the cartridge dock, two 8 mm screws in the top left, and the nine 8 mm screws holding the the green shell.
-
-
-
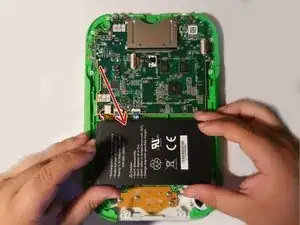
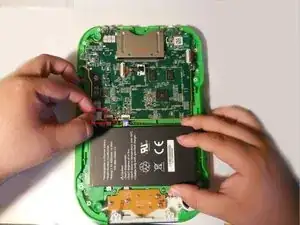
Disconnect the battery using tweezers or your fingernails.
-
The battery is glued down, if available put some isopropyl alcohol around the edges of the battery to soften the glue.
-
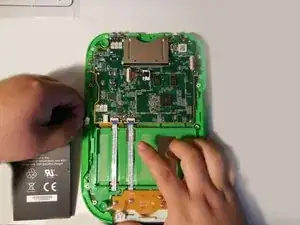
Gently pry of the battery lose using a spudger or another thin prying tool.
-
-
-
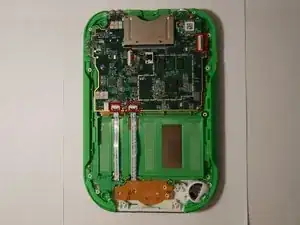
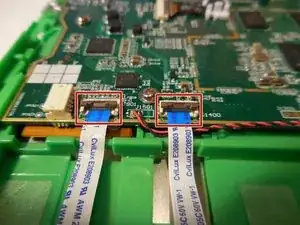
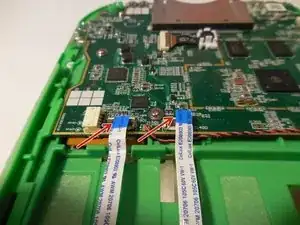
Disconnect the three wires that will be visible on top of the motherboard. The wires need to be disconnected by pulling them up vertically.
-
-
-
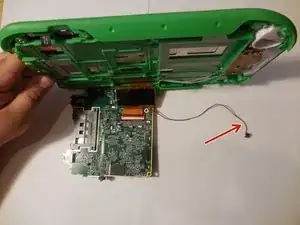
Lift the motherboard up exposing the fourth and final wire. Once you lift up the motherboard you will need to pull down on the wire to disconnect.
-
-
-
On the reverse side of the motherboard, there will be two clips that will need to be pushed together to remove.
-
To reassemble your device, follow these instructions in reverse order.

