Einleitung
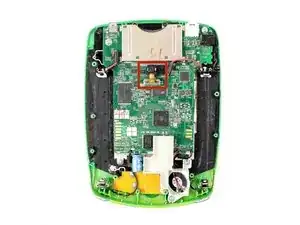
Use this guide in order to capture the essence of replacing your back camera, enabling you to capture the world!
Werkzeuge
-
-
Before disassembling your LeapPad, ensure your device is shut off.
-
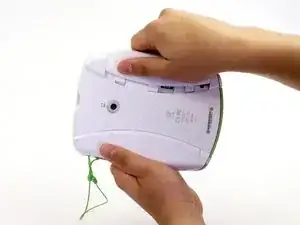
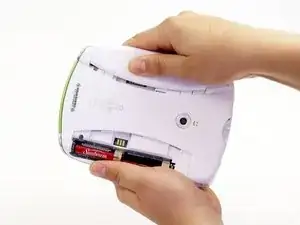
Push outward on the plastic side panels to remove and reveal battery.
-
The panels should detach fully from the main device.
-
-
-
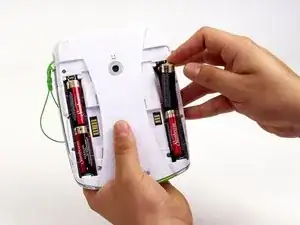
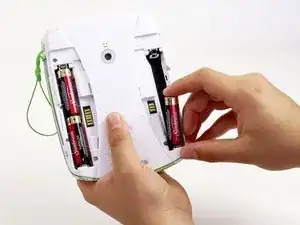
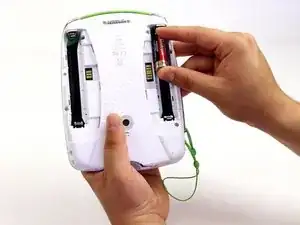
Push down from the positive end of the battery towards the negative end to pry the battery up out of its dispenser.
-
Remove all four AA alkaline batteries from the device.
-
-
-
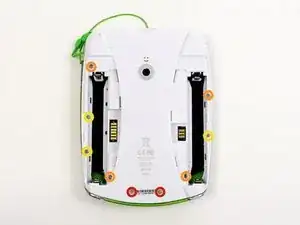
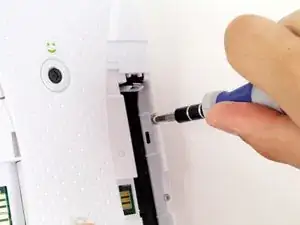
Remove the following screws securing the back cover to the main device:
-
Two 10.0 mm Phillips screws
-
Four 4.0 mm Phillips screws
-
Three 3.0 mm Phillips screws
-
-
-
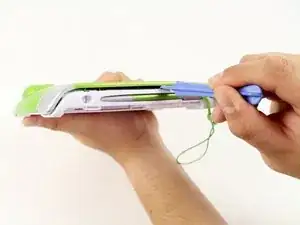
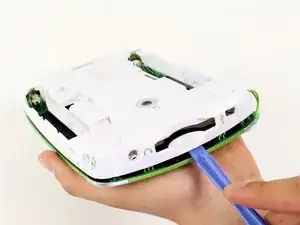
Insert a plastic opening tool into the seam between the front and rear covers to detach the back cover from the rest of the device.
-
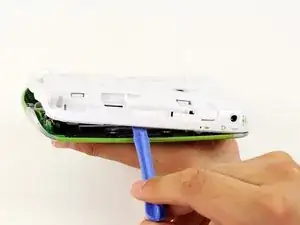
Move the plastic opening tool around the perimeter of the LeapPad2.
-
Lift up and remove the rear case from the tablet.
-
-
-
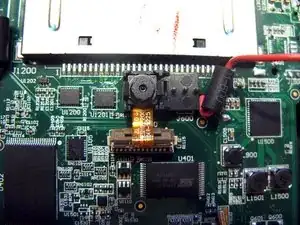
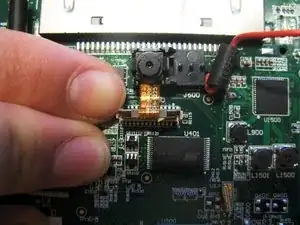
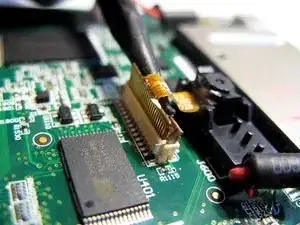
Pull up using a thin plastic tool to disconnect the ribbon connecting the camera to the motherboard.
-
-
-
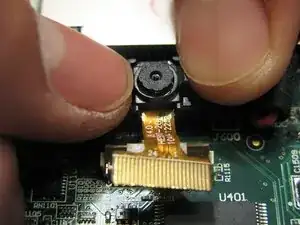
Gently remove the back camera from your motherboard by pushing the black casing away from the camera.
-
To reassemble your device, follow these instructions in reverse order.
