Einleitung

This guide will involve taking the case off of the Leapfrog and removing the motherboard.

  1. VNiHCTbtQRGWXxEN
    VNiHCTbtQRGWXxEN
    sBoRM5MF44rTKcNv
    cCLAYTQlZF1eTfDs
    • Before taking apart your device, ensure that it is turned off and that your anti-static wrist strap is secured to a ground.

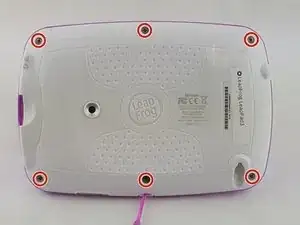
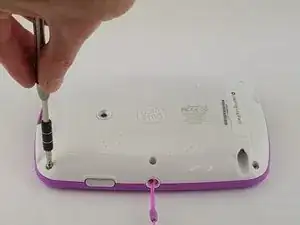
    • Remove the six 10.0 mm Phillips #0 screws from the outer case and remove the cover with your hands.

    • You will not need to pry the case off.

  2. ndjkQ6PmCRMK1xhW
    ndjkQ6PmCRMK1xhW
    Dx5OYfSoamO5FTXY
    cE5XU5NPnwLFdGwM
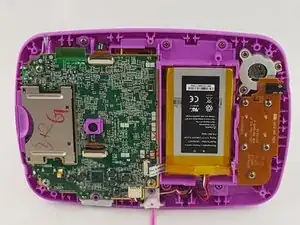
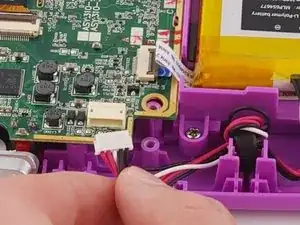
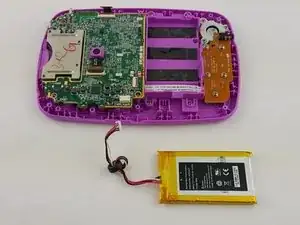
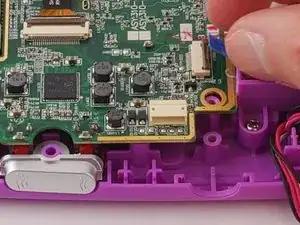
    • Unplug the battery from the motherboard with your hands.

    • The battery sits to the right of the motherboard.

  3. IKWVyMFSRd1wWOOl
    IKWVyMFSRd1wWOOl
    CRn42tapMEkVhjKE
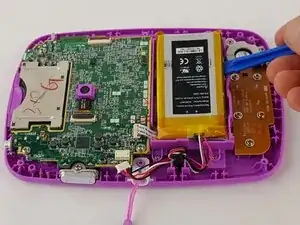
    • Pry the battery gently off of the plastic platform with an opening tool.

    • Do not to puncture the battery, as the material inside can be dangerous.

  4. liL4QBEgcPoQGHQ1
    liL4QBEgcPoQGHQ1
    Ypg4aiM3egTj4OCy
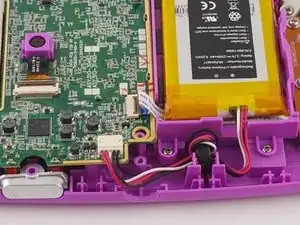
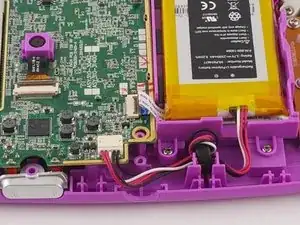
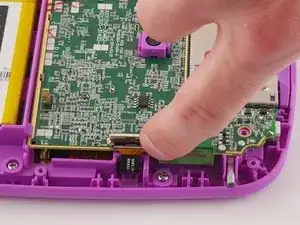
    • Disconnect the audio cord from the motherboard using a plastic opening tool.

    • When re-plugging this cord be sure it is flush with the slot, otherwise the speaker and directional pad will malfunction.

    • Use caution when unplugging, and re-plugging the ribbon cord as they are fragile.

  5. sFCPe1ETlPqZc2gH
    sFCPe1ETlPqZc2gH
    DWPiY3KMoFwNOJHq
    6WvRqQAByDZCPjcD
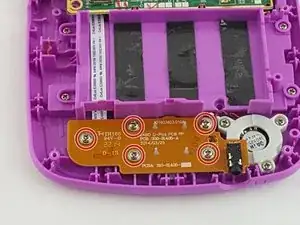
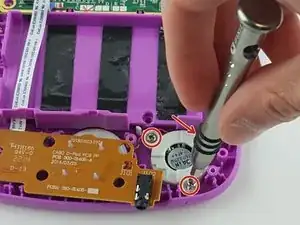
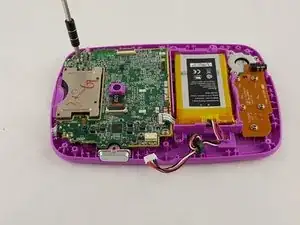
    • Unscrew the five 6.0 mm phillips head screws from the board containing the audio jack and directional pad.

  6. IEJL5JfgGyoSqkUw
    IEJL5JfgGyoSqkUw
    fOW6WAxGyuKB12wD
    UBFLDNRkmsdJ3fum
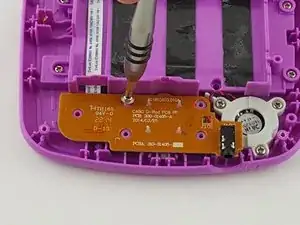
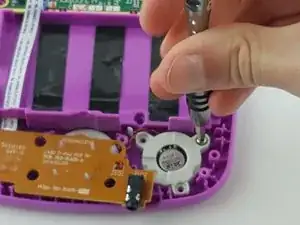
    • Unscrew the three 6.5 mm phillips head screws holding down the speaker to the right of the audio jack.

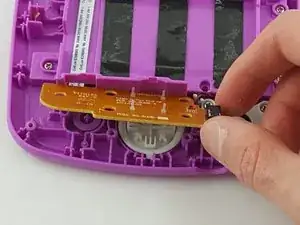
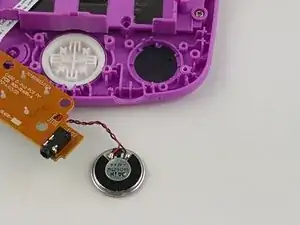
    • Remove the board and speaker from the device.

  7. 1i5gZuSEE6oYJqFw
    1i5gZuSEE6oYJqFw
    L3IpsPaVDcVqIOBU
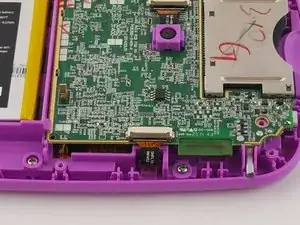
    • Unplug the front facing camera cord with an opening tool to free the top of the motherboard.

  8. NJrc4XZcn6UleaUh
    NJrc4XZcn6UleaUh
    PemIgv23NuSyGvmL
    a5MBcPwp1EUHqgfI
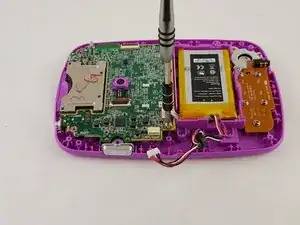
    • Remove the three 6 mm phillips head screws holding the motherboard to the display assembly.

  9. RPiPn1CTGVmkYXZ3
    RPiPn1CTGVmkYXZ3
    JDMfbEGio6puqJMw
    QDjqlHWTj2rce1l1
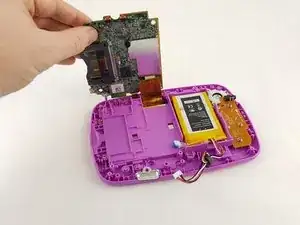
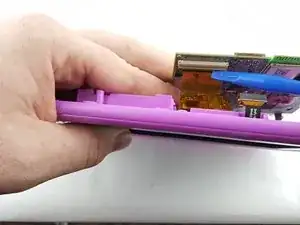
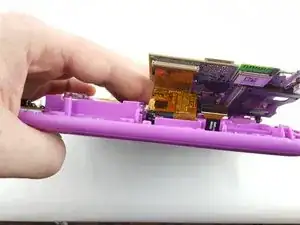
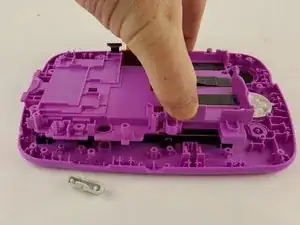
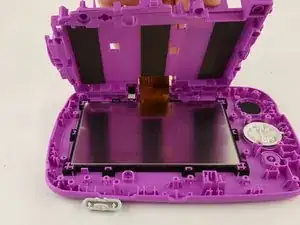
    • Carefully lift the motherboard out of the case, exposing the last remaining cord on the underside of the motherboard.

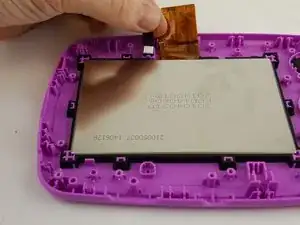
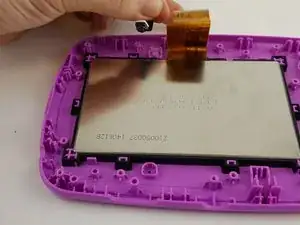
    • Disconnect the gold display assembly cord with an opening tool to fully disconnect the motherboard.

    • The device was rotated 180 degrees in order to unplug the display assembly cord.

  10. 5ZMmGmKMcaFOAH1Y
    5ZMmGmKMcaFOAH1Y
    Msrh4pjR2oVRtlD4
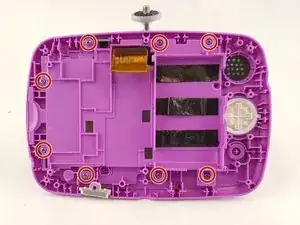
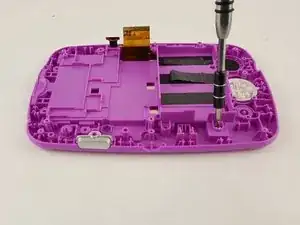
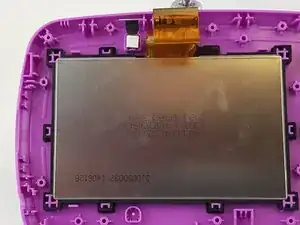
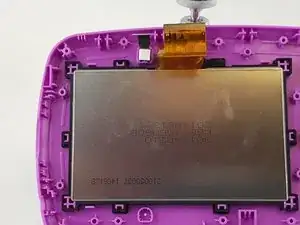
    • Unscrew the eight 6.5 mm phillips screws from the plastic casing.

    Add markup around screws. Capitalize unscrew and add periods.

    Zackary Williams -

  11. TprPlF4TN6ojRpH4
    TprPlF4TN6ojRpH4
    AkW5XijePTeK4wdo
    3woCttkunb1MAraL
    • Remove the covering with your hand to expose the front facing camera.

  12. WKCCFWsH1nd2TF1R
    WKCCFWsH1nd2TF1R
    ZJbJ5T45ImtxNASR
    QM64akDcfIvmKRAG
    • Remove the front facing camera from the outer case.

    Change "outter" to "outer", add period.

    Zackary Williams -

Abschluss

To reassemble your device, follow these instructions in reverse order.
Matt Irvine

Mitglied seit: 04/02/16

952 Reputation

0 Kommentare