Einleitung

This guide is rather lengthy as many components must be removed to access the rear facing camera. However, few tools are required and is over all an easy fix.

  1. VNiHCTbtQRGWXxEN
    VNiHCTbtQRGWXxEN
    sBoRM5MF44rTKcNv
    cCLAYTQlZF1eTfDs
    • Before taking apart your device, ensure that it is turned off and that your anti-static wrist strap is secured to a ground.

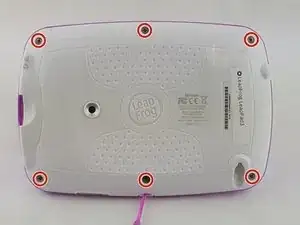
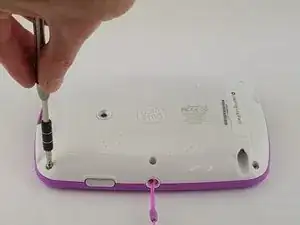
    • Remove the six 10.0 mm Phillips #0 screws from the outer case and remove the cover with your hands.

    • You will not need to pry the case off.

  2. ndjkQ6PmCRMK1xhW
    ndjkQ6PmCRMK1xhW
    Dx5OYfSoamO5FTXY
    cE5XU5NPnwLFdGwM
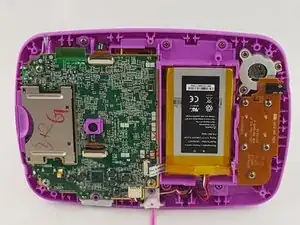
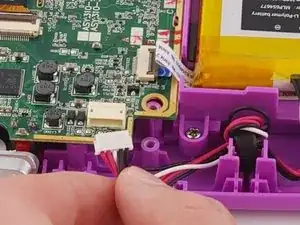
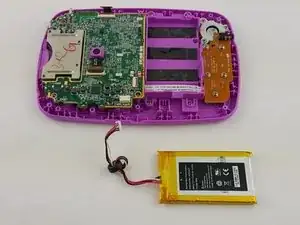
    • Unplug the battery from the motherboard with your hands.

    • The battery sits to the right of the motherboard.

  3. IKWVyMFSRd1wWOOl
    IKWVyMFSRd1wWOOl
    CRn42tapMEkVhjKE
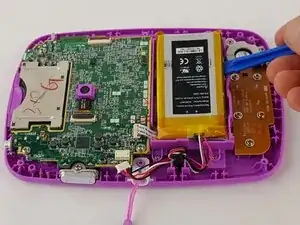
    • Pry the battery gently off of the plastic platform with an opening tool.

    • Do not to puncture the battery, as the material inside can be dangerous.

  4. liL4QBEgcPoQGHQ1
    liL4QBEgcPoQGHQ1
    Ypg4aiM3egTj4OCy
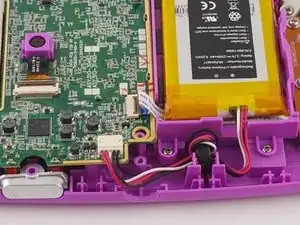
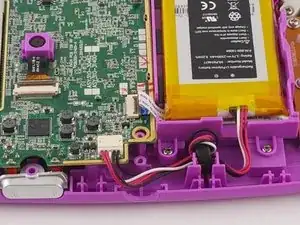
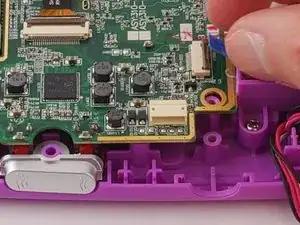
    • Disconnect the audio cord from the motherboard using a plastic opening tool.

    • When re-plugging this cord be sure it is flush with the slot, otherwise the speaker and directional pad will malfunction.

    • Use caution when unplugging, and re-plugging the ribbon cord as they are fragile.

  5. sFCPe1ETlPqZc2gH
    sFCPe1ETlPqZc2gH
    DWPiY3KMoFwNOJHq
    6WvRqQAByDZCPjcD
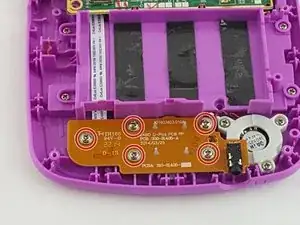
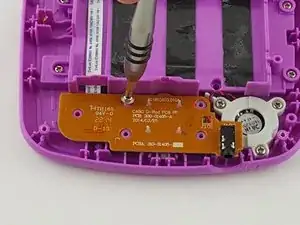
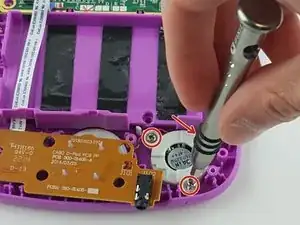
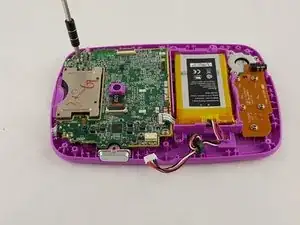
    • Unscrew the five 6.0 mm phillips head screws from the board containing the audio jack and directional pad.

  6. IEJL5JfgGyoSqkUw
    IEJL5JfgGyoSqkUw
    fOW6WAxGyuKB12wD
    UBFLDNRkmsdJ3fum
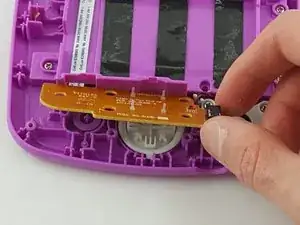
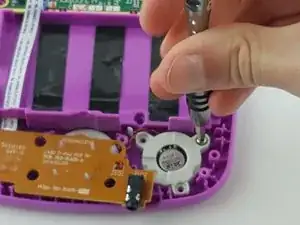
    • Unscrew the three 6.5 mm phillips head screws holding down the speaker to the right of the audio jack.

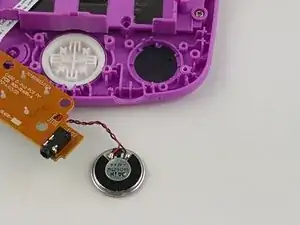
    • Remove the board and speaker from the device.

  7. 1i5gZuSEE6oYJqFw
    1i5gZuSEE6oYJqFw
    L3IpsPaVDcVqIOBU
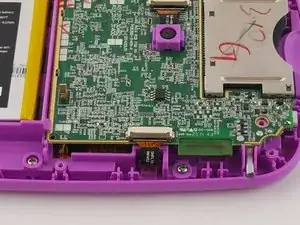
    • Unplug the front facing camera cord with an opening tool to free the top of the motherboard.

  8. NJrc4XZcn6UleaUh
    NJrc4XZcn6UleaUh
    PemIgv23NuSyGvmL
    a5MBcPwp1EUHqgfI
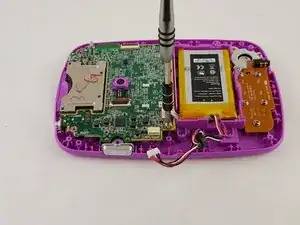
    • Remove the three 6 mm phillips head screws holding the motherboard to the display assembly.

  9. RPiPn1CTGVmkYXZ3
    RPiPn1CTGVmkYXZ3
    JDMfbEGio6puqJMw
    QDjqlHWTj2rce1l1
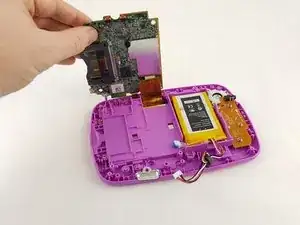
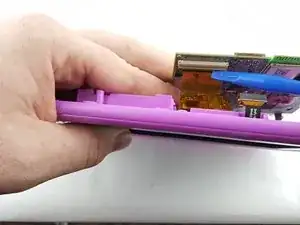
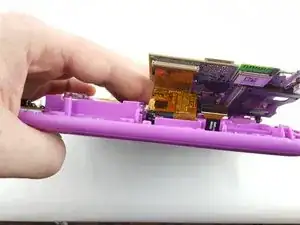
    • Carefully lift the motherboard out of the case, exposing the last remaining cord on the underside of the motherboard.

    • Disconnect the gold display assembly cord with an opening tool to fully disconnect the motherboard.

    • The device was rotated 180 degrees in order to unplug the display assembly cord.

  10. QcdEPpxNwAEx6u1Z
    QcdEPpxNwAEx6u1Z
    TbRvidElXdKOFEqZ
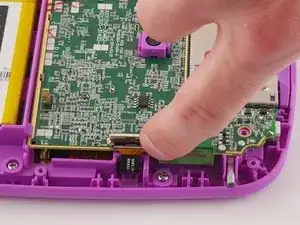
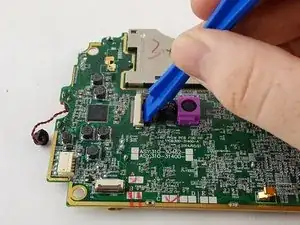
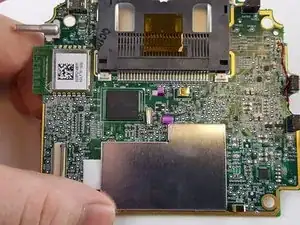
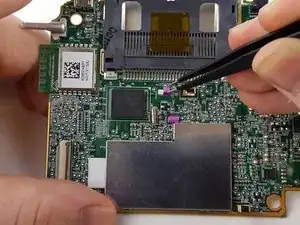
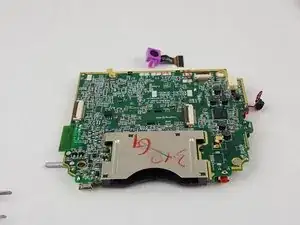
    • Unplug the rear facing camera located in the top center of the motherboard.

    Capitalize unplug.

    Zackary Williams -

  11. DomTsckvMlRwtvdE
    DomTsckvMlRwtvdE
    WtDG4u4NUWlBAJCk
    aUaKBRgVkiAma1Fn
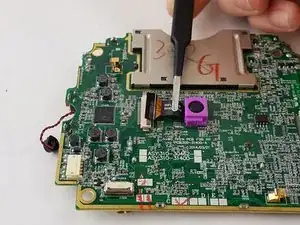
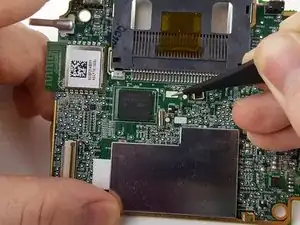
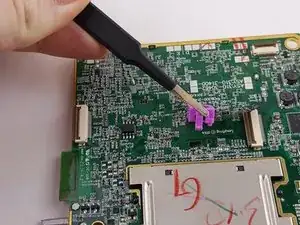
    • Unhook the small plastic tooth from the underside of the motherboard. This can be accomplished with tweezers.

  12. xxGANqQLqUDQmr12
    xxGANqQLqUDQmr12
    ZBCyfkFfxLcSYmSI
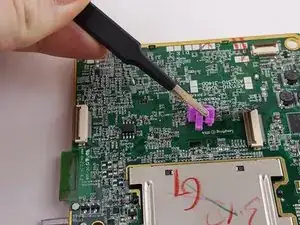
    • Pull the camera out of the top of the motherboard for replacement.

Abschluss

To reassemble your device, follow these instructions in reverse order.
Matt Irvine

Mitglied seit: 04/02/16

952 Reputation

0 Kommentare