Einleitung
The step by step guide is designed to assist with button replacement of the Leapfrog My Own Leaptop.
Werkzeuge
-
-
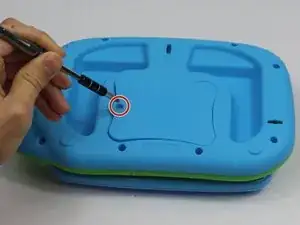
Unscrew the one 10mm screw that holds the battery cover in place with a a PH1 phillips head screwdriver.
-
-
-
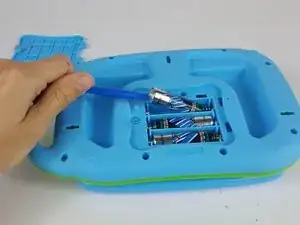
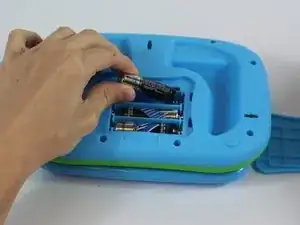
Carefully pry the batteries out with a plastic opening tool prying from the non spring side.
-
Remove the three AA batteries.
-
-
-
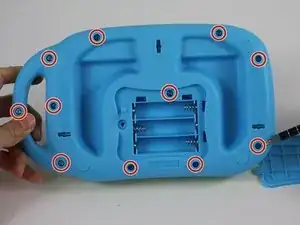
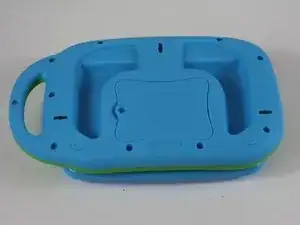
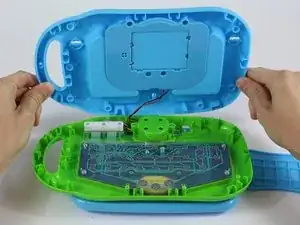
Remove the eleven 10mm screws from the back of the device with a a PH1 phillips head screwdriver.
-
-
-
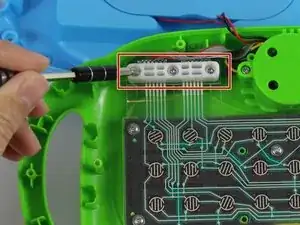
Remove the three 10mm screws from the upper left hand corner white plastic piece with a PH1 phillips head screwdriver.
-
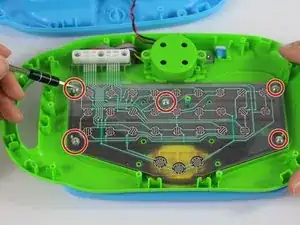
Unscrew the five 4mm screws from the plastic membrane with a PH1 phillips head screwdriver.
-
-
-
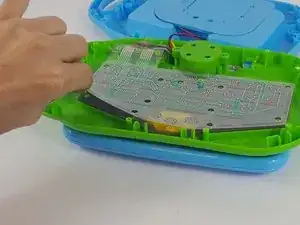
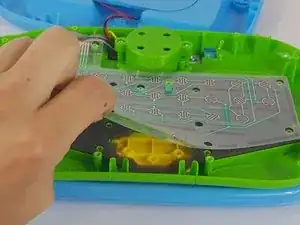
Gently grab the membrane and peal it upwards.
-
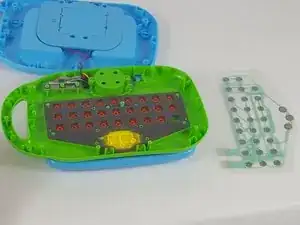
Carefully remove the membrane and set it to the side.
-
From this step you can also clean the membrane of any residue with a lightly dampened paper towel.
-
Ensure that the membrane is completely dry before reassembly.
-
-
-
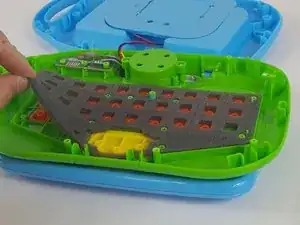
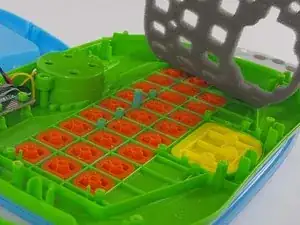
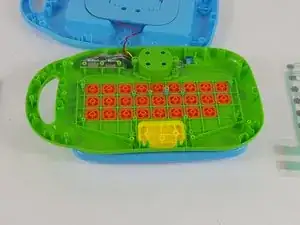
From here, each button is able to be removed for cleaning or replacement.
-
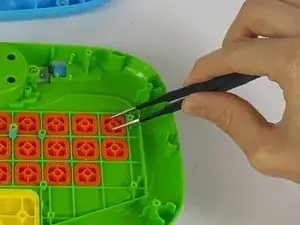
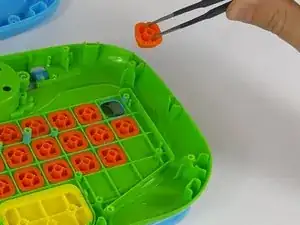
Using a tweezers or needle nose pliers, remove the necessary pieces from the device.
-
To reassemble your device, follow these instructions in reverse order.
6 Kommentare
Very useful. but where to get a new membrane? please help
Didn't work. I'll buy a new toy.
Is the screen on this suppose to light up?
