Einleitung
If your Lenovo 300e Chromebook is not booting or the battery is not charging, then you could have a potential motherboard issue. If this is found to be true, follow these steps in order to properly replace the motherboard.
The motherboard is the backbone of a computer. It allows all of the components to communicate and interact with each other. A faulty motherboard will cause the computer to fail at startup.
Before using this guide, inspect the hardware connected to the motherboard to ensure connections. Be sure to check if the motherboard is actually faulty through frequent crashing and errors or constant beeps from the device.
Be cautious of your surroundings due to the sensitivity of the motherboard. Foreign objects can be detrimental to the life of a motherboard. Ensure the computer is fully powered off and not plugged in due to electrical reasons.
The link below is forum provided by Lenovo for users with similar problems.
Werkzeuge
Ersatzteile
-
-
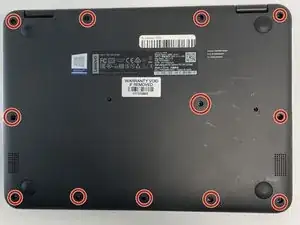
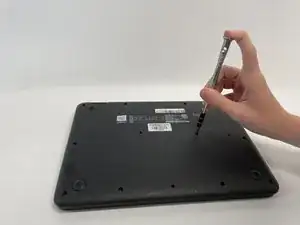
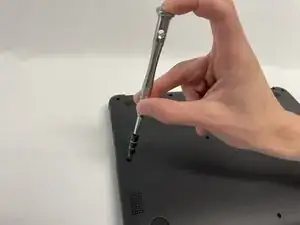
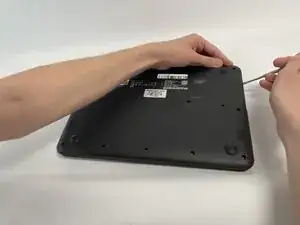
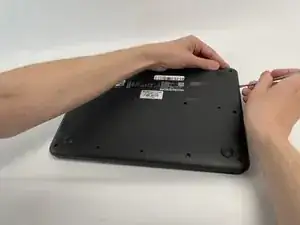
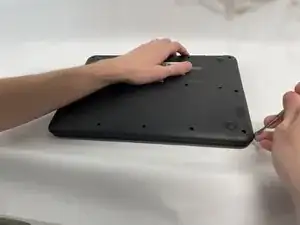
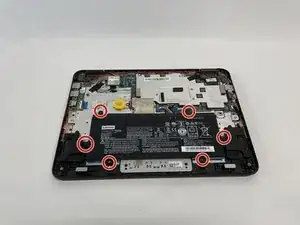
Use a spudger along the edge of the Chromebook to gently remove the back cover of the laptop.
-
-
-
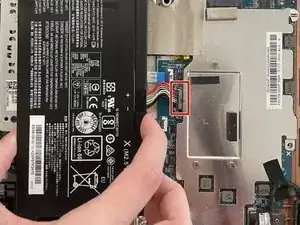
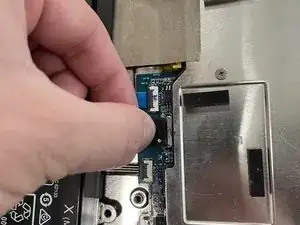
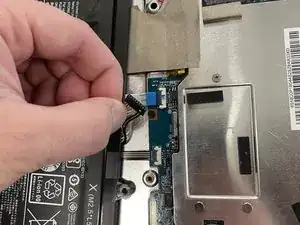
Disconnect the wiring harness that connects the battery to the motherboard.
-
Lift the battery up and out of the laptop.
-
-
-
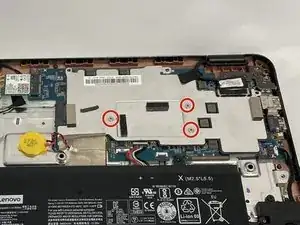
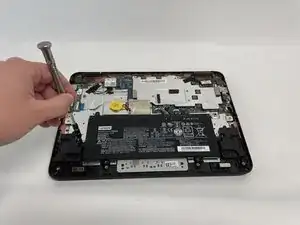
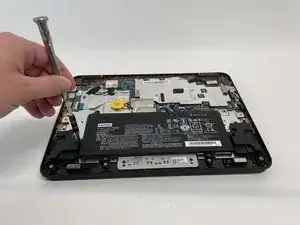
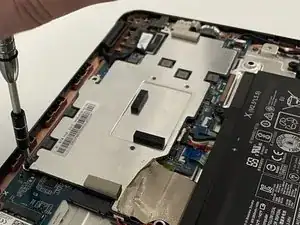
Remove the three silver 3 mm screws from the center of the metal cover using a Phillips #00 screwdriver.
-
-
-
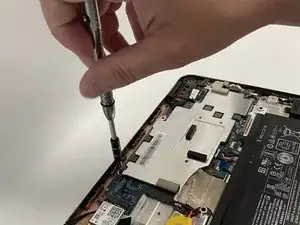
Remove two 3 mm screws from the top of the metal cover using a Phillips #2 screwdriver.
-
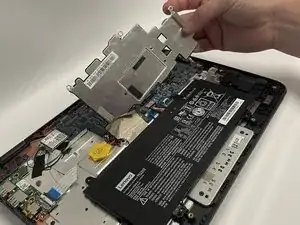
Remove the metal cover from the laptop.
-
-
-
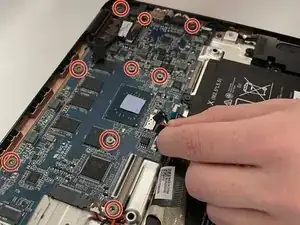
Remove the nine 3 mm screws from the motherboard using a Phillips #2 screwdriver.
-
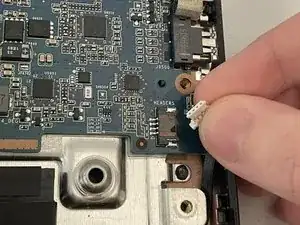
Detach all the connectors from the motherboard.
-
-
-
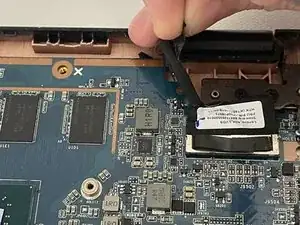
Remove the tape using a spudger.
-
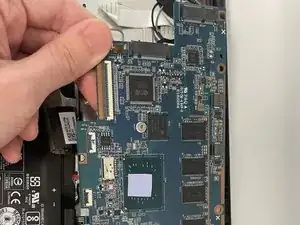
Disconnect the large cable connector.
-
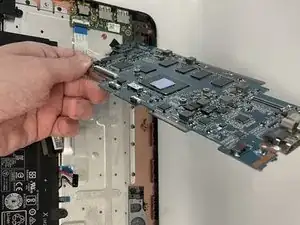
Remove the motherboard from the laptop.
-
To reassemble your device, follow these instructions in reverse order.
