Einleitung
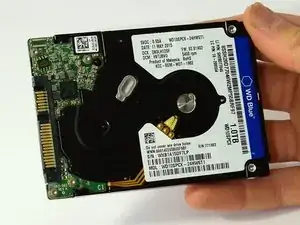
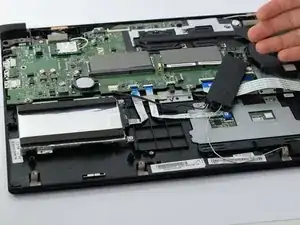
This guide will instruct you on how to replace your Edge 15’s hard drive disk (HDD), or upgrade to a compatible solid state drive (SSD). Physical replacement of the hardware is a simple job, but installing an operating system (OS) on the new drive can be more involved.
This video may be helpful in showing you how to download a Windows operating system file and install it on your new hard drive: https://www.youtube.com/watch?v=tjmRWFep...
Werkzeuge
Ersatzteile
-
-
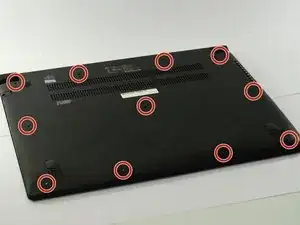
Locate the eleven M2 x 6.0mm back-cover screws.
-
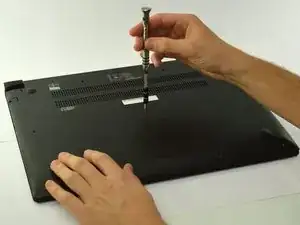
Unscrew the screws using the Phillips #0 screwdriver.
-
-
-
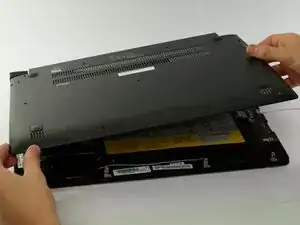
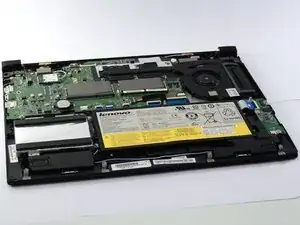
Gently lift the cover plate off the body of the laptop, ensuring that it does not pull on any components such as the USB ports.
-
-
-
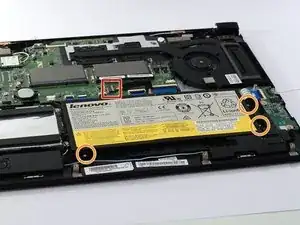
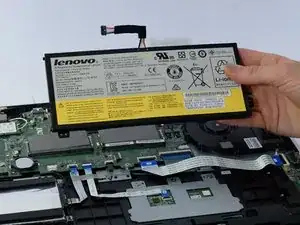
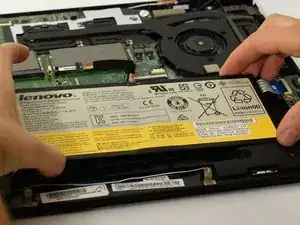
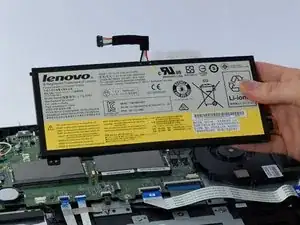
Locate the battery-connector and the three, M2 x 4.0mm screws holding the battery in place.
-
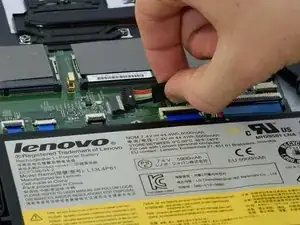
Carefully unplug the battery-connector, wiggling the connector side to side if needed.
-
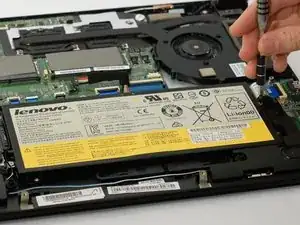
Unscrew the 3-screws using the Phillips # 0 screwdriver.
-
-
-
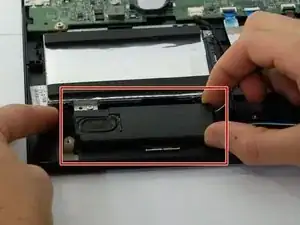
The right side speaker can be lifted up off of its mounts and set out of the way if desired, but don't put sharp bends in the speaker wires.
-
-
-
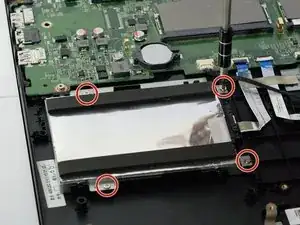
With the Phillips #0 screwdriver, remove the 4 M2 x 4.0mm screws holding the HDD case to the laptop body.
-
-
-
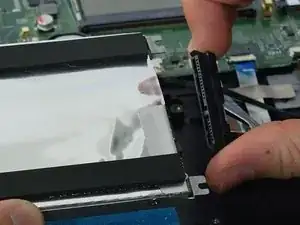
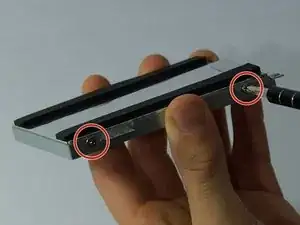
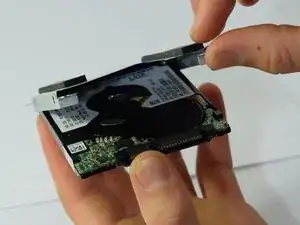
With the Phillips #1, remove the 4 M3 x 4.0mm screws on the sides of the case.
-
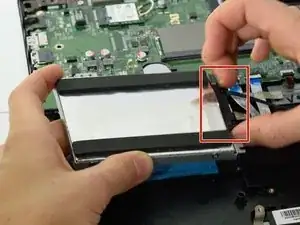
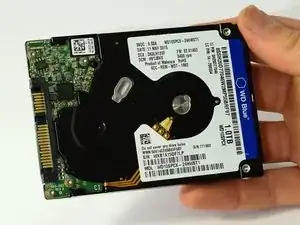
The hard drive can now be removed.
-
To reassemble your device, follow these instructions in reverse order.
During assembly, take careful note of the following items:
1) Keep track of the correct screws for each application.
2) Components may need to be wiggled to allow for proper screw alignment.
3) Don’t force screws in to avoid cross-threading.
4) Ensure proper connector alignment when reconnecting the HDD and battery cables.
Again, here is a video to help install a Windows OS on your new HDD: https://www.youtube.com/watch?v=tjmRWFep...
