Einleitung

Follow this guide to remove the optical drive from the computer.

  1. yFUTa5KAKK5abnYH
    • Turn off the computer.

    • Disconnect the charging cable from the computer.

    • Failure to unplug the cable could result in electric shock.

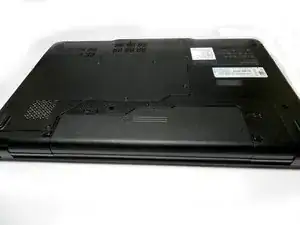
    • Flip the computer upside down.

  2. VtCAeLTdGtQFiEKR
    VtCAeLTdGtQFiEKR
    DiysKqGvjXx4eraW
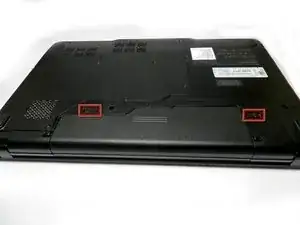
    • Locate the two switches that lock the battery. Push the right-hand switch outward into the "unlocked" position.

  3. FoLexGZEflF5D5nE
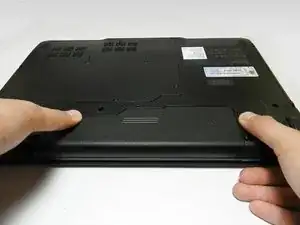
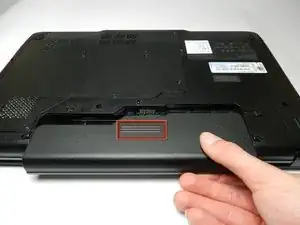
    • Push and hold the left hand switch outward in the "unlocked" position, then gently slide the battery away from the computer.

  4. HoRm1RTs2JXUH6KX
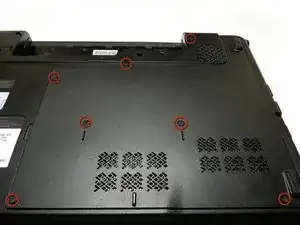
    • Remove the seven 5.3 mm Phillips #1 screws holding the back panel in place.

    a few of my screws are not coming out

    Jonathan Lewin -

    Same here. I was able to easily remove the 2 middle screws but the rest were just wiggling in place and not coming out at all.

    Denskwik K -

    I have the exact same problem. I dont know if it is because of the screws or if it is because I am an 11 year old.

    Alex Kuriakose -

  5. XhxNfiUnZMVWE2HQ
    XhxNfiUnZMVWE2HQ
    ayMUrPHNmKxoC5SJ
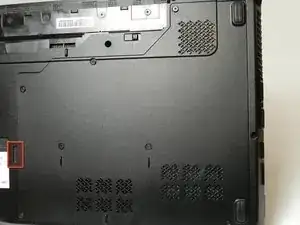
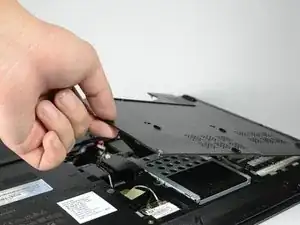
    • Pull the back panel off using the highlighted tab. The tab should give you enough leverage to pull the panel off smoothly.

    • If the back panel is difficult to remove and feels like it is going to break, DO NOT force it. Check to confirm that all the screws are removed before attempting again.

    I was having the same problem as the 11 year old from the previous step, and contrary to this note I just stuck my screwdriver under that tab and pried it off. It worked. It wasn’t even hard.

    lmh237 -

  6. rdcIWuloVQaiIQCA
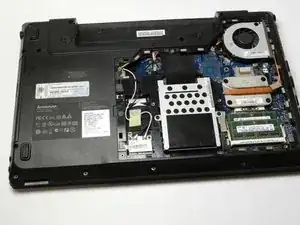
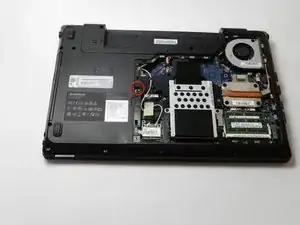
    • The computer should be open with many of the internal components shown. You can now access the hard drive, the RAM, and the keyboard.

  7. oQqKXf41SQcPlMIk
    oQqKXf41SQcPlMIk
    1IHqM4sUurEyEnL2
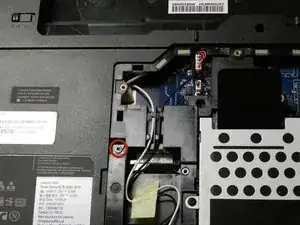
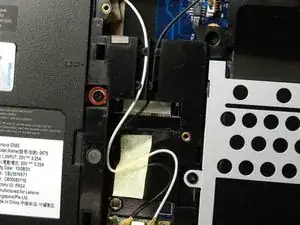
    • Locate the Optical Drive 4.7 mm Philips #1 screw, which secures the Optical Drive into the body of the laptop.

  8. kYWKjSY5T4tjnugo
    • Using the Philips #1 Screwdriver, remove the Optical Drive 4.7 mm Philips #1 screw. Once you remove the screw, locate the metal tab beneath the screw and push it outwards.

    • It may be useful to use the spudger to push the metal tab, as there is not enough space for your finger or plastic opening tool.

    • Be firm, yet gentle to avoid damaging the electronic connections.

  9. pp5ZxfQUihyj3oEU
    pp5ZxfQUihyj3oEU
    E63Pjf2ye15AFUeN
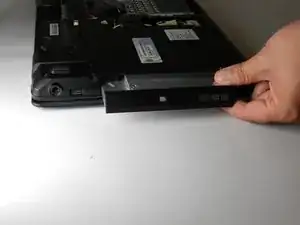
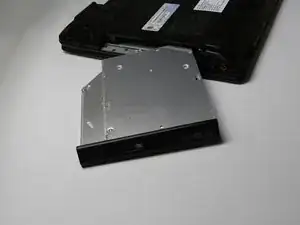
    • Slide the Optical Drive smoothly out of its slot.

Abschluss

To reassemble your device, follow these instructions in reverse order.
Dennis Wong

Mitglied seit: 12/01/13

579 Reputation

0 Kommentare