Einleitung

  1. VKeZWFvpwSqGHBiC
    VKeZWFvpwSqGHBiC
    MkyXFS1SQNobg1U1
    NRolLdUQIeqOZpJf
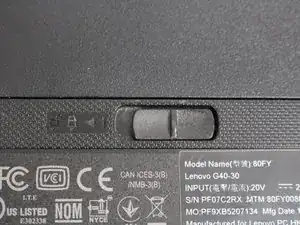
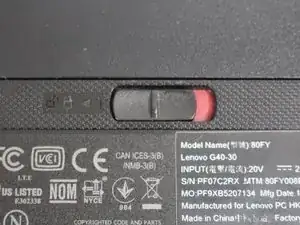
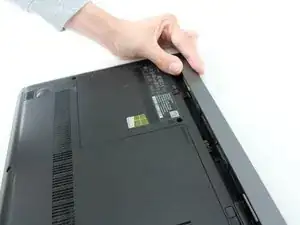
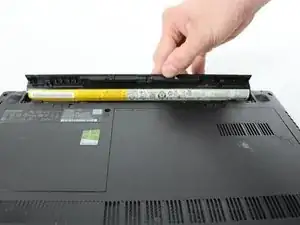
    • At the top of the laptop you will see two switches, like in image one and two.

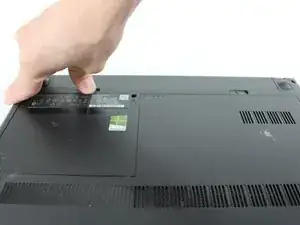
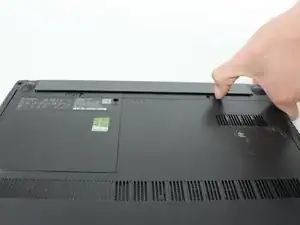
    • Pull the switches outwards with your thumb, towards the unlocked lock.

  2. F1WRVheYQcE6Q1h6
    F1WRVheYQcE6Q1h6
    GPExnwFabOyLfEhg
    TOP1KSACpYyAfuPv
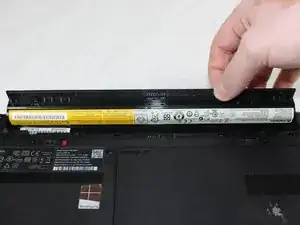
    • Once both switches are pulled, the battery should pop out.

  3. UlLH6eTfbo6RPE4W
    • Now you are ready to insert your new battery.

  4. JulKSWIHKwJuSY5o
    JulKSWIHKwJuSY5o
    vVPbHo2Y5T1PU3Aa
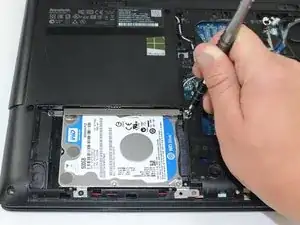
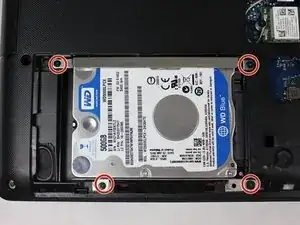
    • Unscrew four 4mm JIS #0 screws.

  5. TF3M3GgqAI4mZnjq
    TF3M3GgqAI4mZnjq
    g1a4dX6OVJU42uBJ
    HsHFklIcpY4IDwrY
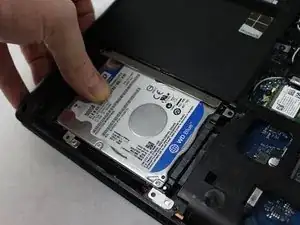
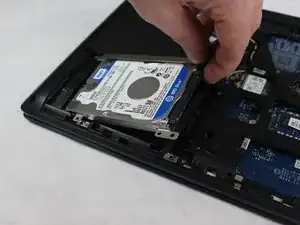
    • After you have the screws out apply pressure with your thumb and slide the hard drive to the left.

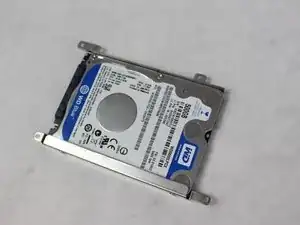
    • When the hard drive is completely left gently pull up on the right corner.

Abschluss

To reassemble your device, follow these instructions in reverse order.
Grant Sepulvado

Mitglied seit: 01/05/18

97 Reputation

0 Kommentare