Einleitung
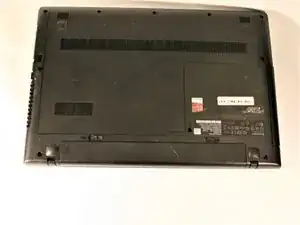
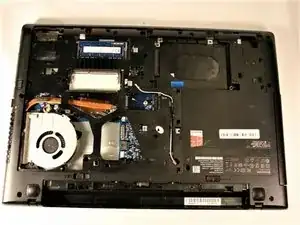
The Lenovo G50-80 80E5 was launched 7 years ago, in 2015. It is very important to keep the RAM up to date to ensure the laptop can process multiple games and applications at a high rate. RAM stands for random access memory and is responsible for storing the short term data your computer is actively using so that it can be accessed quickly and efficiently. If you are experiencing slow computer speeds, upgrading the RAM can help to alleviate that issue, helping the laptop to run at higher speeds. If you think you may benefit from upgrading your RAM, follow this guide to remove and replace the RAM in a Lenovo G50-80 80E5.
Before beginning, make sure to power the laptop off and remove the laptop from any external power source such as the laptop's charger.
Werkzeuge
-
-
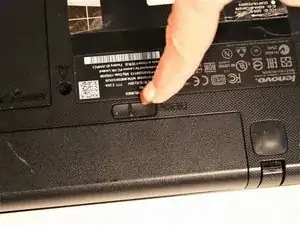
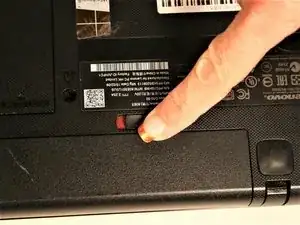
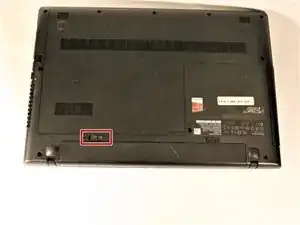
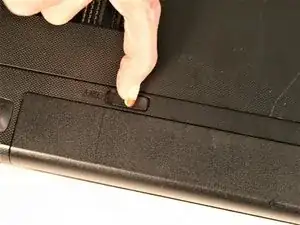
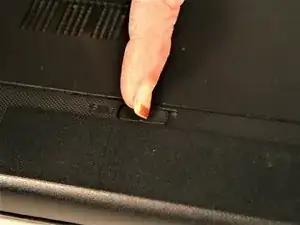
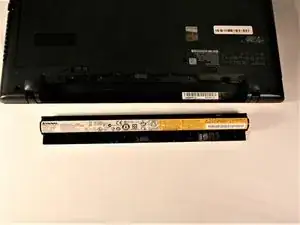
Move the left tab to the left to release the battery.
-
You will hear an audible 'click' and see the battery separate from the rest of the laptop.
-
-
-
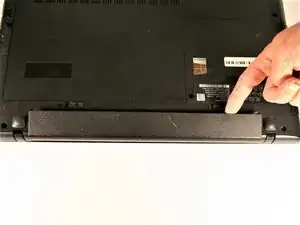
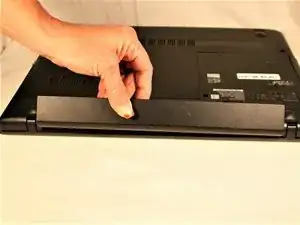
Hold the battery at the top seam between it and the laptop.
-
Roll the battery towards yourself.
-
Lift the battery out of the laptop.
-
-
-
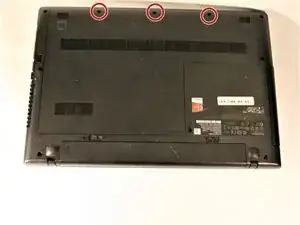
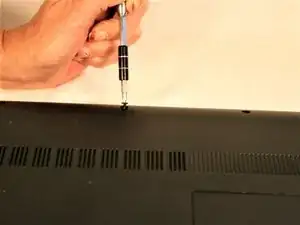
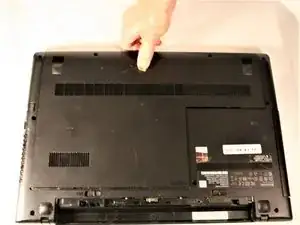
Remove the three screws securing the outer cover of the laptop using a Phillips #0 screwdriver.
-
-
-
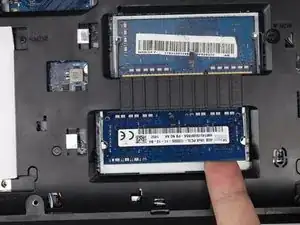
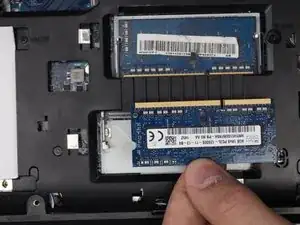
Use the tweezers to push the two silver clips to the left and right of the RAM chip outwards.
-
To reassemble your device, follow these instructions in reverse order.

