Einleitung
Every laptop comes with two sticks of Random Access Memory (RAM). Oftentimes, many users look to upgrade their RAM if they notice their computers acting slower than normal. The RAM is a component that is likely to fail, and some of those symptoms include: slow loading times, blue screen of death (BSoD), blank screen, etc.
If you’re looking to replace the RAM in your device, follow the steps outlined in this guide.
Werkzeuge
-
-
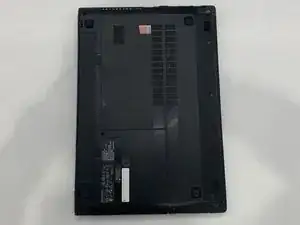
Flip your device over so that the back is facing you.
-
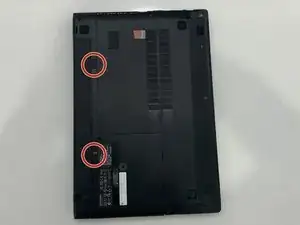
Using your fingers, push the tabs in opposite directions to eject the battery.
-
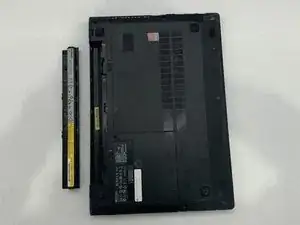
Remove the battery from the device.
-
-
-
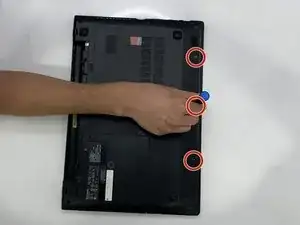
Remove the three 4mm screws on the back cover using the Phillips #00 screwdriver.
-
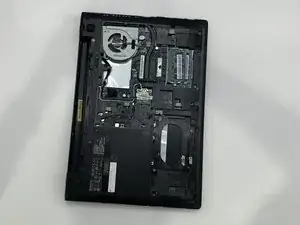
Remove the back cover from the device.
-
-
-
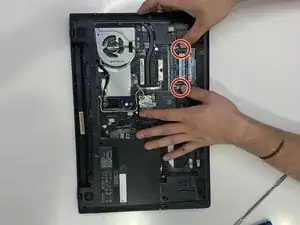
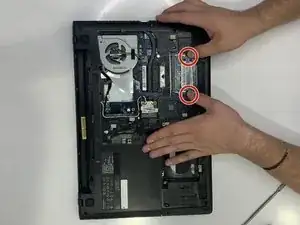
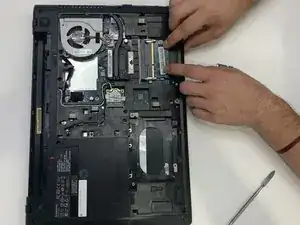
Push the silver hinges outwards to eject the RAM sticks.
-
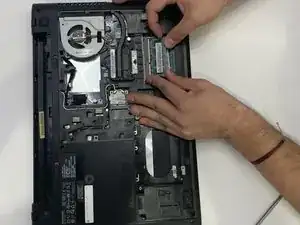
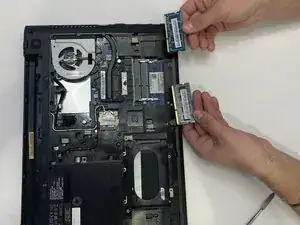
Slide the ram out diagonally toward you and remove it from the device.
-
To reassemble your device, follow these instructions in reverse order.
