Einleitung

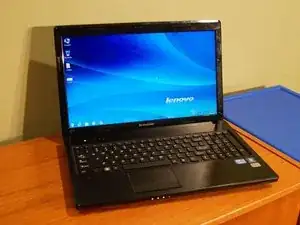
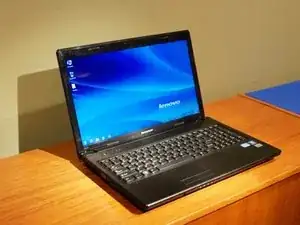
At some point in your lifetime, you'll probably end up in this situation: You own a perfectly good laptop, but you've broken the screen! By utilizing this guide, you can save yourself time and money while learning more about your computer! This guide will explain, step-by-step, how to replace the screen in your Lenovo G570 notebook computer.

  1. V1x1BlJbyrYZoWLF
    • Order a replacement screen for your laptop! Screens for this laptop (and almost any other model) can be found at https://www.laptopscreen.com/.

    • Be careful to order the right type of screen! There are two types, LED and CCFL. If you aren't sure which type your laptop screen is, wait to order the screen until you reach step 7, so that you can verify what type your computer has.

    • Before working on your laptop, check the warranty terms. If the machine is still under warranty, working on it yourself may void the warranty.

  2. ByIgLbiEvdxZQYCb
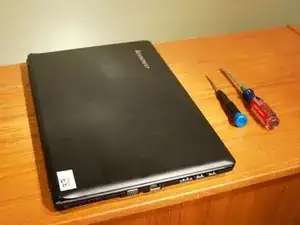
    • Gather the necessary tools, and make sure you have a large open space (such as a workbench) to work on.

  3. DmIuMoR5MTqcR3gw
    • Remove the 2 rubber bumpers which cover the screws. (They are located on the bottom left and right corners of the bezel.)

    • Then, using your small Philips-head screwdriver, remove the 2 screws which were just uncovered.

  4. CiGZAHVfbYILSe1N
    CiGZAHVfbYILSe1N
    jMC5OhO2ToQWLbTg
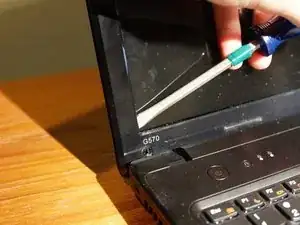
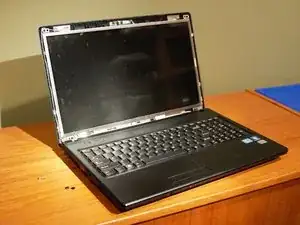
    • Remove the front plastic bezel from the screen using the following steps.

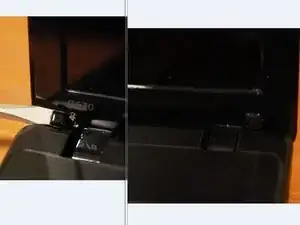
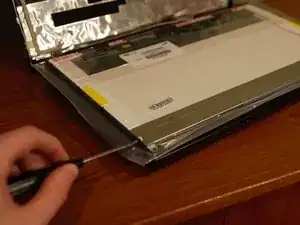
    • Pry up the bezel in the location depicted with a plastic opening tool or small flat-head screwdriver until you free the first few retaining clips.

    • Once a few clips are loosened, you can pry the bezel the rest of the way off by hand.

    • To do so, pull each side of the bezel outward and towards the center of the screen, until all of the retaining clips have been released.

  5. 4jFGwVYkrHWcYA1J
    4jFGwVYkrHWcYA1J
    IqnpGYjoQe12VEi4
    HuXbZvDQBMHW2rEq
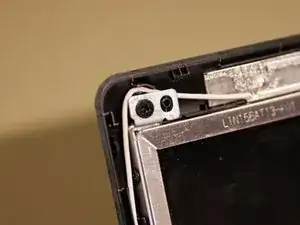
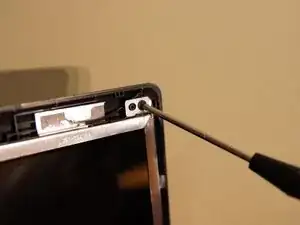
    • Remove the four screws (one in each corner) which attach the screen to the lid.

  6. XurqnsWXTXjso2ma
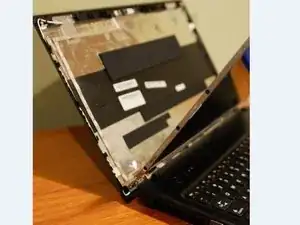
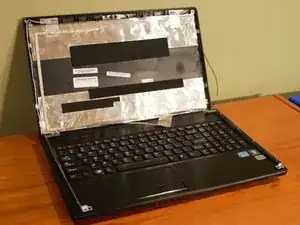
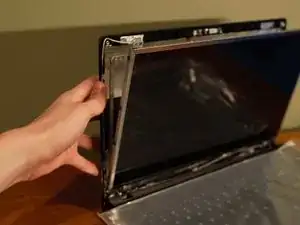
    • Carefully pull the lid away from the screen, while keeping in mind that there are cables attached to the lid as well as the screen.

    • The lid will separate from the screen, but the cables will not. Lean it against something to avoid stressing the cables.

  7. jEULbGJXaSXuKaX4
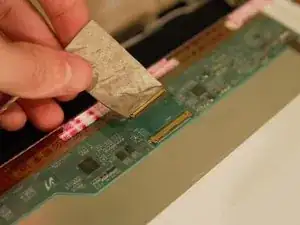
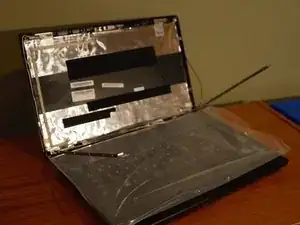
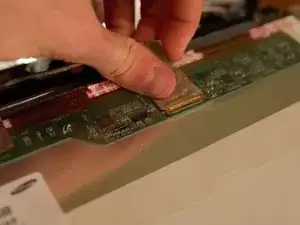
    • Now, detach the video cable from the back of the screen.

    • Proceed with caution, as the video cable is very easily damaged!

  8. rcn1F22CZNfwbUma
    rcn1F22CZNfwbUma
    VWrtvqsFYRNRX2QF
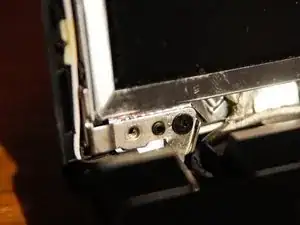
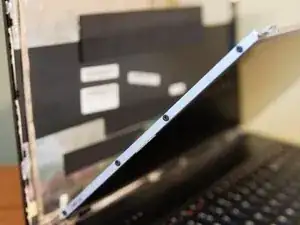
    • Remove the 8 screws (4 on each side) which attach the hinges to the screen

  9. uGIqWIOPDU5EZb2G
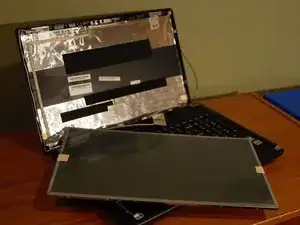
    • Remove the screen, and recycle it at your local dump or recycling center

  10. K1clgWFcwvRYpIJk
    K1clgWFcwvRYpIJk
    fY26k4pfNo51QvXJ
    • Before you begin, be sure to put something on the keyboard to protect the screen from being scratched

  11. skD4BVIAENTKrKk2
    • Position the screen face-down on the keyboard, and line up the hinges with the holes on either side of the screen

    • Using your Philips-head screwdriver, replace the 8 screws (4 on each side)

  12. rJ4CFq3DJDIGJsLk
    • Connect the video cable!

    • Be careful not to damage the cable, or to touch the base of the circuit board on the monitor

  13. 2XCXGbBPPlJsxaSd
    • Lift the plastic lid up to the back of the screen, and press them together so that lid now hinges with the screen

    • Be careful that the cables which run along the bottom inside edge of the lid are not squished by the screen when you bring the screen and lid together!

  14. DVbqscxiWb1PQZAl
    • Replace the four screws that hold the screen and lid together

    • Snap the plastic bezel on, and replace the two screws which connect the bezel to the computer (reference step 4 for clarification)

  15. CR3pSsiYrEGTthJR
    • Boot up your laptop and check to see if the new screen is working- if not, go back to step 12 and ensure you reconnected the video cable correct and without damage

Alex Pfadenhauer

Mitglied seit: 02/10/12

651 Reputation

Ein Kommentar

You should mention in step 7 how to recognise if screen is LED or CCFL.
Paweł Kasztura -