Einleitung
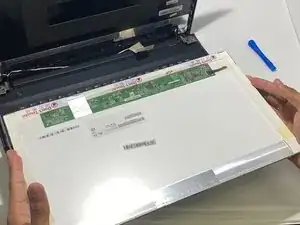
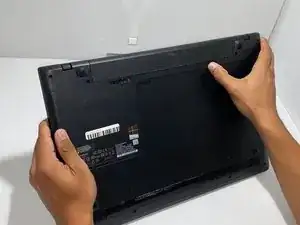
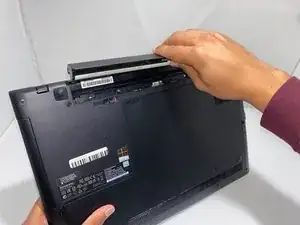
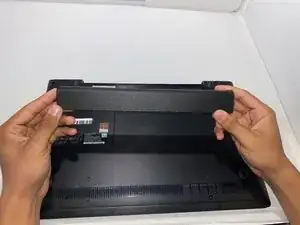
If the screen on your Lenovo G70-70 laptop flickers or does not turn on when you know the laptop is on, use this guide to replace the screen. The screen displays the various programs that run on your laptop and it also shows your inputs from the keyboard and the mousepad. A faulty screen will either flicker or it will not display anything when the laptop is on. Before using this guide, ensure the screen has not been disabled by pressing this combination all at once: Windows Key + Ctrl + Shift + B. This will refresh your display connection. This repair is necessary so you can see what is happening on the screen after you give the laptop input from the keyboard or the mousepad. Before attempting to replace the screen, ensure the battery is removed to prevent getting shocked.
Werkzeuge
-
-
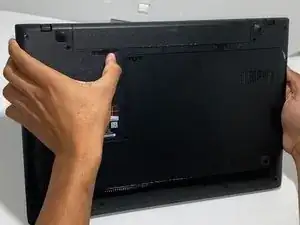
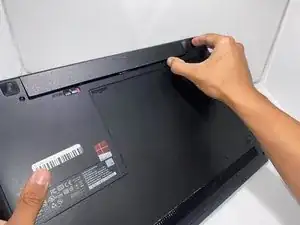
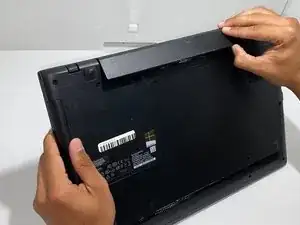
Orient the laptop so the bottom side is facing you.
-
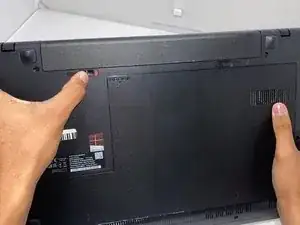
To unlock the battery, place your thumb over the left switch and slide it to the left.
-
-
-
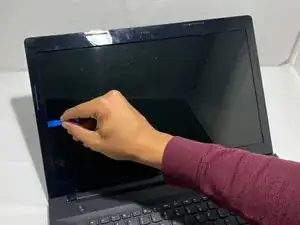
Pry open the plastic casing surrounding the screen with the opening tool.
-
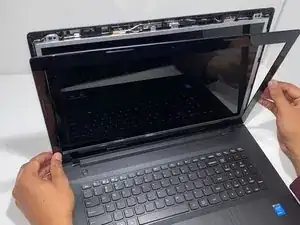
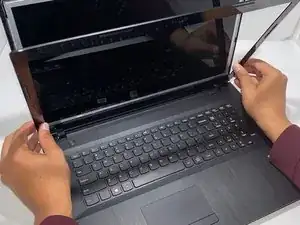
Pull the plastic casing toward yourself and separate it from the screen.
-
-
-
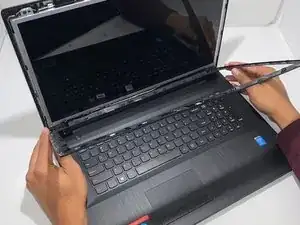
Pull the plastic casing upward and toward yourself to completely remove it from the laptop.
-
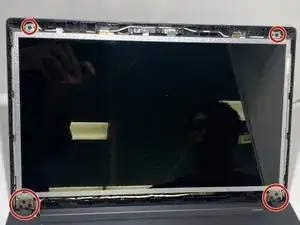
Remove eight 4.5 mm screws from the front of the metal casing with a Phillips #0 screwdriver.
-
-
-
Lower the screen to separate it from the plastic casing behind it.
-
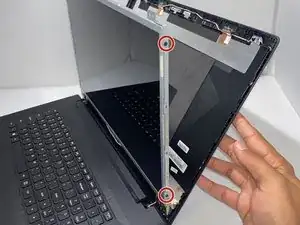
Remove four 3.2 mm screws from the sides of the metal casing with a Phillips #0 screwdriver.
-
-
-
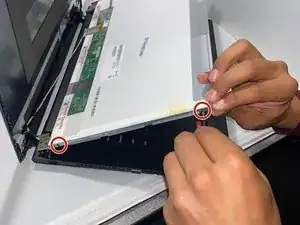
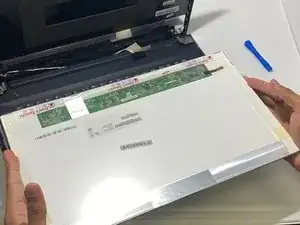
Lay the screen down on the keyboard to gain access to the cable on the back of the screen.
-
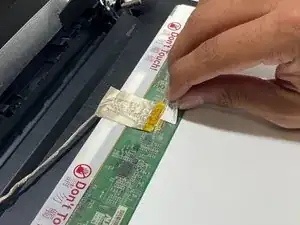
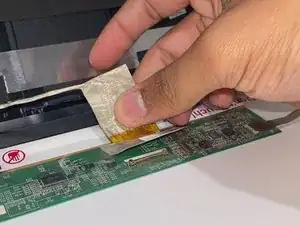
Pull the plastic off of the top of the cable.
-
-
-
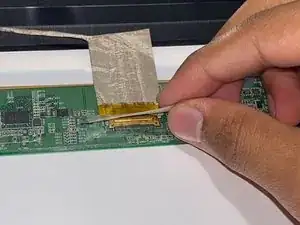
Carefully pull the golden part of the cable towards yourself to remove it from the bottom part of the screen.
-
-
-
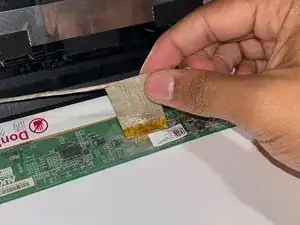
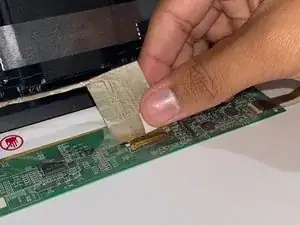
Detach the cable by pulling it away from yourself.
-
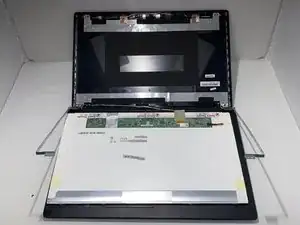
Once the cable is detached from the screen you will be able to remove it.
-
To reassemble your device, follow these instructions in reverse order.
