Einleitung
Werkzeuge
-
-
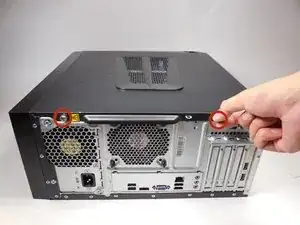
Lay the computer down on its side as shown.
-
Remove the two 14mm screws shown. The screws are loose enough to unscrew with your hands.
-
-
-
With your hands remove the 14mm screw that holds the cover on the back panel.
-
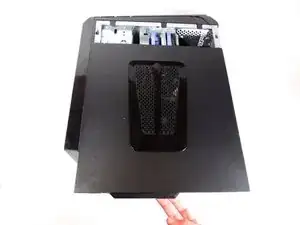
Gently pull the flap back to expose the expansion card retaining screw.
-
-
-
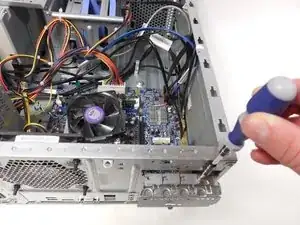
Use the Phillips #2 to remove the 8mm screw that holds the USB 3.0 Expansion Card in place.
-
-
-
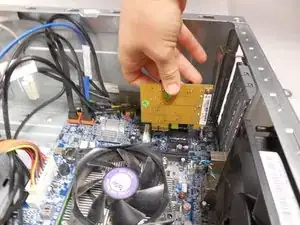
With moderate force, pull straight up on the expansion card to remove it from the computer.
-
-
-
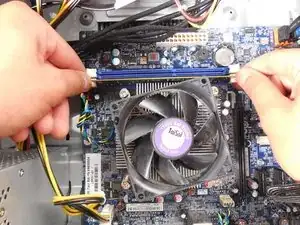
Push down on the white clips on both sides of the memory module to release it.
-
Gently pull up on the memory module to remove it from the unit.
-
-
-
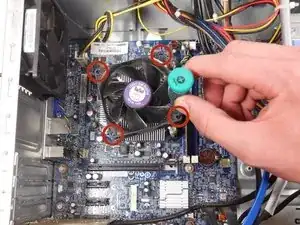
Using the Phillips #00 Precision screwdriver, unscrew the four 12mm screws that hold the fan in place.
-
-
-
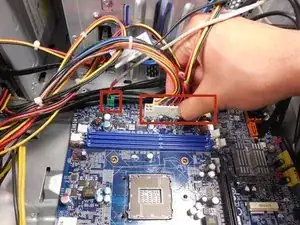
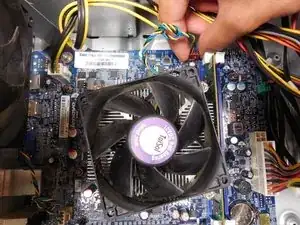
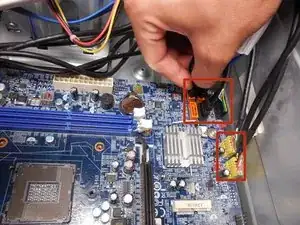
Unplug the fan from the motherboard by gently pulling out the single plug. Then lift the fan up and out of the computer.
-
-
-
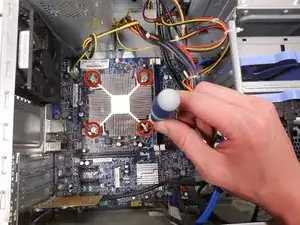
Loosen the four screws that hold the heat sink in place using a Phillips #2 screwdriver.
-
Pull the heat sink straight up to remove it.
-
-
-
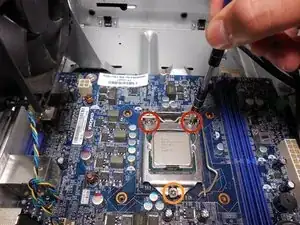
Remove the 2 8mm screws holding the CPU cover using a Torx #20 screwdriver.
-
Remove the 11 mm screw using a Torx #20 screwdriver.
-
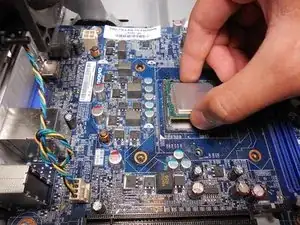
Remove the cover and remove the CPU by gently pulling upward.
-
-
-
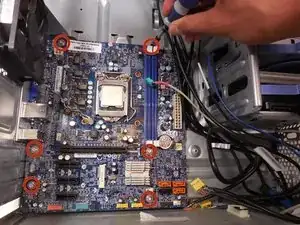
Remove all 6 8mm screws attaching the motherboard to the base of the tower using a Phillips #2 screwdriver.
-
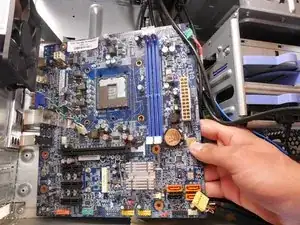
Gently pull the motherboard from the unit.
-
To reassemble your device, follow these instructions in reverse order.
