Einleitung

  1. UBTUMVnaBEja4ZX4
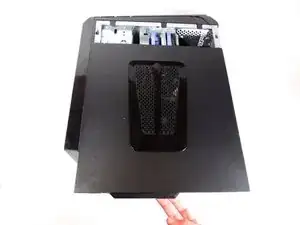
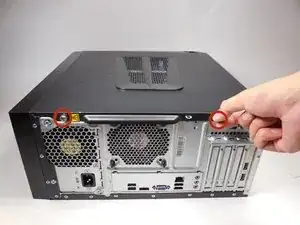
    • Lay the computer down on its side as shown.

    • Remove the two 14mm screws shown. The screws are loose enough to unscrew with your hands.

  2. QnWISHe21gjfTKhK
    • Gently slide the side panel straight back and remove from the computer.

  3. OgmOGuqPZ1miTwLh
    OgmOGuqPZ1miTwLh
    gOE52Rd5dZhUebvE
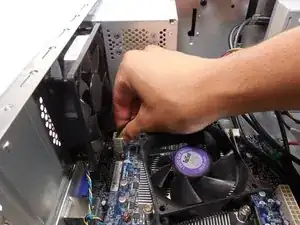
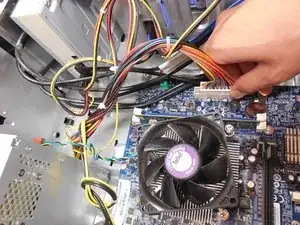
    • Unplug both sets of wires attaching the power supply unit to the motherboard.

    • The largest connection requires a significant amount of force to be removed.

  4. YouQF65ZvjFgVSUL
    YouQF65ZvjFgVSUL
    DTHtsSrOZKBKwUIN
    UPNUQg4DFDqCkrv3
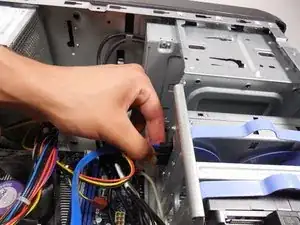
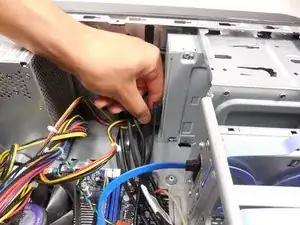
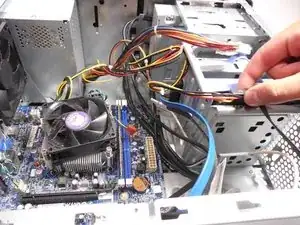
    • Unplug all cords attached to the optical drive and hard drive.

  5. UldTeaAHgMICEESi
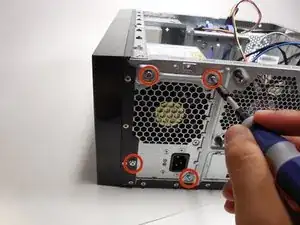
    • Using the Phillips #2 driver, unscrew the four 8mm screws attaching the power supply unit to the outside of the computer.

  6. dWAhBvht5VWhFOth
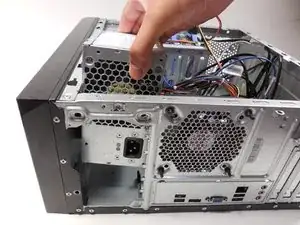
    • Remove the power supply unit by pulling away from the screw side and then out.

    C'est pas très détaillé.

    Hakou -

Abschluss

To reassemble your device, follow these instructions in reverse order.

Timothy Grebe

Mitglied seit: 20/10/14

1565 Reputation

Ein Kommentar

What part do I need to replace the POWER BUTTON, it's broke and have to press inside to power on?
Tracy Estes -