Einleitung
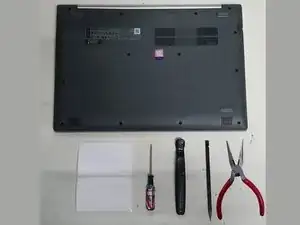
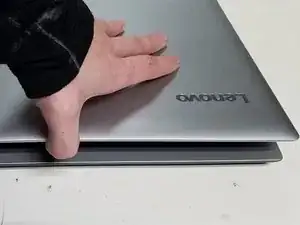
Guide to safely remove and replace Lenovo IdeaPad 330 LCD Screen without breaking clips. Most laptop screens can be replaced by removing a few screws in the bezel, then removing the bezel, then the screen. This series of Lenovo laptops require you to remove the bottom panel and detach the screen from the base to properly remove the bezel to then remove the screen.
Werkzeuge
Ersatzteile
-
-
1- Container or Sticky Paper for Screws.
-
2- Small Phillips Head Screwdriver
-
3- Nylon Spudger/Pry Tool
-
''Nylon is used because it is non-conductive and doesn't easily scratch things as it's a softer material.''
-
4- Needle Nose Pliers
-
-
-
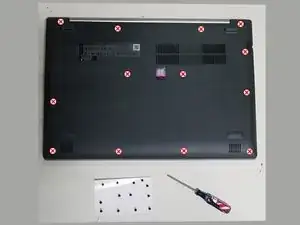
Remove All 13 Screws from the case bottom.
-
Remember to keep your screws together in a safe place like a on sticky paper or in a cup.
-
-
-
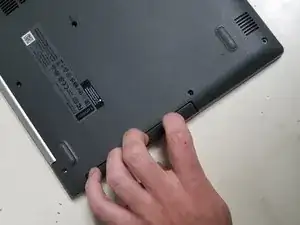
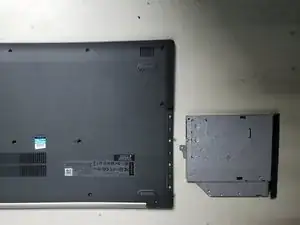
Carefully slide out the DVD Drive
-
It helps to pull on the dvd drives face plate with even pressure.
-
-
-
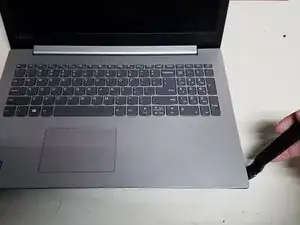
1- Start with flipping over the Laptop and opening the lid.
-
2- Grab a Spudger/Pry Tool
-
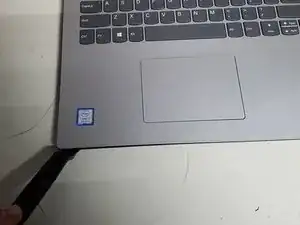
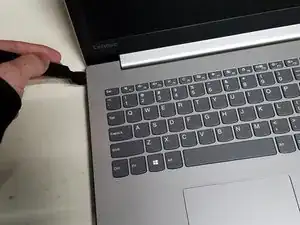
3- Starting on the front right corner, use the tool to separate the top and bottom.
-
4- Work your way around the Laptop separating the top from the bottom.
-
See Next Step To Finish Removing Bottom Panel
-
-
-
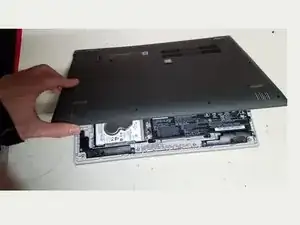
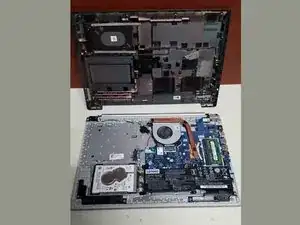
1- Once you have separated the panels, carefully close the laptop and flip it over.
-
2- Gently remove the bottom panel by starting with the opposite side of the hinges.
-
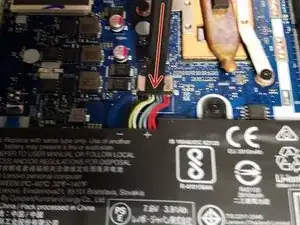
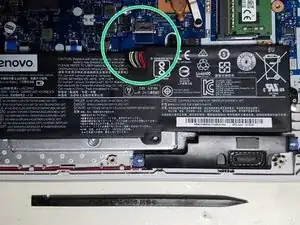
Next we'll need to disconnect some things.
-
-
-
1- Grab a Spudger/ Pry Tool or Two.
-
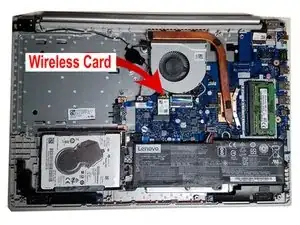
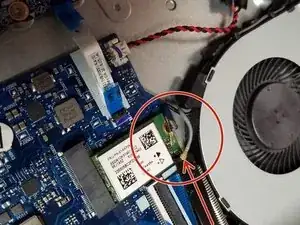
2- Gently Remove All Antennas from the Wireless Card.
-
Attention! Make sure to pull the connectors straight up and off. Pulling them off at an angle can damage the connectors.
-
Tip! Use 2 Spudgers or 1 Spudger and a finger nail to grab two sides. Then pull gently wiggle up and off.
-
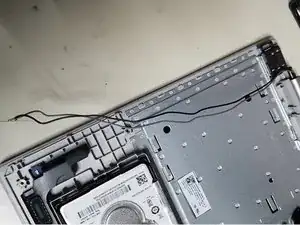
3- Gently remove the antenna cables from their groves.
-
Tip! Start at the hinge side to make getting the cables attached to the cpu fan undone easier with the extra slack.
-
-
-
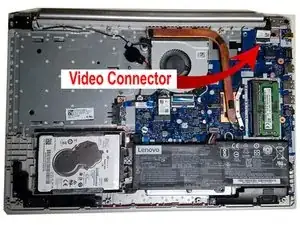
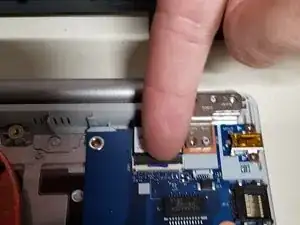
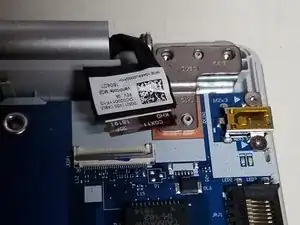
1- Use a finger nail or nylon spudger to flip up the latch holding in the video cable.
-
2- Gently pull out the video cable without bending the ribbon cable.
-
-
-
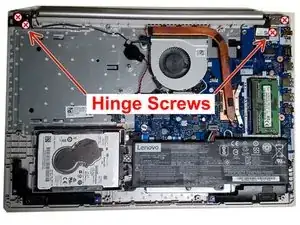
1- Grab your Phillips Head Screwdriver and Remove the 4 hinge screws.
-
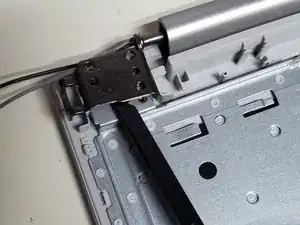
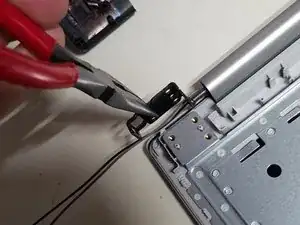
2- Gently use your Spudger/Pry tool to help start separating the hinges from the palm rest, Then Carefully use the Pliers to grab the hinges and open it the rest of the way.
-
3- Do Step 2 for both hinges.
-
4- Now the screen should easily pull away from the palm rest.
-
-
-
1- Lay down the screen.
-
Attention! Be sure not to slide around and scratch the top panel
-
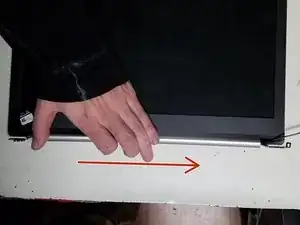
2- Remove the "tube piece" running between the two hinges by sliding it to the right.
-
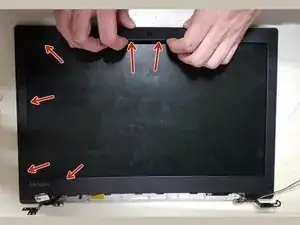
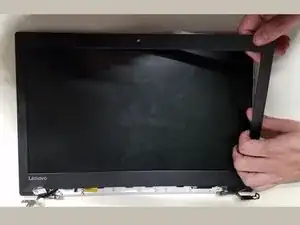
3- Using your hands and starting by the camera, gently start pulling up the bezel from the inside.
-
4- Work your way around until its completely removed.
-
-
-
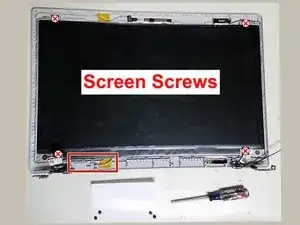
1- Grab your Phillips Head Screwdriver and remove the 4 screws holding in the screen.
-
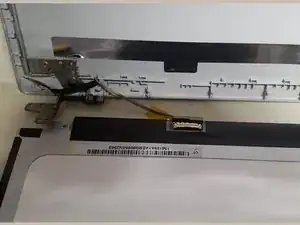
2- Carefully release the screen cable shown in the red rectangle from their groves.
-
3- Carefully lay the screen on its face and lift off the top panel.
-
4- Next we'll disconnect the video cable from the screen.
-
-
-
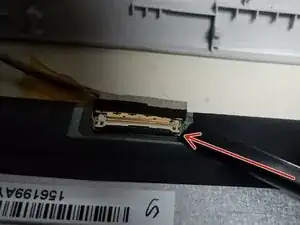
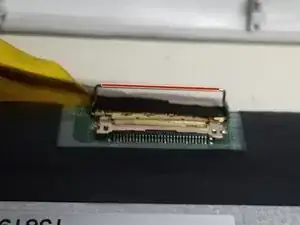
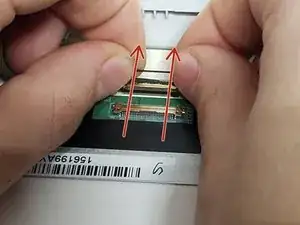
1- Lift up the clip on the video connector on the back of the screen using a Spudger.
-
2- Grab the clip using both hands and gently and evenly shimy out the video connector.
-
YOUR'E DONE! :) Now time put the new one in by going in reverse.
-
To reassemble your device, follow these instructions in reverse order.
6 Kommentare
Great guide!! Well done and thanks!!!
I did everything & the screen is just black :( :( :(
Im so injured (neck) i can't deal with this… :( :(
Everything except the battery absolutely would not come out. But because it was so injured it's at they're not plugged in for a couple of months, so I figured it was pretty certainly dead anyway - no lights were on at all.
Thought this was going to be over, I'm so fricking heartbroken. Everything seemed to go put back in place. But the outer cover definitely never had 13 screws, I was acutely careful with the screws.
Going to fricking take it apart again I guess... although screens definitely in so it must be one of the connections…ugh sigh, please help if anyone can.
