Einleitung
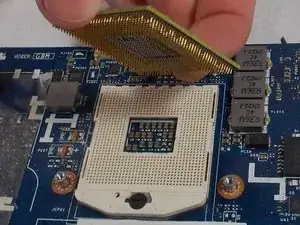
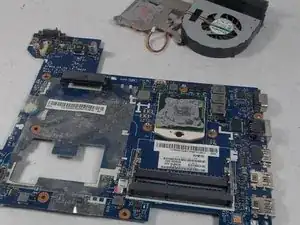
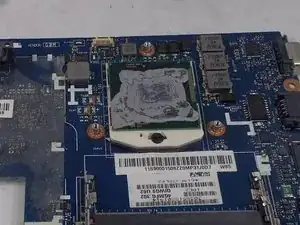
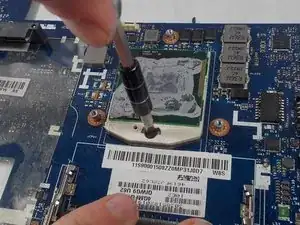
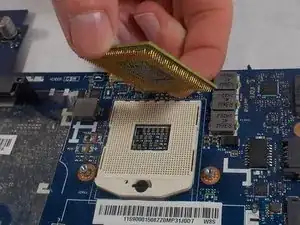
If your device is completely unresponsive or continuously freezes as you work, the CPU may be the issue. To replace this part, follow this guide.
Werkzeuge
-
-
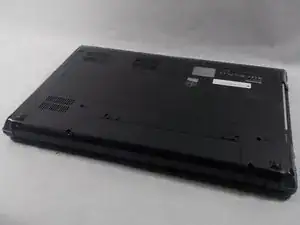
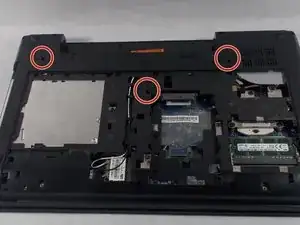
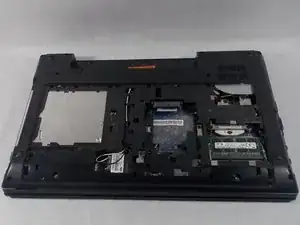
Turn over the device so that the bottom is facing up. Make sure the hinged side is facing you.
-
-
-
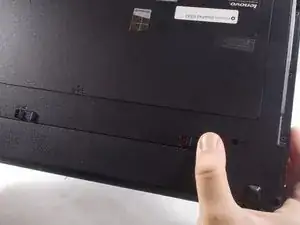
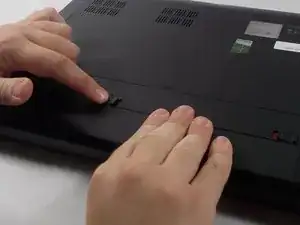
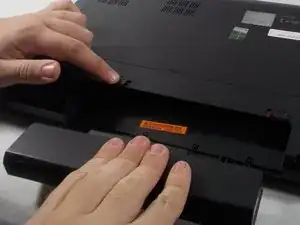
Move the right switch towards the right until it clicks in place. You should then see the color red reveal from where the switch was originally.
-
-
-
Rotate the laptop so that now the hinge is facing away from you.
-
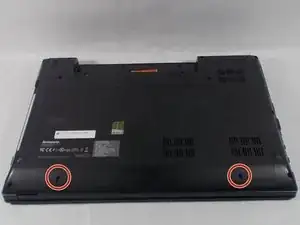
Remove the two 2.5 x 4.0 mm Phillips #0 screws from the underside of the laptop.
-
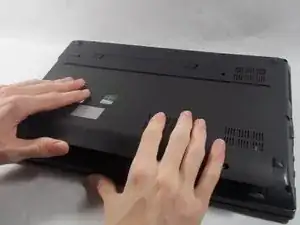
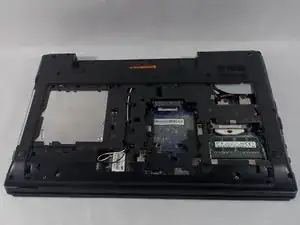
Slide the bottom panel towards you until it stops, and then carefully lift it off.
-
-
-
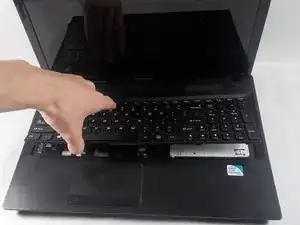
Turn the laptop right side up and open the lid.
-
Using the spudger and your fingers, get in between the keyboard's edge and lift it up.
-
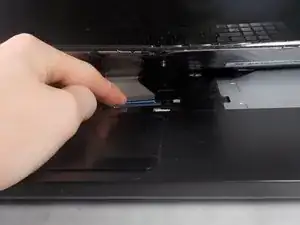
Carefully lift the keyboard ribbon cable out of the socket it is in.
-
-
-
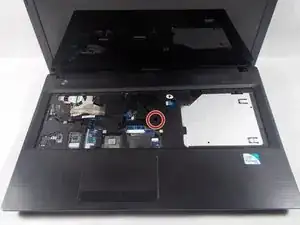
Remove the 2.5 x 6.0 mm Phillips #0 from the center of the device.
-
Close the laptop and place it face down once again.
-
-
-
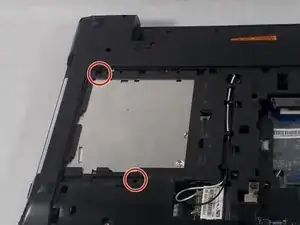
If a hard disk drive is installed, remove the two 2.5 x 4.0 mm Phillips #0 screws.
-
Slide the hard disk drive out of its socket.
-
-
-
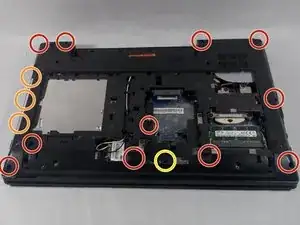
Remove the eleven 2.5 x 6.0 mm Phillips #0 screws.
-
Remove the three 2.0 x 3.0 mm flat head screws.
-
Remove the 2.5 x 4.0 mm Phillips #0 screw.
-
-
-
Turn the laptop right side up and open the lid.
-
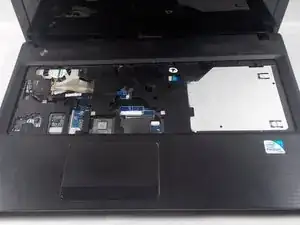
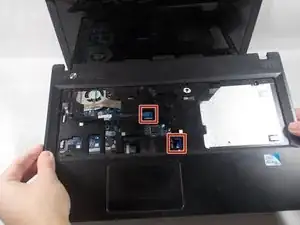
Disconnect the two ribbon cables from the center.
-
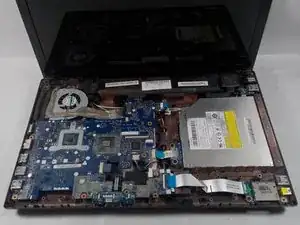
Lift the keyboard bezel (with trackpad) straight up and out.
-
-
-
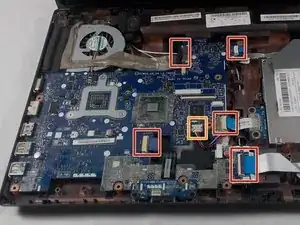
Remove the five ribbon cables on the top of the computer.
-
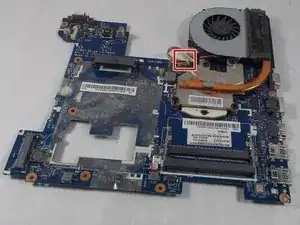
Gently remove the single cable from its socket.
-
-
-
Using your fingers or a spudger, lift the motherboard slightly.
-
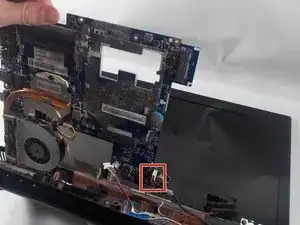
Detach the single cable from underneath.
-
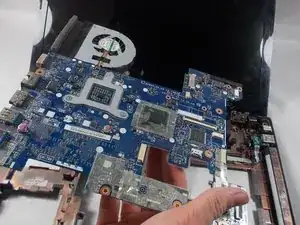
Lift the motherboard the rest of the way out.
-
-
-
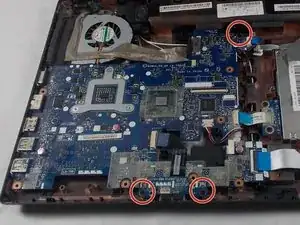
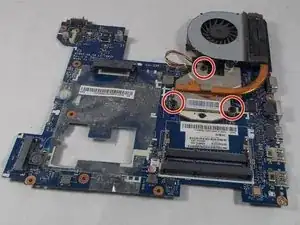
Remove the three 2.0 x 3.2 mm Phillips #0 screws from the fan.
-
Lift the fan straight off the motherboard.
-
To reassemble your device, follow these instructions in reverse order.
Ein Kommentar
süper olmuş eline sağlık çok açıklayıcı ve başarılı olmuş teşekkür ederim
