Einleitung

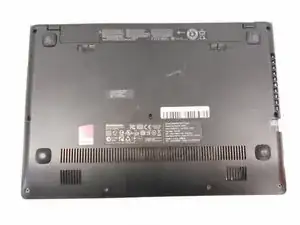
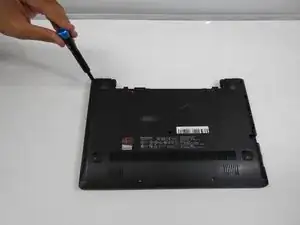
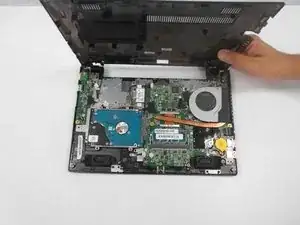
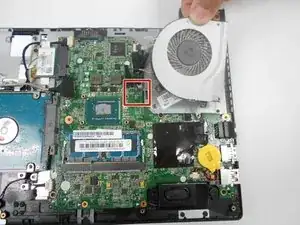
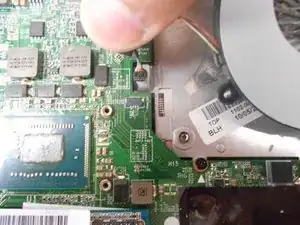
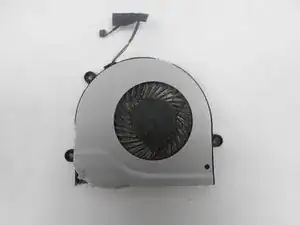
Use this guide to replace a faulty cooling fan of a Lenovo IdeaPad S210 Touch. Replacing the cooling fan can alleviate problems caused by overheating such as unexpected shutdowns and shortened battery life. The operation is a simple process that involves a #0 Phillips screwdriver and the removal of screws that hold the fan in place.

Before beginning the removal process, ensure your device is turned off and disconnected from power supplies.

  1. CMV1ZjxCWrgnOoJ5
    • Ensure your device is unplugged and shut down.

    • Place the laptop down with the cooling vents facing upwards.

  2. qI2qkh5WXs1W2KFC
    qI2qkh5WXs1W2KFC
    iyKKiZbYBByBYIhV
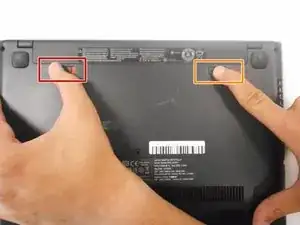
    • Use your finger to slide the latch towards the unlocked position (away from the other latch). If done correctly you will see red.

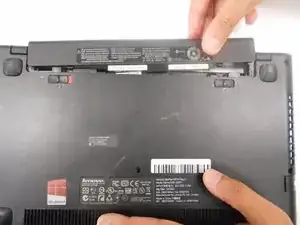
    • Slide the second latch to the unlocked position while gently pulling the battery away from the laptop.

    For the picture displaying the two slide latches maybe demonstrate the direction they need to slide

    Christopher Graveline -

    Which direction should you pull the battery? (e.g., away from the device).

    Alex Watkins -

  3. DKLBASoGQSXV6UGH
    DKLBASoGQSXV6UGH
    mmDVVC4IU4WnUPlO
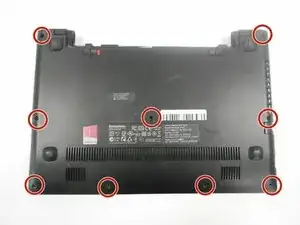
    • Using the #0 Phillips screwdriver, remove the nine 4mm screws on the back panel.

    I think you can remove the caution, since it was removed in the previous step.

    Alex Watkins -

    Make sure to write the last sentence as a complete sentence.

    Alex Watkins -

  4. 3cCXsTL2hlQQUokw
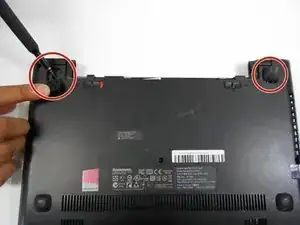
    • Gently pull the two rubber feet closest to battery away from the device. Using a #0 Phillips screwdriver, remove the 5mm screw under each rubber foot.

    Specifying the tool used would be a great addition to this step.

    Vanessa Onyullo -

    I agree, and I also think you want to add action shots here.

    Alex Watkins -

  5. AOpMu2xpATLD2EEa
    AOpMu2xpATLD2EEa
    dZduZPZE25gnxX6V
    jrOnELFjoNfumMCO
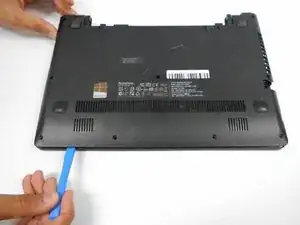
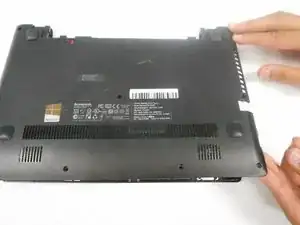
    • Slowly begin working your plastic opening tool along the panel to undo the latches around the laptop.

  6. HEvOJRPFRUt26g4e
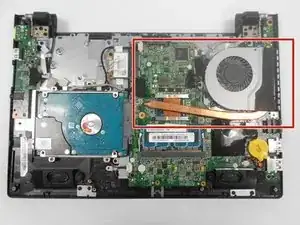
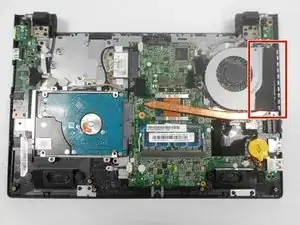
    • Many of the wire connections to the motherboard are secured by tape for vibration protection. Your device may or may not have this tape.

    • If any tape is present, remove all tape from the area within the red area.

    Remember to remove locate steps.

    Alex Watkins -

    In the motherboard guide, the hard drive is appearing here, but you said to remove it in the previous step.

    Alex Watkins -

  7. 5IYSWAJoCSNmoXoZ
    5IYSWAJoCSNmoXoZ
    iN3ybUBI55ljVsl6
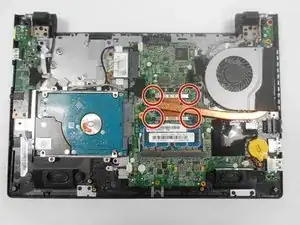
    • Using a #0 Phillips screwdriver, unscrew the four 3mm captive screws securing the copper tube onto the motherboard.

    • These captive screws are secured by plastic washer to the copper tube and will remain in the heat sink assembly during removal.

    Here, I’m a little confused. The last step was to locate the cooling fan, but now you’re working on the copper tube. I would make a shot with the box highlighting the copper tube, instead.

    Alex Watkins -

  8. 6HaqQLmX3x2qYgsG
    6HaqQLmX3x2qYgsG
    JjGOItwepbUDd4tP
    KhuaEsg6Lt4bJdO6
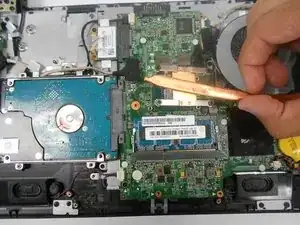
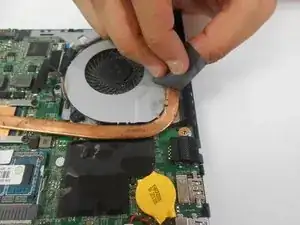
    • Remove the tape connecting the copper tubing to the cooling fan.

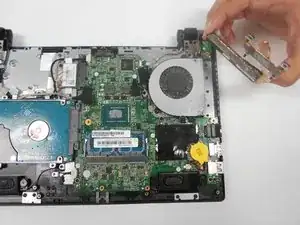
    • Lift and remove the heat sink assembly.

    possibly make a note informing the user that the screws can not be completely removed but they do however need to be completely unscrewed.

    Christopher Graveline -

    Is there a picture you have that shows the process of removing the tape? I think it might be helpful here. Also, remember to follow ROYGBIV.

    Alex Watkins -

  9. jPb5kJTAgRF3eEdJ
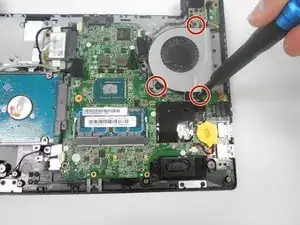
    • Using a #0 Phillips screwdriver, remove the three 3mm screws around the perimeter of the fan.

    Consider adding the location of the screws here (off the cooling fan). I would also suggest adding an action shot with the screws being removed.

    Alex Watkins -

  10. d55QJFJdEp1ZciQo
    d55QJFJdEp1ZciQo
    hs3Z5LiBLRhTlUtW
    • Remove the wiring from the motherboard by gently pulling the wire connector at the base of the wires.

    • Once the wires are removed, the cooling fan assembly is disconnected. You may now remove the cooling fan.

    Can you be clearer about how to remove the power cable? I would also reword the last step (e.g., Remove the cooling fan).

    Alex Watkins -

Abschluss

To reassemble your device, follow these instructions in reverse order.
Zack Colman

Mitglied seit: 08/07/19

885 Reputation

0 Kommentare