Einleitung
Werkzeuge
-
-
Power off the laptop and place it face-down on a non-scratching surface.
-
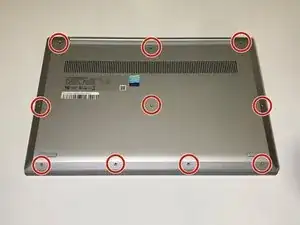
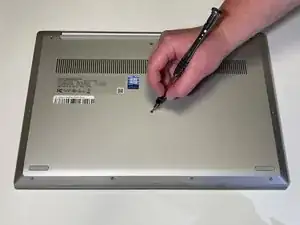
Using a Torx T5 screwdriver head, remove all ten 6 mm screws holding the back panel in place.
-
-
-
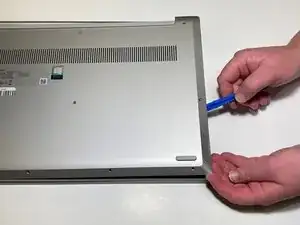
Slide a plastic opening tool underneath the back case near the screen hinges.
-
Gently pry up on either side of the case.
-
-
-
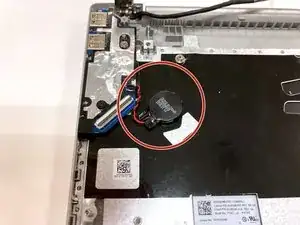
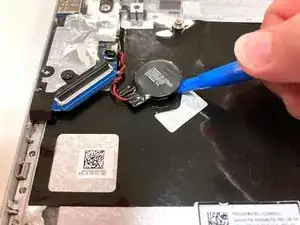
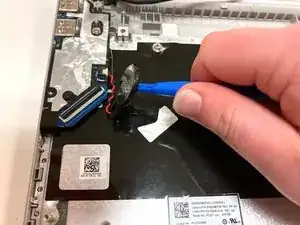
Remove the circular CMOS battery on the far left side of the computer by lifting it with your finger or an opening tool.
-
-
-
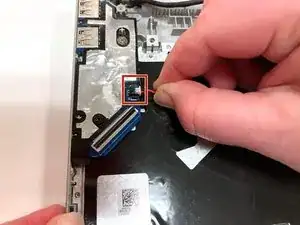
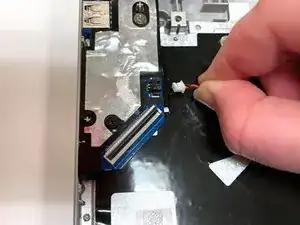
Unplug the bundled red and black wires connecting the CMOS battery to the side of the device.
-
Remove the CMOS battery from the laptop.
-
Abschluss
To reassemble your device, follow these instructions in reverse order.

The front center-right screw may be shorter (3.5mm) than the others (6.5mm), and may be captive in the back panel.
Brad Bell -