Einleitung
Werkzeuge
Ersatzteile
-
-
Power off the laptop and place it face-down on a non-scratching surface.
-
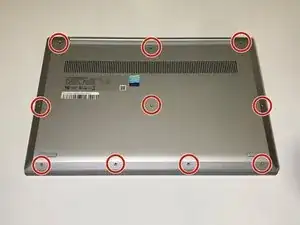
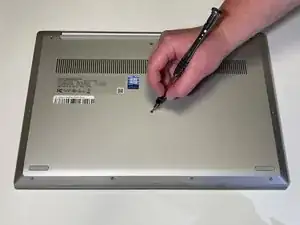
Using a Torx T5 screwdriver head, remove all ten 6 mm screws holding the back panel in place.
-
-
-
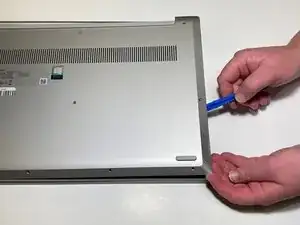
Slide a plastic opening tool underneath the back case near the screen hinges.
-
Gently pry up on either side of the case.
-
-
-
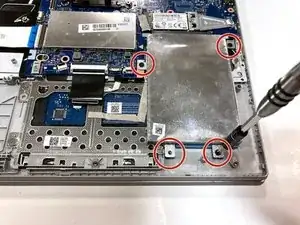
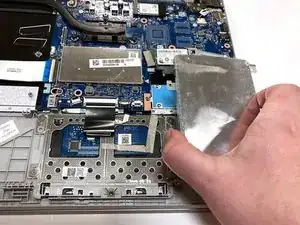
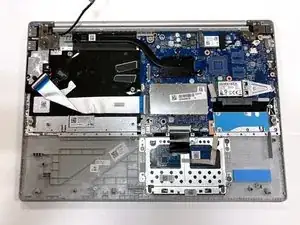
Remove the four 3 mm screws holding the hard drive expansion slot in place using a Phillips #0 screwdriver.
-
To reassemble your device, follow these instructions in reverse order.
Ein Kommentar
I managed to take the case apart once, but when I tried to put back the Torx screws back in, I noticed one wouldn't go more than halfway -- it then turned freely. I'd ordered an SSD thinking that it would be a simple matter to install it, but I found that half the Torx screws wouldn't come out, even using a tiny screwdriver to try to prise them out while turning the Torx wrench. They're seated in brass sleeves -- no way I stripped those out; the sleeves must be glued into the plastic of the case and the glue given out. There now seems to be no way to take the case apart without destroying it completely.
Robert -

The front center-right screw may be shorter (3.5mm) than the others (6.5mm), and may be captive in the back panel.
Brad Bell -