Einleitung
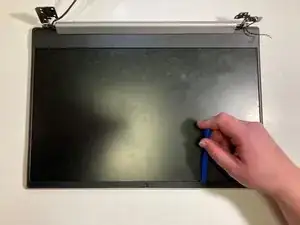
Use this guide to replace the screen on a Lenovo IdeaPad S340-15IWL laptop.
If your screen fails to turn on, is not displaying images properly, or has been cracked or busted, it may indicate that the screen needs to be replaced.
Make sure you read the troubleshooting page before beginning the replacement as there is a possibility that your device is not charged or that the issue can be resolved without disassembling the device.
Ensure that there is no food or liquid nearby as the device’s internal components will be exposed.
Werkzeuge
-
-
Power off the laptop and place it face-down on a non-scratching surface.
-
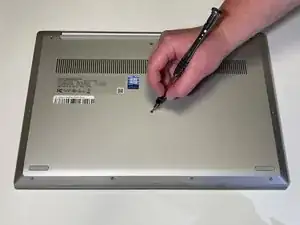
Using a Torx T5 screwdriver head, remove all ten 6 mm screws holding the back panel in place.
-
-
-
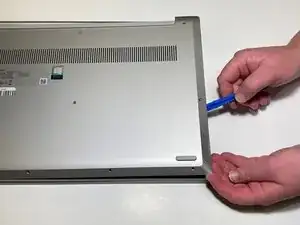
Slide a plastic opening tool underneath the back case near the screen hinges.
-
Gently pry up on either side of the case.
-
-
-
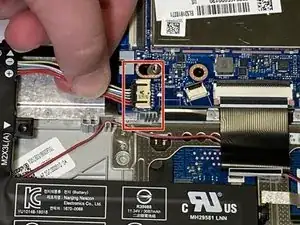
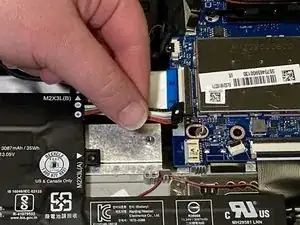
Disconnect the battery cable by gently pulling it straight out of the connector.
-
Remove the battery from the laptop.
-
-
-
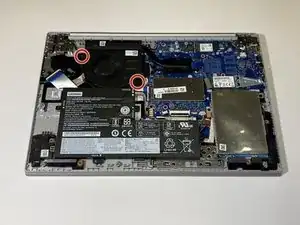
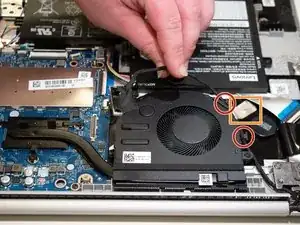
Remove the two 3 mm screws connecting the fan to the casing using a Phillips #0 screwdriver.
-
-
-
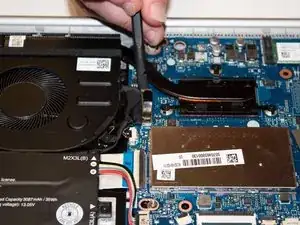
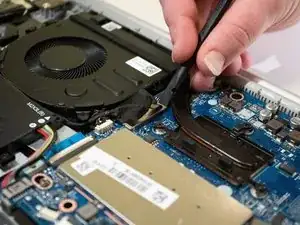
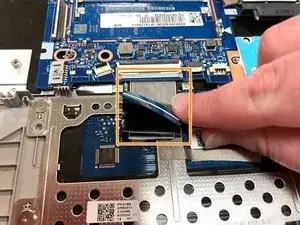
Carefully unwind the black cable that runs between the top of the battery and the bottom of the fan from the grooves along the side of the fan.
-
In order to do so, you will need to pull up the metallic tape that holds the cable in place using either your fingers or a plastic prying tool to lift up the edge.
-
-
-
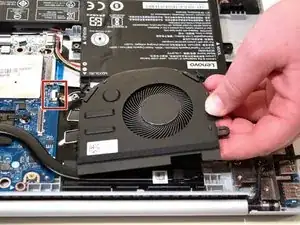
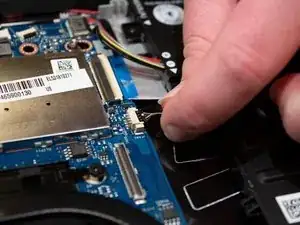
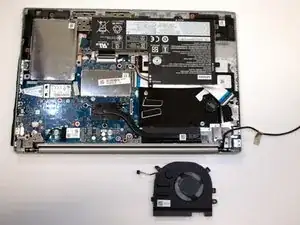
Carefully pick up the fan by the corners and detach the small connector wire by pulling parallel to the device.
-
Remove the fan from the laptop.
-
-
-
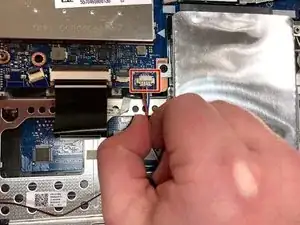
Unplug the wire connecting the speakers to the motherboard.
-
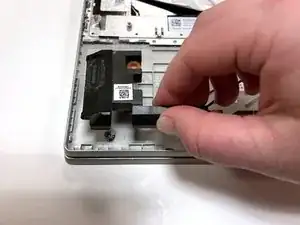
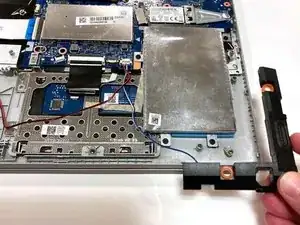
Remove the speakers from each side of the laptop.
-
-
-
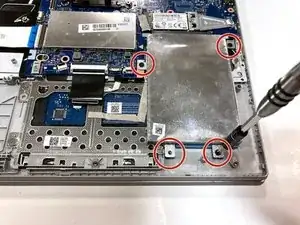
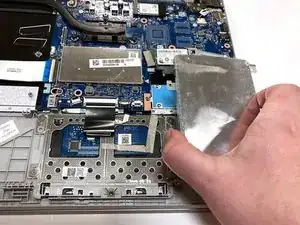
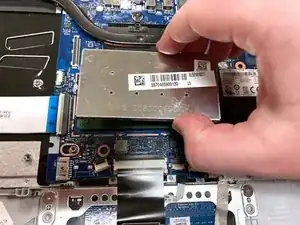
Remove the four 3 mm screws holding the hard drive expansion slot in place using a Phillips #0 screwdriver.
-
-
-
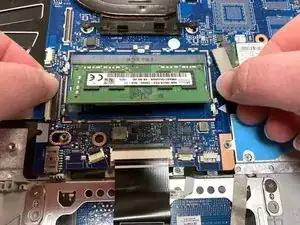
Using your thumbs, gently pull the two metal prongs that secure the RAM outwards.
-
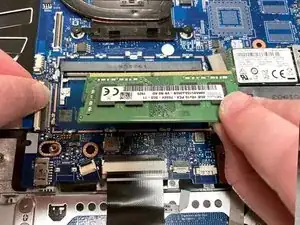
Remove the RAM from the laptop.
-
-
-
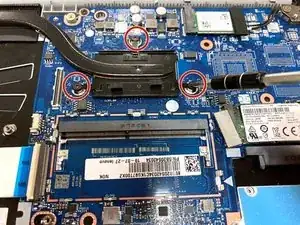
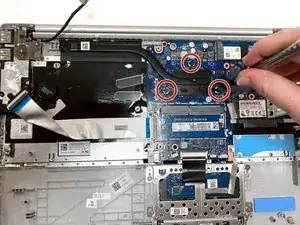
Remove the three 3 mm screws that secure the black heat sink near the top of the computer using a Phillips #0 screwdriver.
-
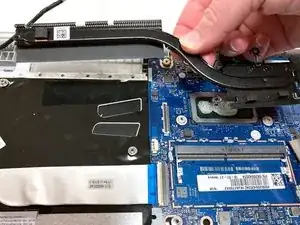
Lift the heat sink vertically to remove it from the laptop.
-
-
-
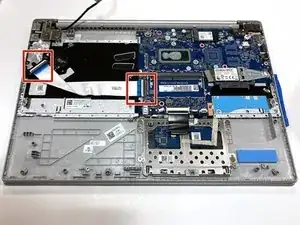
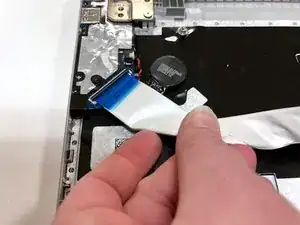
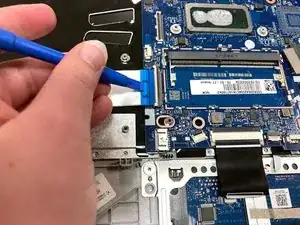
Using an opening tool, carefully flip up the retaining flaps holding the silver video cable in place.
-
Slide the ribbon cable out of each connector.
-
-
-
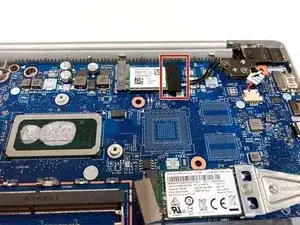
Pull up the black foam adhesive that covers the screw and connectors holding the Wi-Fi card in place.
-
-
-
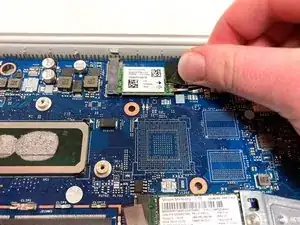
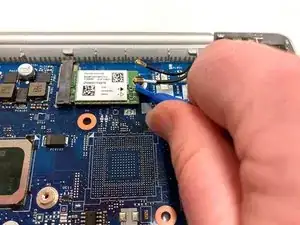
Using an opening tool, lift up on the black and white coaxial cables on the Wi-Fi card and gently pull upward to unplug them.
-
-
-
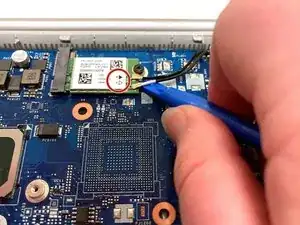
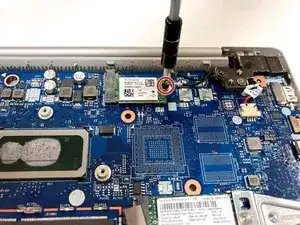
Remove the single 3 mm screw holding the Wi-Fi card in place using a Phillips #0 screwdriver.
-
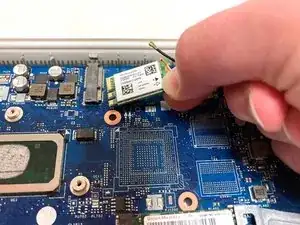
Gently lift the Wi-Fi card out of the computer.
-
-
-
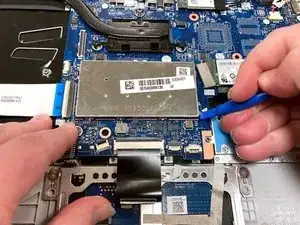
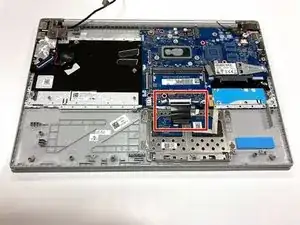
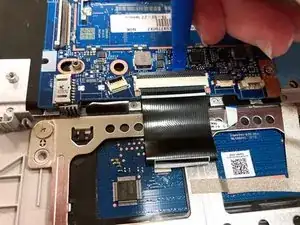
Using an opening tool, flip up the retaining flap that holds the connector to the thin black ribbon cable at the bottom of the motherboard.
-
Gently remove the ribbon cable from its connector.
-
The cable is folded over and connected to itself with an adhesive. Be careful to only pull at the top fold of the cable.
-
-
-
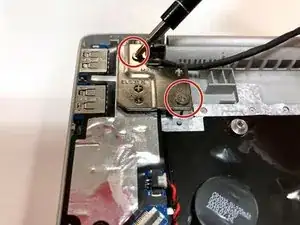
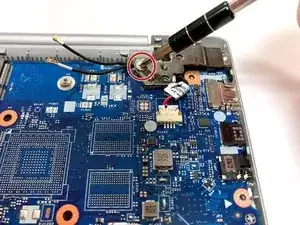
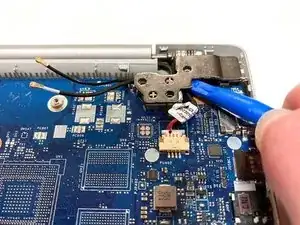
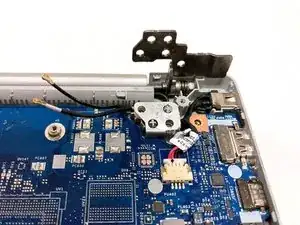
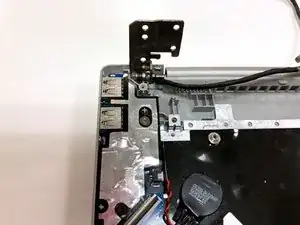
Remove the three total silver 6 mm screws from the hinges of the screen in the top corners of the device using a Phillips #0 screwdriver.
-
-
-
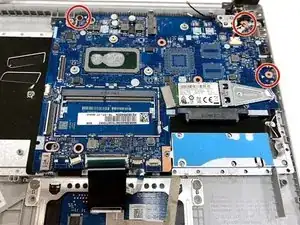
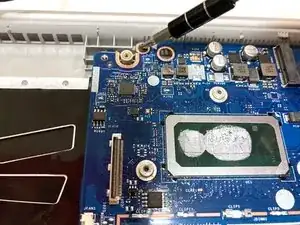
Remove the three 3 mm screws holding the motherboard in place using a Phillips #0 screwdriver.
-
-
-
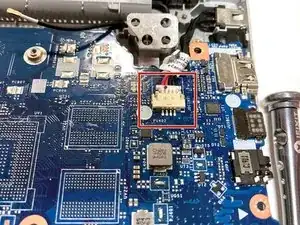
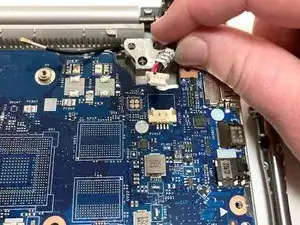
Carefully unplug the black and red wires connected to the upper right corner of the motherboard.
-
-
-
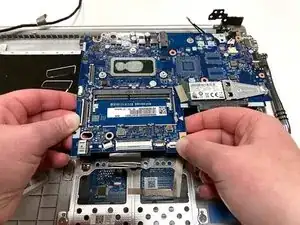
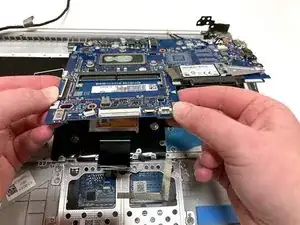
Carefully lift the motherboard from the base of the computer and remove it from the laptop.
-
-
-
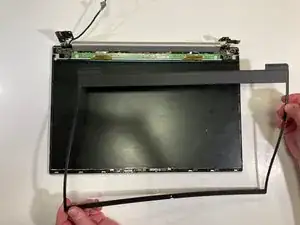
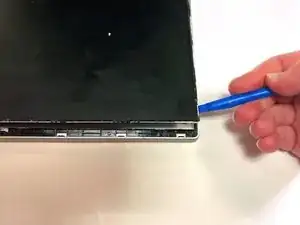
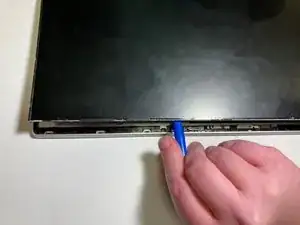
Using an opening tool, carefully pry up and remove the plastic bezel casing surrounding the screen.
-
-
-
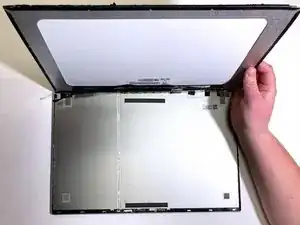
Lift the display up very carefully.
-
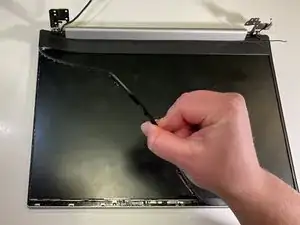
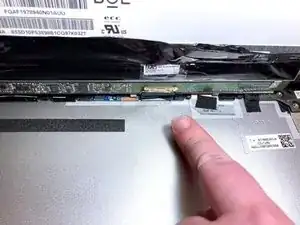
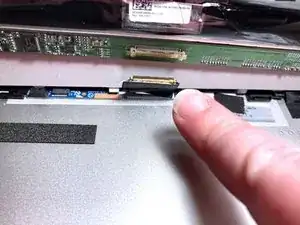
Gently unplug this cable, and then remove the screen from the casing.
-
To reassemble your device, follow these instructions in reverse order.
Ein Kommentar
Hi! thank you! I need to remove the bottom case on this laptop, so after the step 24 I should freely be able to take off the bottom part of the notebook? Thank you
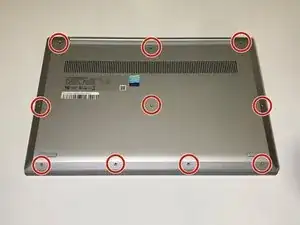
The front center-right screw may be shorter (3.5mm) than the others (6.5mm), and may be captive in the back panel.
Brad Bell -