Einleitung

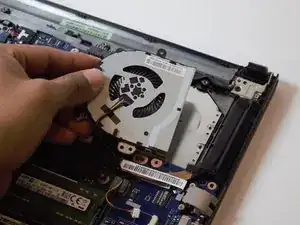
To replace the fan, follow this guide.

  1. kdGPTnTL1PqHRjmB
    kdGPTnTL1PqHRjmB
    4NXoSE426Q3bhsDQ
    wjjiSgjVbaOWlo6W
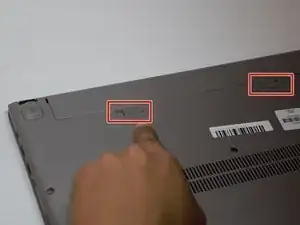
    • Turn your computer over so the back is face up.

    • Use your forefinger to unlock the two tabs located on the back. Slide the tabs until you see the red showing.

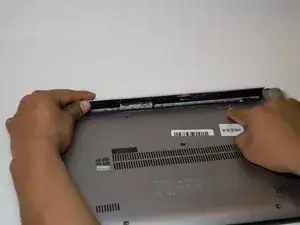
    • The battery cover will then pop up allowing you access to the battery.

  2. ELdHQIEvSyJyZQsX
    ELdHQIEvSyJyZQsX
    IN5abMBHdHVjGwJ6
    QsywtPw5wJFRSlJg
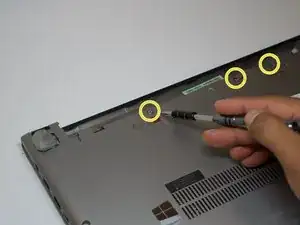
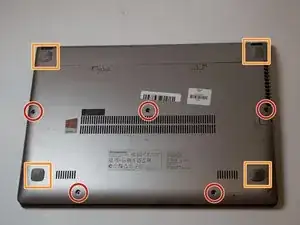
    • Remove the five 6mm Phillips #0 screws from the back panel.

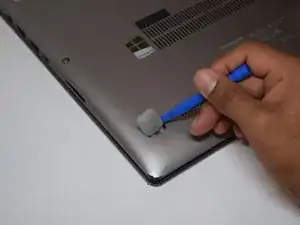
    • Pull back the rubber tabs from the corners of the laptop backing to expose the screws.

    • The two tabs next to the battery flip toward the battery. The two remaining tabs flip down, away from the battery.

    • Remove the four 4mm Phillips #0 screws that are underneath the rubber tabs.

    • Remove the three 6mm Phillips #0 screws from under the battery.

  3. neITxdVFyeMiMtsb
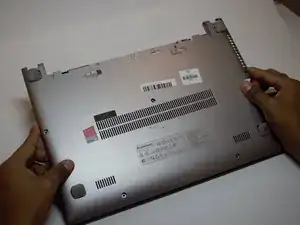
    • Slide the back panel away to remove it.

    • Don't be afraid to apply force when removing the back panel.

  4. MDqMUywXlDuRetdW
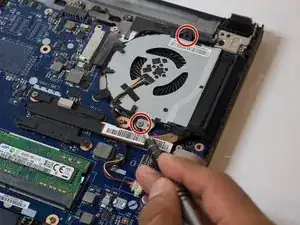
    • Remove the two 5mm Phillips #0 screws holding the fan down.

  5. Z3rps23ArD4GQg6w
    Z3rps23ArD4GQg6w
    32OtX2pJmrJPgyFg
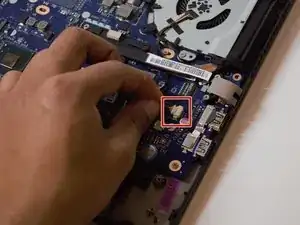
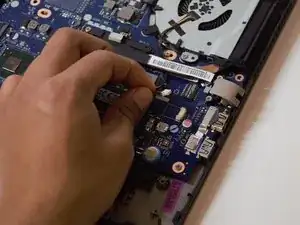
    • Unplug the fan's power supply cord.

  6. FeLyWNaiL42p3lIO
    • Pull the fan out.

Abschluss

To reassemble your device, follow these instructions in reverse order.
Max Hoyle

Mitglied seit: 12/02/19

529 Reputation

0 Kommentare