Einleitung
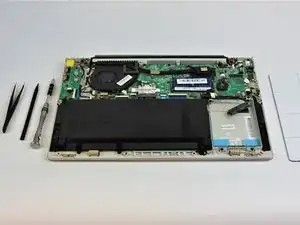
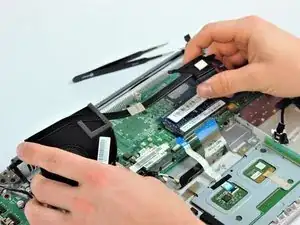
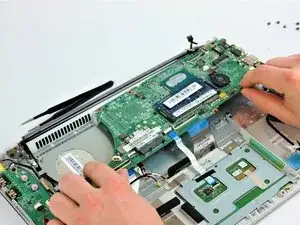
Use this guide to replace a bad motherboard on your Lenovo Ideapad U430 touch.
Werkzeuge
-
-
Power off your computer before you begin.
-
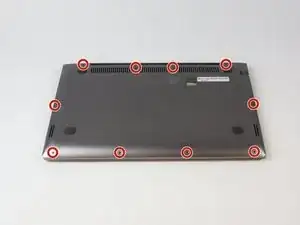
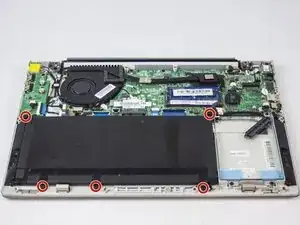
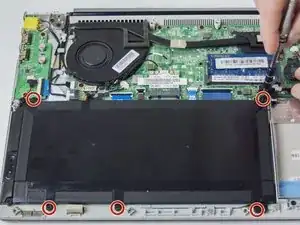
Find and remove the 10 Phillips style body screws on the bottom of the laptop case.
-
-
-
Remove 2 screws, 1 located on the left hinge cover and one located on the right hinge cover.
-
-
-
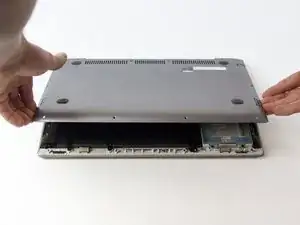
Starting from the front, use a plastic opening tool to separate the bottom of the case from the body of the laptop.
-
-
-
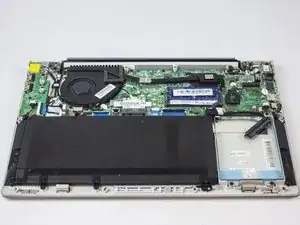
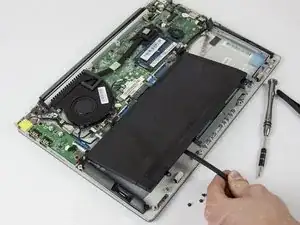
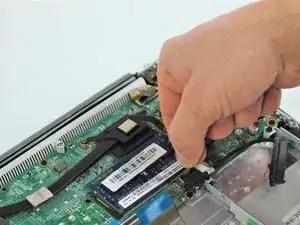
Using a combination of plastic opening tool and spudger, press in on the clips on the sides of the battery connector and push the connector out
-
When you get the connector out far enough, grab behind the connector tabs with tweezers and wiggle the connector the rest of the way out.
-
-
-
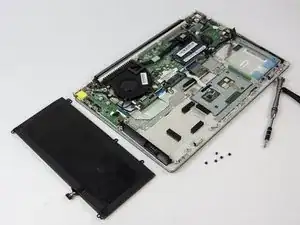
Once the battery is disconnected, lift up on the front of the battery and remove it from the laptop body.
-
-
-
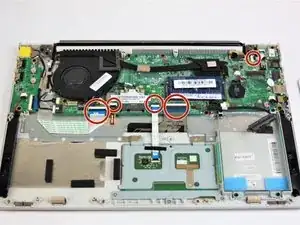
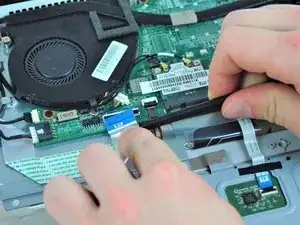
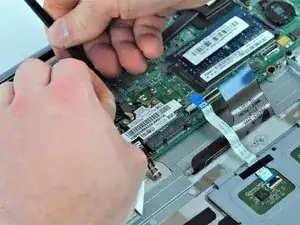
Using a plastic spudger, liift up and remove the hard drive and screen flat-topped connectors
-
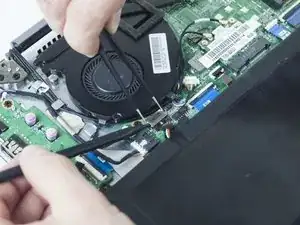
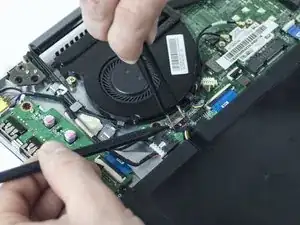
Use the spudger and metal tweezers to remove the two cable connectors and two bundled cable connectors.
-
Use the plastic spudger to lift up and remove the two antenna connectors.
-
-
-
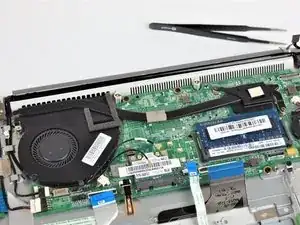
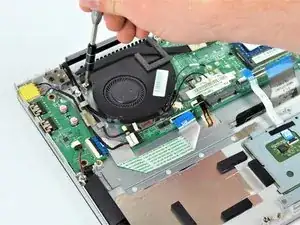
Unscrew the three 3mm #1 Phillips head screws holding down the cooling assembly and fan.
-
Remove the cooling assembly from the motherboard.
-
-
-
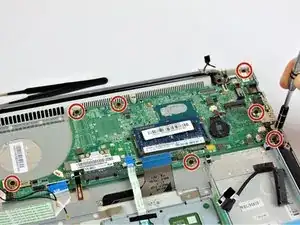
Unscrew all seven 2.8mm #1 Phillips head screws that secure the motherboard to the laptop.
-
To reassemble your device, follow these instructions in reverse order.
