Einleitung

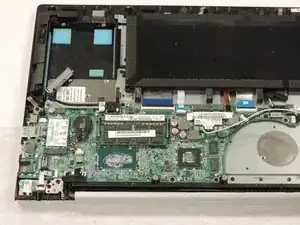
The motherboard is attached to everything in your device, so it is an intensive process to remove it.

  1. TAhYAxunF3VXYJOn
    TAhYAxunF3VXYJOn
    WwoUdroHBBBoXRhv
    VbXTLxBAOXcZrXLM
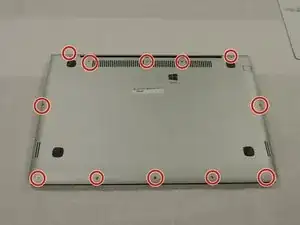
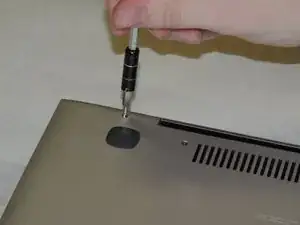
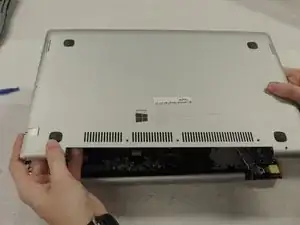
    • Remove all of the screws on the back panel with a Phillips #000 screwdriver.

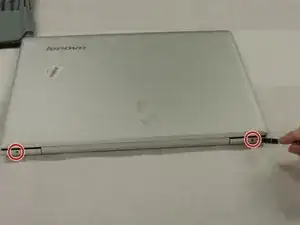
    • Turn over the device and remove the two screws on the outside of the hinges.

  2. RC1WJjnMwjPjQywX
    RC1WJjnMwjPjQywX
    V1vSmFiVdqmuNCHx
    uFNd5EnLce6QBcLs
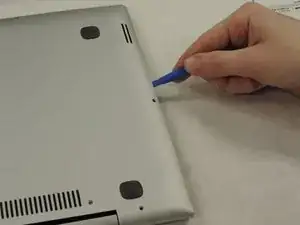
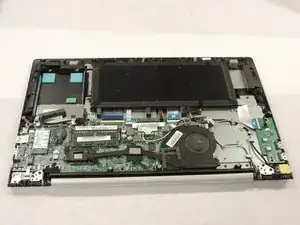
    • Use a pry tool or iFixIt Opening tool to separate the back panel from the device.

  3. dDZNsC2lYDGOfZqF
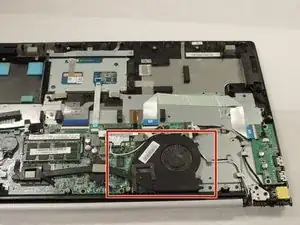
    • Locate the fan and associated parts. It will be in the bottom right of the computer pictured. It is black and has an extension heading off toward the left.

  4. Y1DTy3MgKT3JAdeE
    Y1DTy3MgKT3JAdeE
    4u3DlQWyNWEADv6s
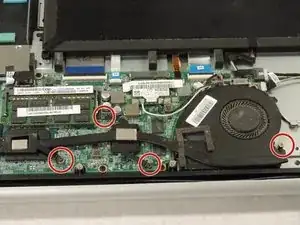
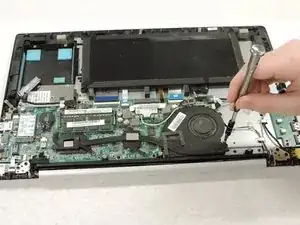
    • Unscrew the fan casing by using a PH1 size screwdriver head.

    • All fan screws are attached to the fan apparatus, so do not attempt to separate them after unscrewing them.

  5. JaVwNVltpEU2yBjd
    JaVwNVltpEU2yBjd
    kbMsXAxxynUhNqUh
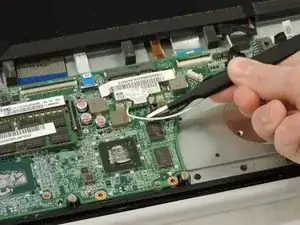
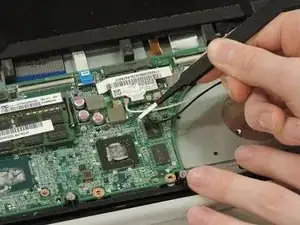
    • Remove the black and white wires connecting the fan to the network adapter.

  6. CxFGTMAioYbeVDVe
    CxFGTMAioYbeVDVe
    16EdLLcMPpIi4WDY
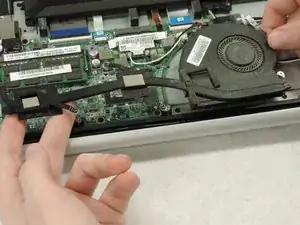
    • Lift the fan straight out of the casing.

Abschluss

To reassemble your device, follow these instructions in reverse order.

Rebekah Harmon

Mitglied seit: 23/01/18

108 Reputation

0 Kommentare