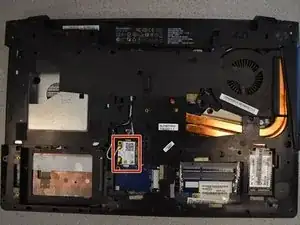
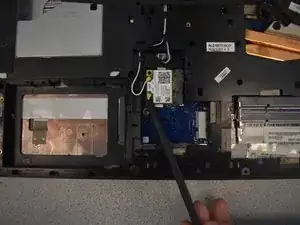
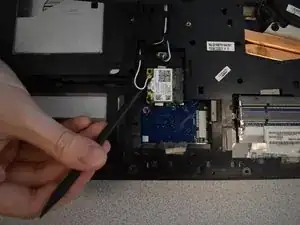
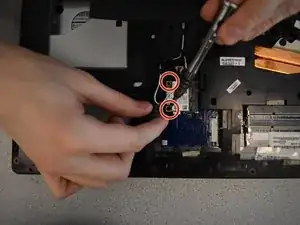
Einleitung
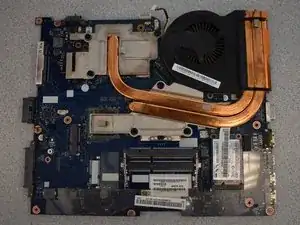
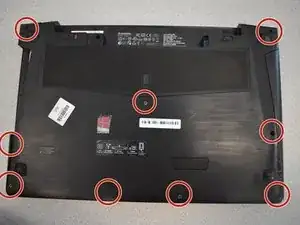
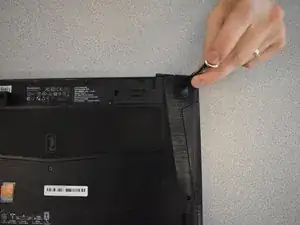
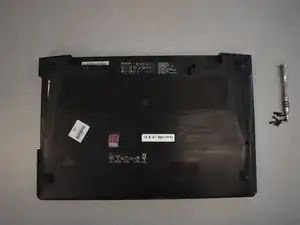
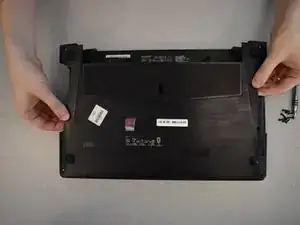
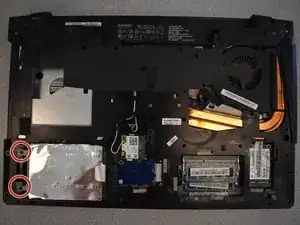
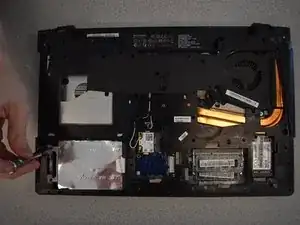
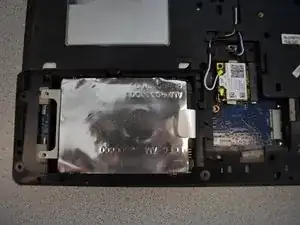
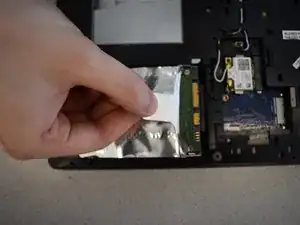
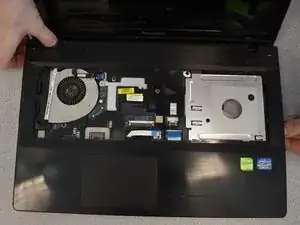
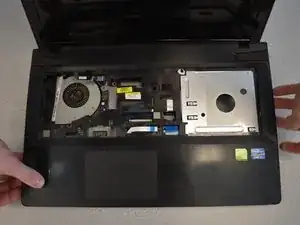
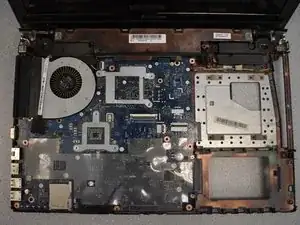
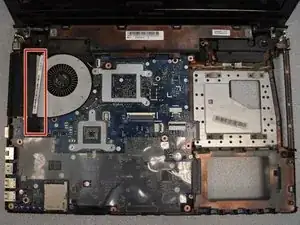
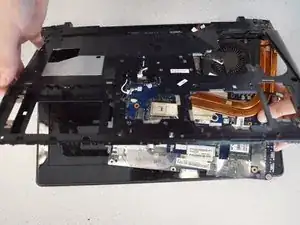
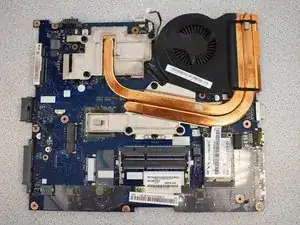
This guide is to be used to remove your motherboard from your IdeaPad Y500.
Werkzeuge
-
-
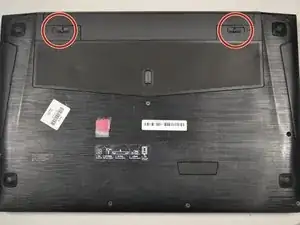
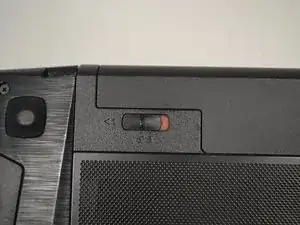
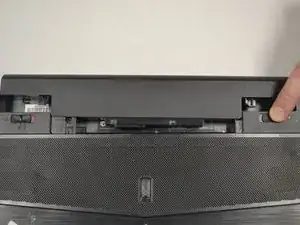
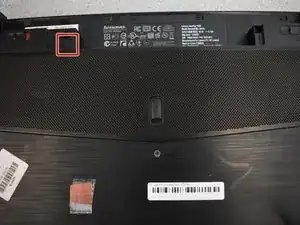
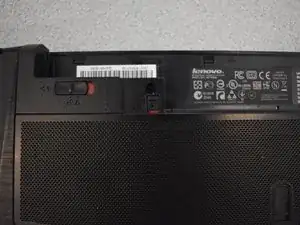
Slide the lock on the right side until you hear a click. Once you hear a click , you should see the color red.
-
-
-
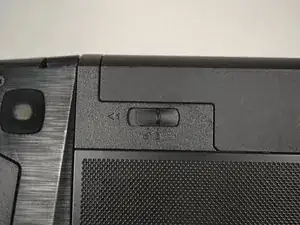
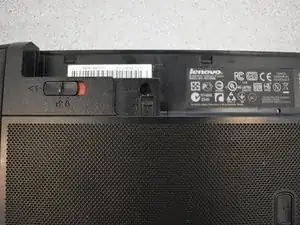
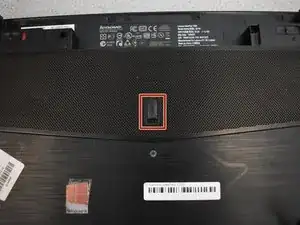
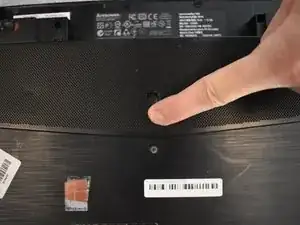
Slide the lock to the left (in the direction of the arrow below the lock) and hold in place.
-
-
-
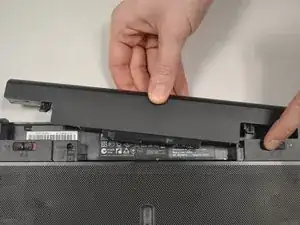
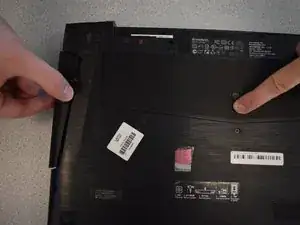
Unlock the battery latch by pulling it up.
-
It should reveal red underneath when it's unlocked.
-
-
-
Pull up on the loosened cover to remove.
-
Remove two screws with a Phillips #1 screwdriver.
-
-
-
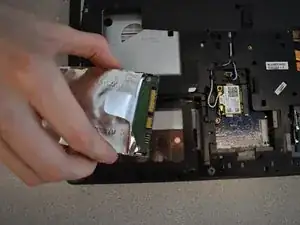
Pull the tab straight to the left until part releases.
-
Lift up the part to remove completely.
-
-
-
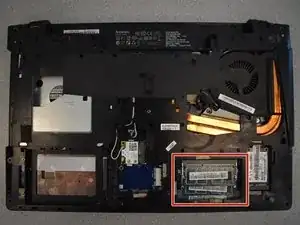
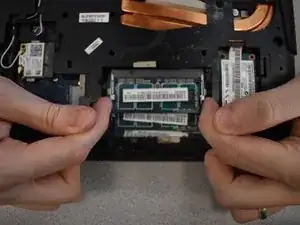
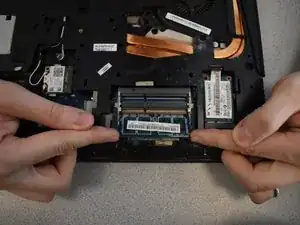
To release the DIMM, pull the tabs on either side away from each other simultaneously.
-
The DIMM will pop out on its own.
-
-
-
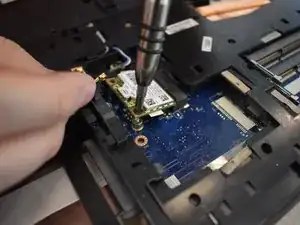
Using a Phillips #1 screwdriver, remove the two screws.
-
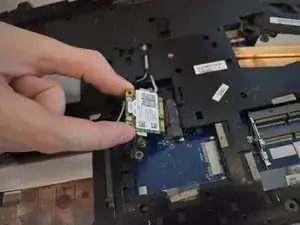
Once screws are out, the card will just pop out.
-
-
-
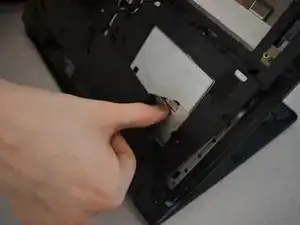
With the laptop upside down, open slightly.
-
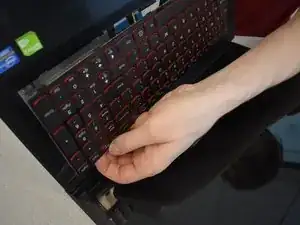
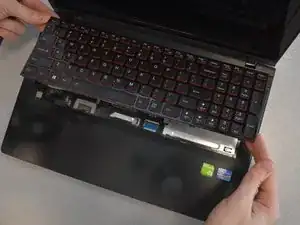
To remove the keyboard, push the back of the keyboard forward with your thumb while pulling away from the laptop on the other side.
-
-
-
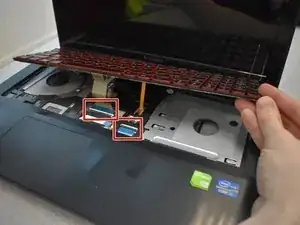
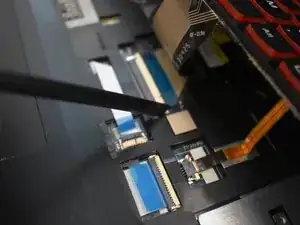
To release the cables, use the spudger to push both ends on the side of the cable.
-
Gently pull the cables up to disconnect.
-
-
-
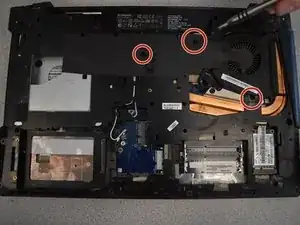
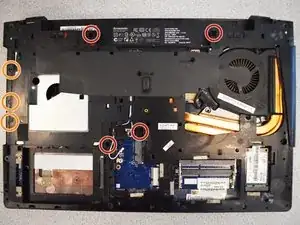
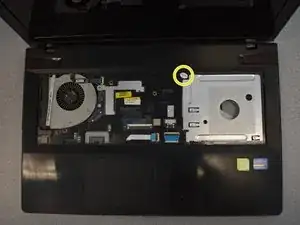
Remove a total of 8 screws.
-
Red circles are m2.5 x 10 mm flathead screws.
-
Orange circles m2 x 3mm flathead screws.
-
Yellow circle is m2.5 x 4mm flathead screw.
-
-
-
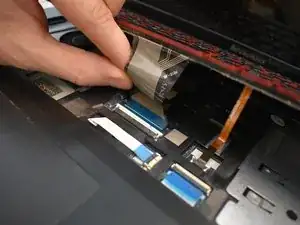
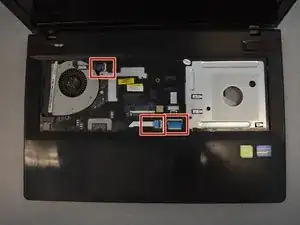
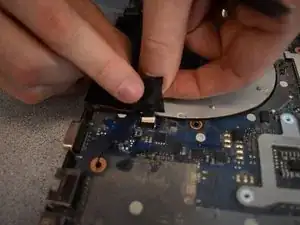
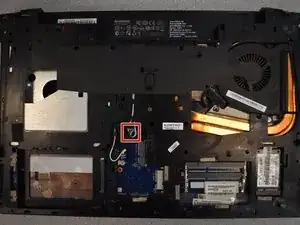
Flip up black tabs at the ends of each cable.
-
With fingers, gently remove the cables underneath from their ports.
-
-
-
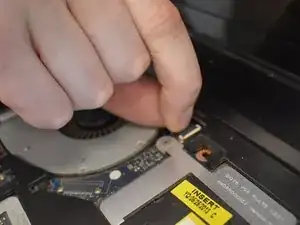
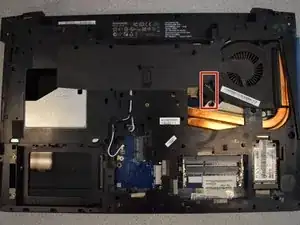
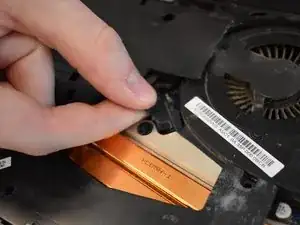
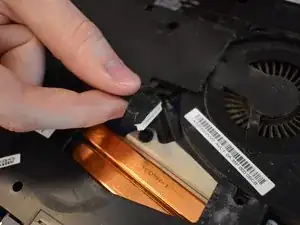
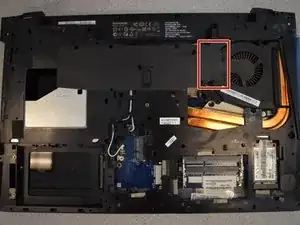
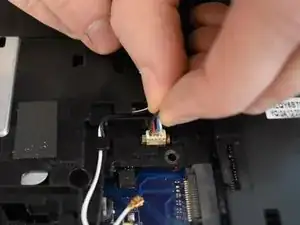
Peel up the black tab and remove the tape completely.
-
Remove the cable revealed underneath while pulling up the tape.
-
-
-
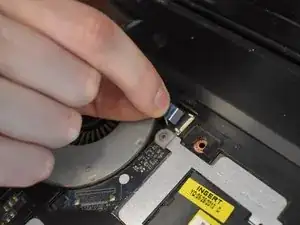
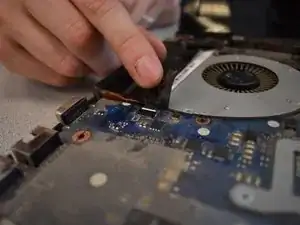
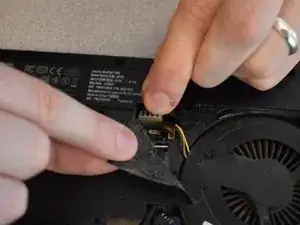
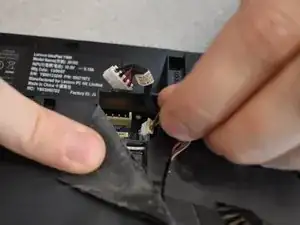
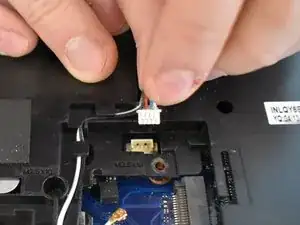
Peel back the black tape.
-
Gently pull out both cables revealed underneath from their sockets.
-
To reassemble your device, follow these instructions in reverse order.
