Einleitung
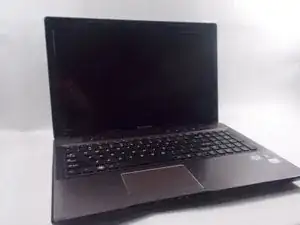
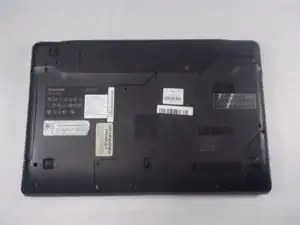
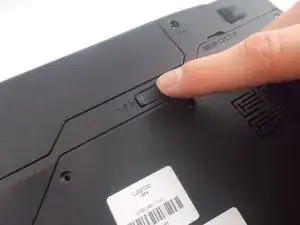
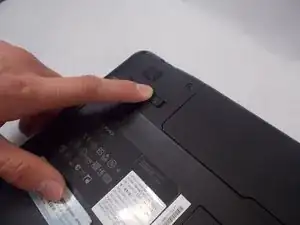
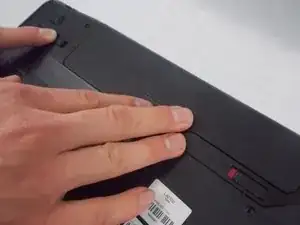
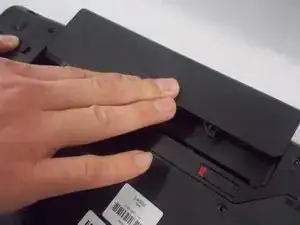
In order to proceed with this guide, you should know that the laptop must not be plugged in for safety reasons. The laptop should also be powered off and the battery drained. Once completed, safely dispose of the old screen.
Werkzeuge
-
-
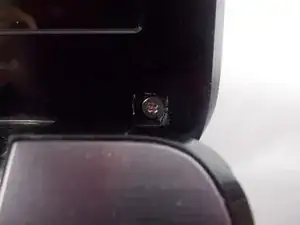
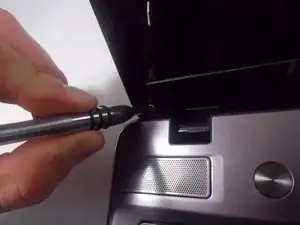
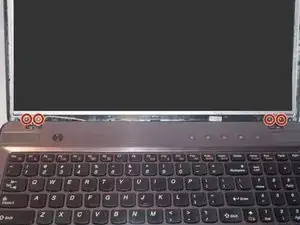
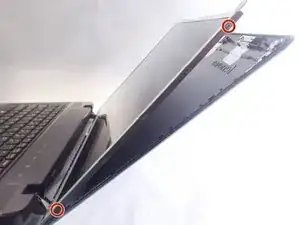
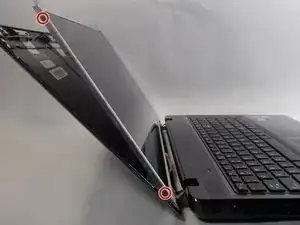
Remove the two rubber square screw covers located in the left and right lower hand corners of the screen.
-
-
-
Unscrew the two 4 mm screws behind the two rubber screw covers using the Phillips #0 screwdriver.
-
-
-
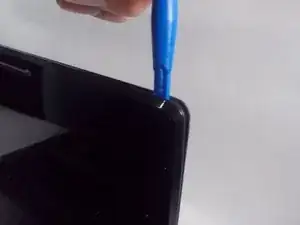
Using the opening tool, pry open the plastic screen border, beginning with the upper right hand corner then working your way around.
-
Pry off the screen cover from the device.
-
-
-
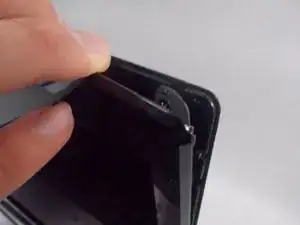
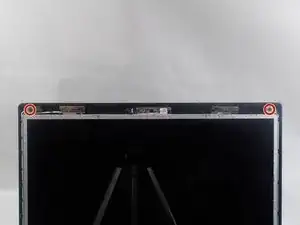
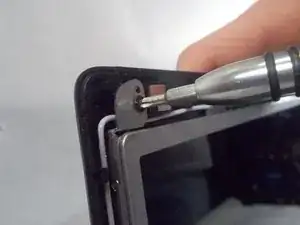
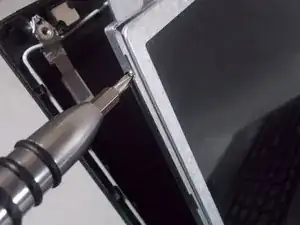
Remove the two 2 mm screws at the top two corners of the screen using the Phillips #0 screwdriver.
-
-
-
Tilt the screen forward gently.
-
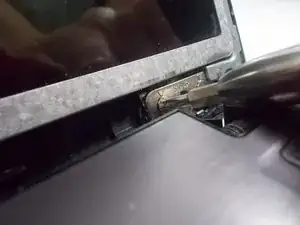
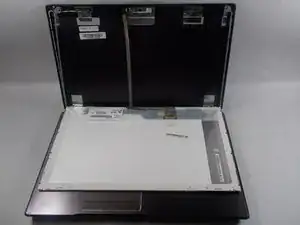
Remove four 3 mm screws on the sides of the brackets holding the screen (two on the left side and two on the right side) using the Phillips #0 screwdriver.
-
-
-
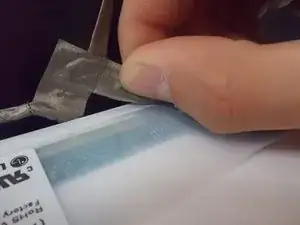
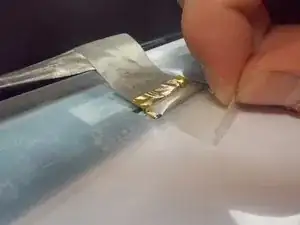
Gently remove the adhesive covering surrounding the wires that’s connected to the back of the screen.
-
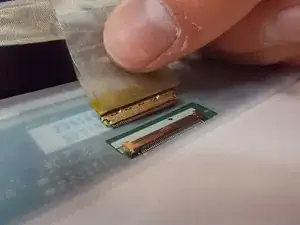
Disconnect the plug from the connection terminal.
-
Remove the screen completely.
-
To reassemble your device, follow these instructions in reverse order.
