Einleitung
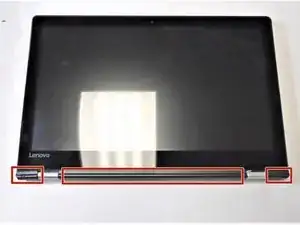
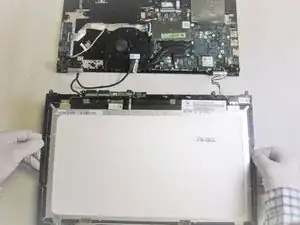
If your Lenovo Ideapad Flex 4-1570 display is cracked, displaying large pixellated areas, or otherwise nonfunctional, then this is the guide for you!
If there is no obvious physical damage, ensure that you've exhausted software troubleshooting before replacing the component.
If your display is badly cracked, covering it with a layer of clear packing tape may allow the suction cup to adhere. Alternatively, very strong tape may be used instead of the suction cup. If all else fails, you can superglue the suction cup to the broken screen.
Power off and unplug your device before beginning.
Werkzeuge
-
-
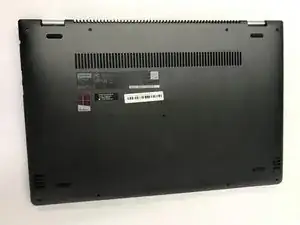
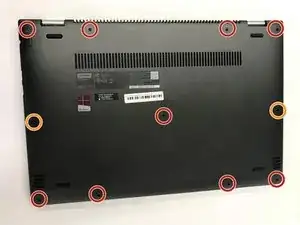
Remove the nine 6 mm screws using a T5 Torx Screwdriver.
-
Remove the two 10 mm screws using a T5 Torx Screwdriver.
-
-
-
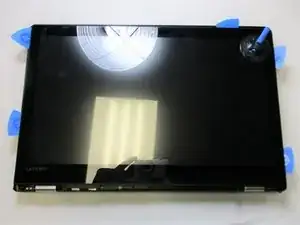
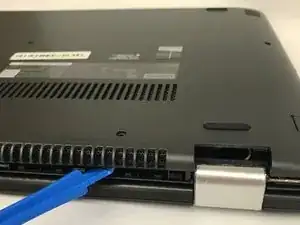
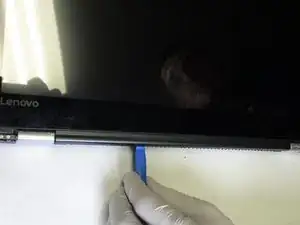
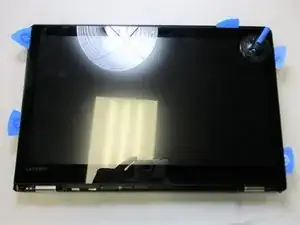
Attach a suction handle to the corner of the display, then wedge the blade of a Jimmy between the display and its housing.
-
While sliding the Jimmy around the perimeter, place opening picks in the gap you created at regular intervals.
-
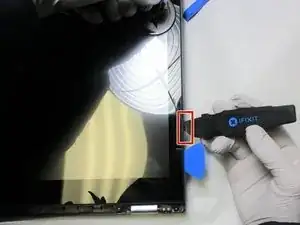
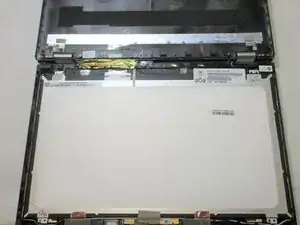
Once you've worked around the perimeter, lightly pull on the suction handle while gently prying with an opening tool until the display releases.
-
-
-
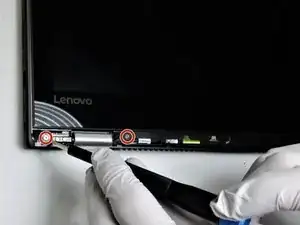
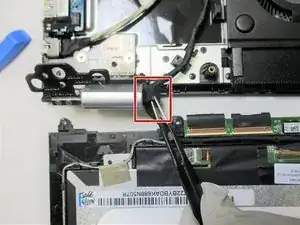
Use a T5 Torx screwdriver to remove the six 4 mm screws (three on each hinge) securing the hinges.
-
-
-
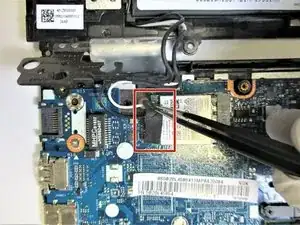
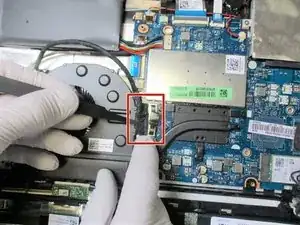
Remove the black foam over the black and white cords, to the left of the Wi-Fi card, using tweezers.
-
To reassemble your device, follow these instructions in reverse order.
