Einleitung

Use this guide to replace the left SSD on your Lenovo IdeaPad gaming 3 15ACH6.

Your laptop might not come with a standoff screw to install an additional SSD. In this case, you'll need to purchase one.

Before you perform this repair, if at all possible, back up your existing SSD. If you are replacing the SSD where your operating system is installed, familiarize yourself with a disk cloning utility so you’ll be ready to migrate your data to the new SSD.

Be sure to completely power off and unplug your laptop. Make sure the laptop is not in standby, sleep, or hibernation mode.

  1. HPhuetqYflX5CeT5
    HPhuetqYflX5CeT5
    rXLCOyP5qywNFGEW
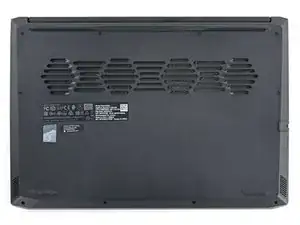
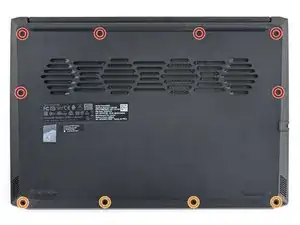
    • Use a Phillips screwdriver to remove the 10 screws securing the lower case:

    • Six 12 mm screws

    • Four 4.5 mm screws

  2. dylbWEGULAWP1TvI
    dylbWEGULAWP1TvI
    bDAUAVD4NvmNoLcp
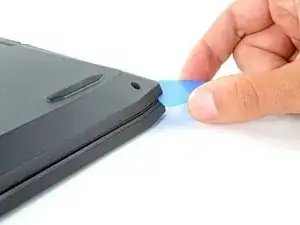
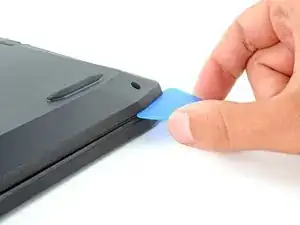
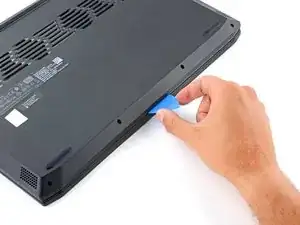
    • Insert an opening pick between the lower case and the chassis on the front right edge.

  3. N6WRCXbxdBc1igll
    N6WRCXbxdBc1igll
    wfFUZOqUNyTNuUmL
    t55IUEGMClDEhZpG
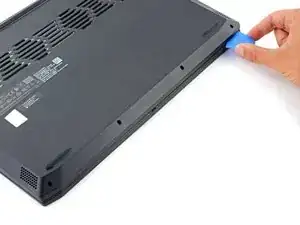
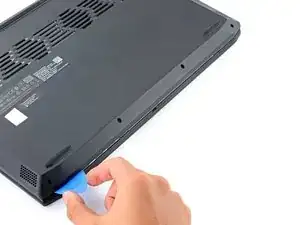
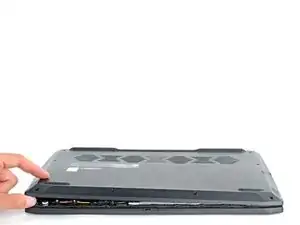
    • Slide the pick along the front edge to release the clips securing the lower case.

    • Continue sliding the opening pick along the left and right edges to release the remaining clips.

  4. aFGUYH6XSscA3rpf
    aFGUYH6XSscA3rpf
    qUNUjcKWs6u63m1V
    cBetHH2deID2UNXl
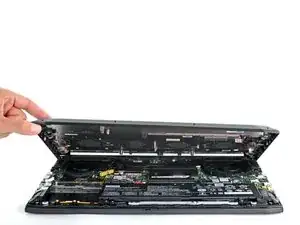
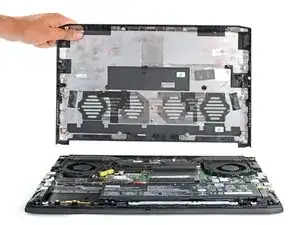
    • Lift the lower case from the chassis and remove it.

    • During reassembly, this is a good point to power on your laptop and test all functions before sealing it up. Be sure to power your laptop back down before you continue working.

    May be important to note that the power button is in the middle top of the keyboard and thus it would be safest to open the lid sideways with the lid partly open on a clean surface as to not drop or touch the pcb/mother board with the work surface.

    The Muse -

  5. BvlLv5VLwbsbfbAf
    BvlLv5VLwbsbfbAf
    CFWPhS4XTQsy2SK6
    6dwh1PKQLUPl4Jrj
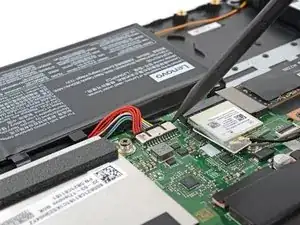
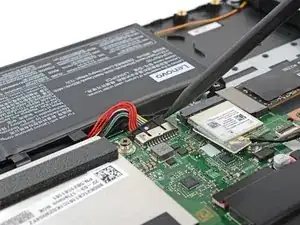
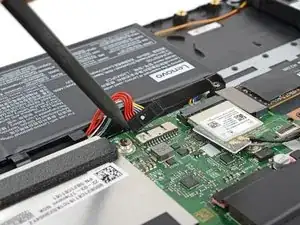
    • Use the pointed end of a spudger to push each side of the battery connector until it comes out of the socket.

  6. sWFhJ6UHIbOpqRr5
    sWFhJ6UHIbOpqRr5
    YsDHbVxa2HCVZCPB
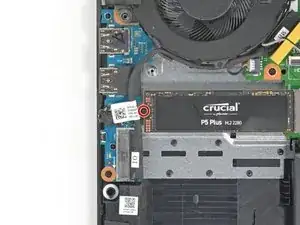
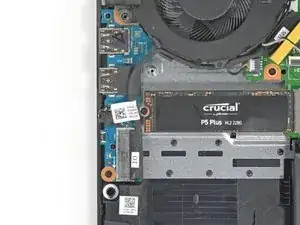
    • Use a Phillips screwdriver to remove the 2.4 mm screw securing the left SSD.

  7. hC1IFoXAtBPWwj6W
    hC1IFoXAtBPWwj6W
    cY3YHmBIDiKBWhUF
    ZZJXI6XBHiMVRjYt
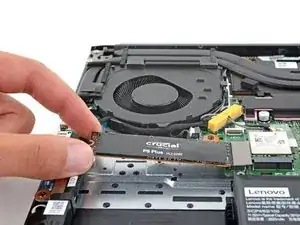
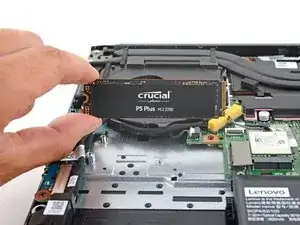
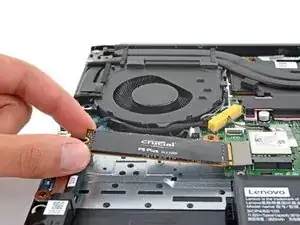
    • Pull the SSD out of its socket and remove it. Keep the SSD as parallel to the motherboard as possible when pulling on it.

    • Do not pull up at a sharp angle, as this could damage the SSD and the socket.

    Mine doesn’t have a stand-off for a second SSD

    Grant Washburn -

Abschluss

To reassemble your device, follow these instructions in reverse order.

Take your e-waste to an R2 or e-Stewards certified recycler.

Repair didn’t go as planned? Try some basic troubleshooting, or ask our Lenovo IdeaPad answers community for help.
Spencer Day

Mitglied seit: 14/09/22

17445 Reputation

0 Kommentare