Einleitung
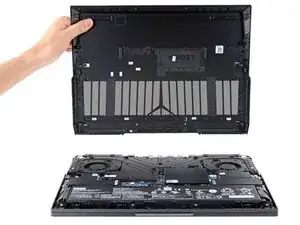
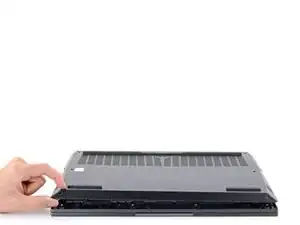
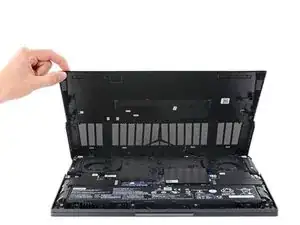
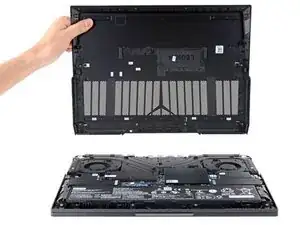
Use this guide to remove or replace the back cover on a Lenovo Legion 5 Pro 16ACH6H laptop.
Before you perform this repair, be sure to completely power off and unplug your laptop. Make sure the laptop is not in standby, sleep, or hibernation mode.
Werkzeuge
-
-
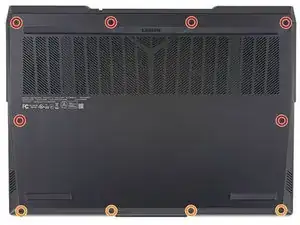
Use a Phillips screwdriver to remove the following ten screws securing the back cover to frame:
-
Six 12.7 mm PH00 screws
-
Four 4.2 mm PH00 screws
-
-
-
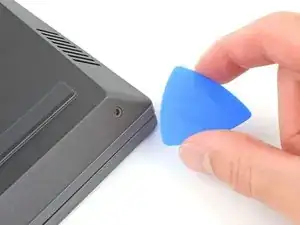
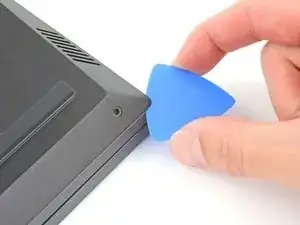
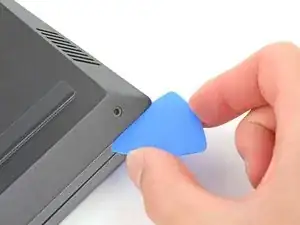
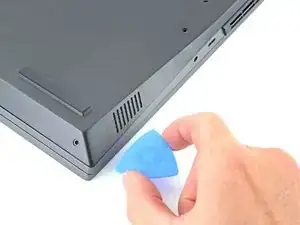
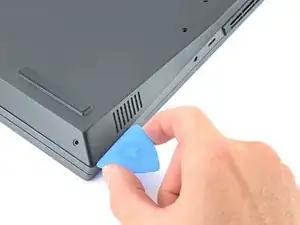
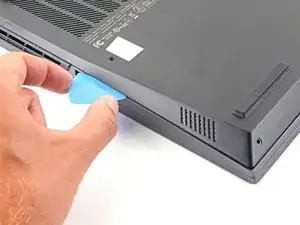
Insert the rounded edge of an opening pick between the back cover and the frame in the lower right corner.
-
-
-
Angle the pick to about 45˚.
-
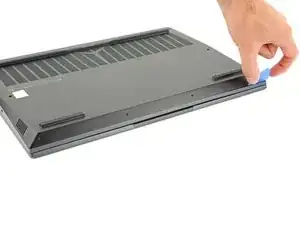
Slide the pick along the front edge to release the clips securing the back cover to the frame.
-
-
-
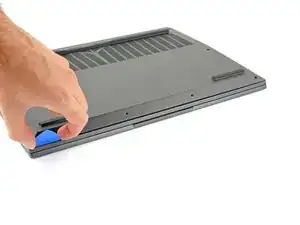
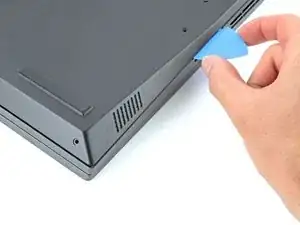
Insert the rounded edge of an opening pick between the back cover and the frame on the right edge.
-
Angle the pick to about 30˚ and slide down the right edge until you reach the plastic vents on the side.
-
-
-
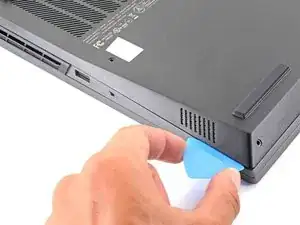
Position the laptop vertically so you can easily access the plastic vents.
-
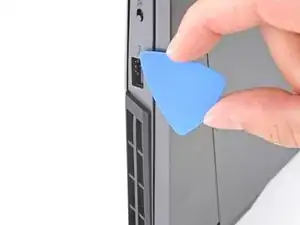
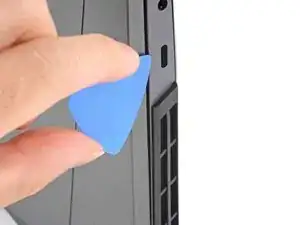
Slide the rounded edge of an opening pick between the frame and the plastic vents on the right side near the USB-A port.
-
Rotate the pick so that it is positioned on top of the plastic vents.
-
-
-
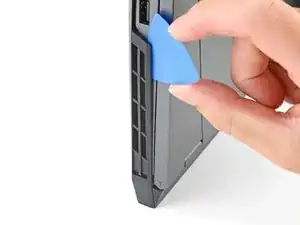
Push the pick between the frame and plastic vents.
-
Slide the pick along the top edge of the plastic vents to release the clips.
-
-
-
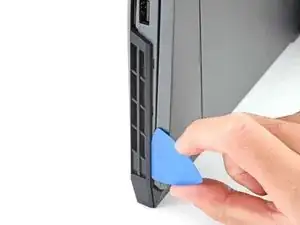
Slide the rounded edge of an opening pick between the frame and the plastic vents on the left side near the USB-C port.
-
Rotate the pick so that it is positioned on top of the plastic vents.
-
-
-
Push the pick between the frame and plastic vents.
-
Slide the pick along the top edge of the plastic vents to release the clips.
-
To reassemble your device, follow these instructions in reverse order.
Take your e-waste to an R2 or e-Stewards certified recycler.
Repair didn’t go as planned? Try some basic troubleshooting, or ask our Lenovo Legion answers community for help.
