Einleitung

This guide explains how to remove the rear facing camera from the Miix 2 for an easy replacement.

  1. 12Hk4GxWiybsEHyD
    12Hk4GxWiybsEHyD
    Gw5FW6nhL6QtTtJA
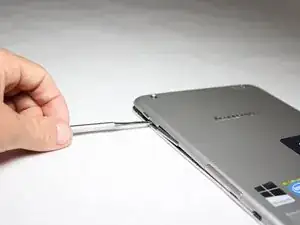
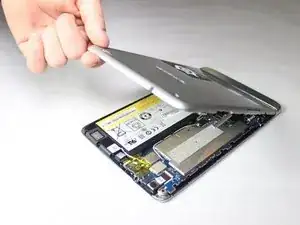
    • Remove the back cover of the tablet by inserting a nylon or metal spudger in the small hole between the screen and rear cover near the volume button. Slide the tool along the edge of the tablet to release the internal clasps.

    • You should have to apply a good amount of force, but pry carefully in order to avoid damaging the clasps or the internals.

  2. Y3jRH4vZ64wPeU5B
    Y3jRH4vZ64wPeU5B
    XRSTVdbMSLOYiTwF
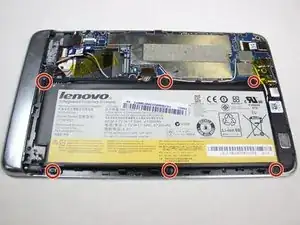
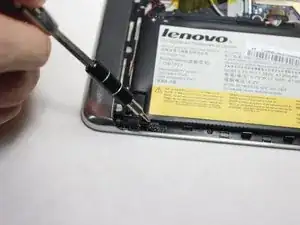
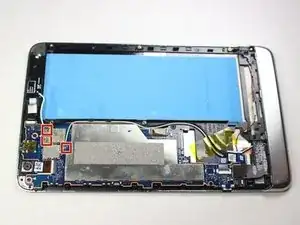
    • Unscrew the six 3mm screws surrounding the battery dock using a Phillips #0 screwdriver.

  3. 6QsV5HaJKYADWB2E
    6QsV5HaJKYADWB2E
    etXteVIrhgwBtcLs
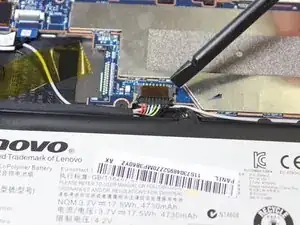
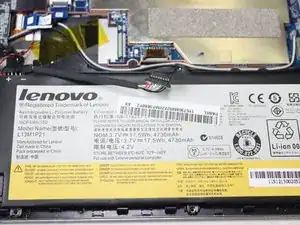
    • Using a plastic spudger, slowly push each side of the battery connector (back and forward a couple of times) out of its socket on the motherboard.

  4. UxjbpUHqRQLhKX12
    UxjbpUHqRQLhKX12
    LwZlE6OkmF6jZdDM
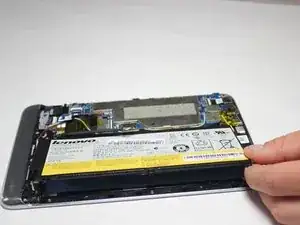
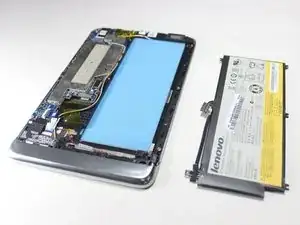
    • Remove the battery by prying up with your fingers or a plastic opening tool.

  5. PJZZWENKfdvTfPZh
    PJZZWENKfdvTfPZh
    m21JXy1IjCnHH2AT
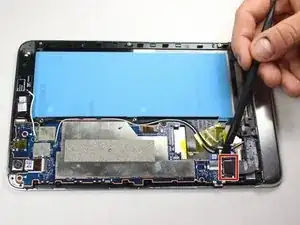
    • Locate the LCD cable connector and gently pry it directly up with a spudger.

  6. cLUfMuDV3BVLqCFD
    cLUfMuDV3BVLqCFD
    FlKWU3yO2ikBdNvf
    MYXIjDulAUnqwmWh
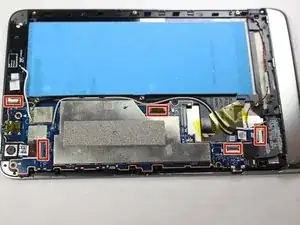
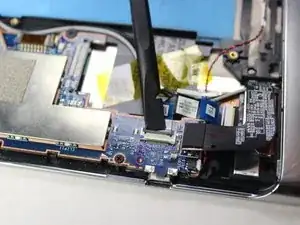
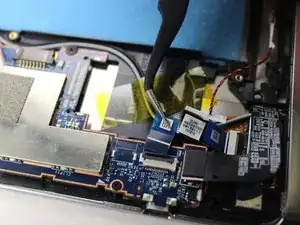
    • Remove the 5 ribbon cables. use the tip of the spudger to flip up the retaining flap, making sure to lift on the hinge and not the connector itself, then remove the cable from the connector.

    • The flaps and connectors vary in color.

    • Once the hinge has been lifted, the ribbon cable should take no force to remove.

    I would recommend putting some double sided padded tape above the connector labeled MB once you get the connector back on - that's the infamous touchscreen cable that comes loose once in awhile. This will effectively wedge the cable in place and keep it from falling out.

    Kevin Kwan -

  7. HiLnpqp1Egylvupg
    HiLnpqp1Egylvupg
    amc2EpoYR2tbpjlc
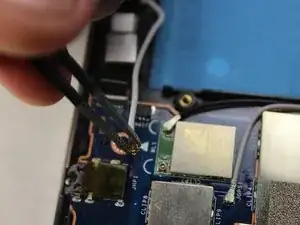
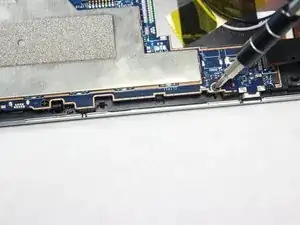
    • Remove the 3 antenna cables using the tweezers by slowly pulling up.

    • We found that pulling up and twisting a bit works best.

  8. k3GvACKIVPZqcJCG
    k3GvACKIVPZqcJCG
    NfUVAVsWPgxgCCfu
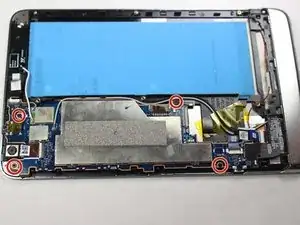
    • Remove the 4 1.6mm screws with a J0 head.

  9. VWvCUQLFWBFi1Bq6
    VWvCUQLFWBFi1Bq6
    2GnLivwyjCPmtUtb
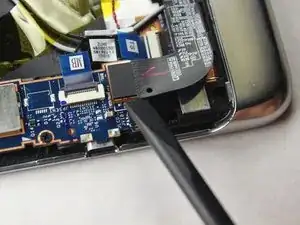
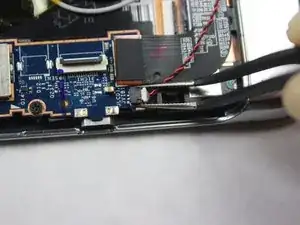
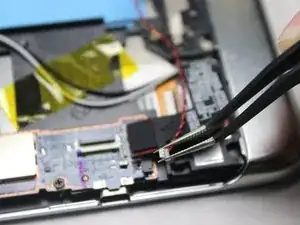
    • Remove the red and black cable using the tweezers by gently pulling the connector to the right.

  10. kpXxXHdRlPPLwpWt
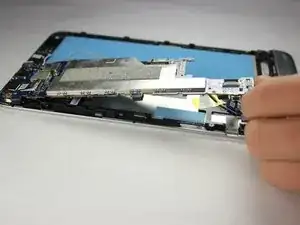
    • Lift the motherboard out of the tablet's case.

  11. GkHIAmILE6X2wBml
    GkHIAmILE6X2wBml
    tGYtnosWKPUcaRvP
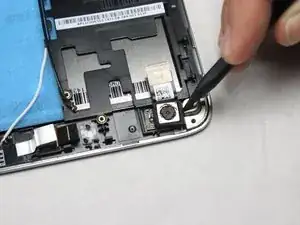
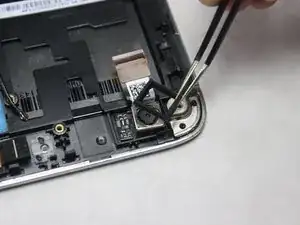
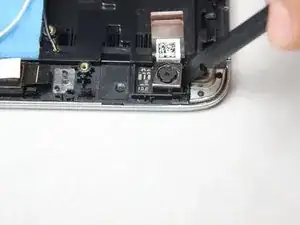
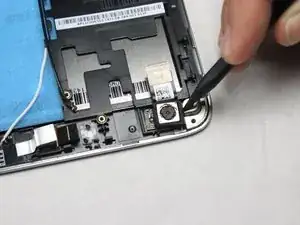
    • Free the rubber housing around the camera by gently prying up with the spudger.

    • Remove the rubber housing from the camera with tweezers.

  12. Sj1ZFVDMmUUulk2k
    Sj1ZFVDMmUUulk2k
    4RSUKkMRhyxaYKmM
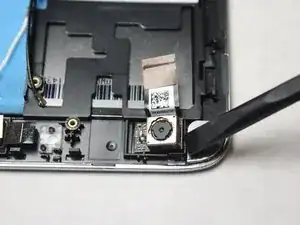
    • Remove the camera by carefully prying it out with the spudger.

Abschluss

To reassemble your device, follow these instructions in reverse order.
Diana Chiu

Mitglied seit: 15/07/14

654 Reputation

0 Kommentare