Einleitung
This guide outlines how to pry off the screen casing and unscrew the LCD screen. The screen may need to be replaced if it is cracked, or fails to display an image. The screen must be removed to access the display connector if it is loose or detached.
Werkzeuge
Ersatzteile
-
-
Flip the Chromebook so that the bottom is facing up.
-
Use a Phillips #1 screwdriver to remove the six 6.6 mm screws on the bottom.
-
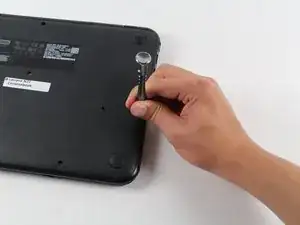
Use a spudger to remove each of the 4 rubber feet.
-
Use a Phillips #1 screwdriver to remove the four additional screws under the rubber feet.
-
-
-
Flip the Chromebook back over and open the screen.
-
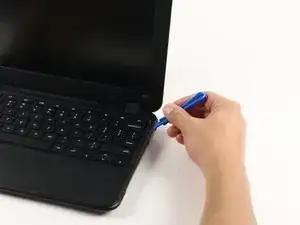
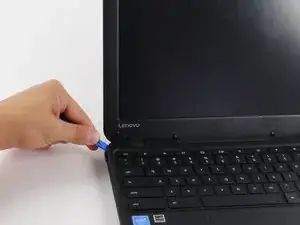
Wedge the plastic opening tool between the keyboard and the bottom of the Chromebook.
-
Run the plastic opening tool along the seam between the keyboard and the bottom of the Chromebook until the keyboard moves freely. Several tabs will pop out.
-
-
-
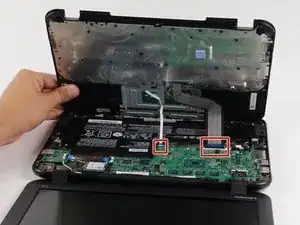
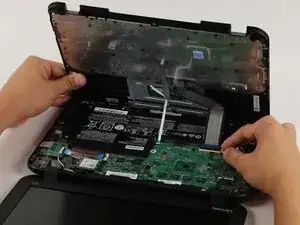
Once the keyboard is released, grab the two top corners closest to the screen and slowly lift the keyboard up.
-
Disconnect the cables by lifting up the retaining flaps on the black ZIF connectors.
-
Slowly pull the cables up and out of the connectors.
-
-
-
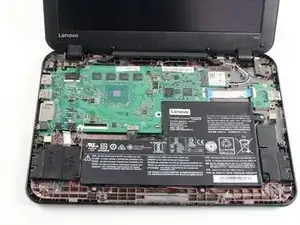
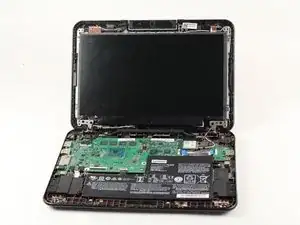
Open the Chromebook all the way so that the top and bottom both lay flat on the table.
-
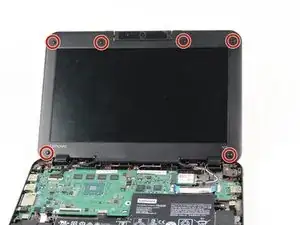
Use the flat end of the spudger to remove the six black raised rubber circles on the front of the screen. This reveals the screws.
-
-
-
Use a Phillips #1 screwdriver to remove the six 4mm screws. Rotate the screws to the left with the screwdriver.
-
-
-
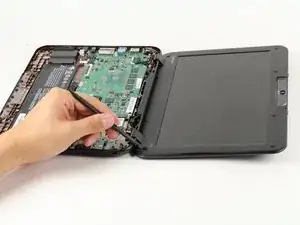
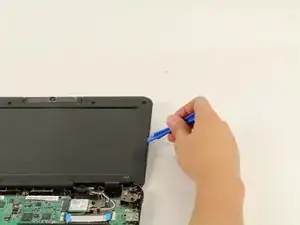
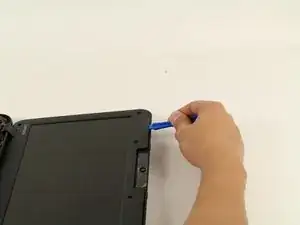
Place the plastic opening tool in the seam between the outer casing and the screen.
-
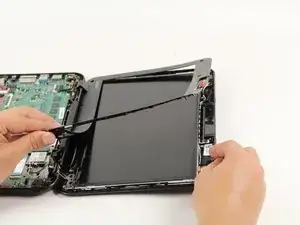
Run the plastic opening tool along the seam to disconnect the tabs attaching the panel to the outer casing until the panel moves freely.
-
-
-
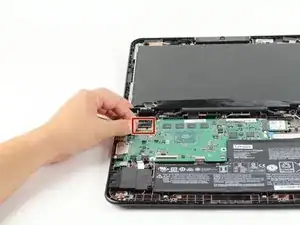
Disconnect the cable that connects the screen to the motherboard by flipping up the small black retaining flap on the ZIF connector.
-
Carefully pull the cable up towards the screen.
-
-
-
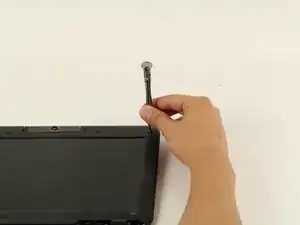
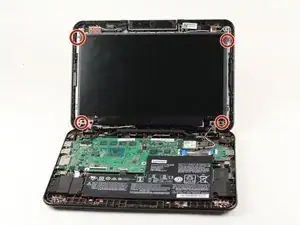
Use a Phillips #1 screwdriver to remove the four 2.8 mm screws at each corner of the screen. Turn the screwdriver to the left to remove the screws.
-
-
-
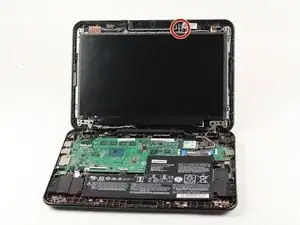
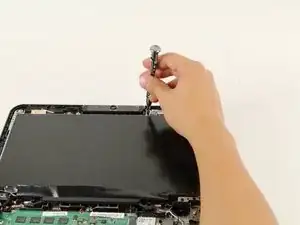
Use a Phillips #1 screwdriver to remove the two 2.8 mm screws to the right of the camera. Turn the screwdriver to the left to remove the screws.
-
-
-
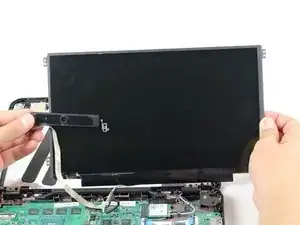
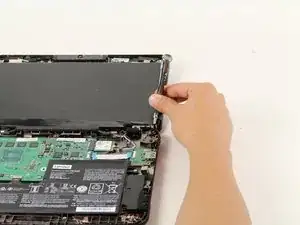
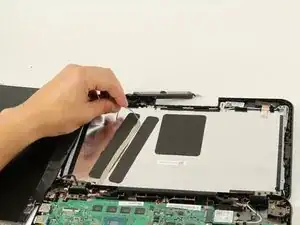
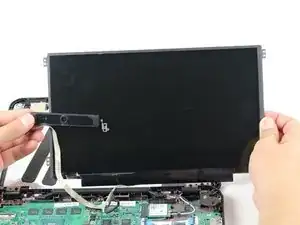
Slowly peel back the camera adhesive cable from the metal panel to fully remove the screen and camera.
-
To reassemble your device, follow these instructions in reverse order.

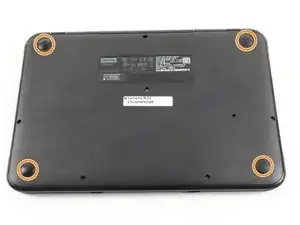


There is also a screw under each of the 4 rubber feet that must be removed.
Aaron Kurtz -
Thank you for that little bit of important information. I almost torn apart the keyboard using too much force :)
Anthony Hillier -
@Aaron Kurtz, I just updated the guide. I’ll see if I can add any pictures later.
John Gillen -
I feel like i’m doing something wrong. It’s hard to get the new keyboard pushed in. Im afraid i’m going to break it.
Jenna Bowman -
I feel like I am doing something wrong. I got the keyboard off no problem. Put the replacement on and I feel like it’s going to break when I try to push it back in the frame.
Jenna Bowman -
You should update the guide. As Aaron Kurtz told long time ago there are screews under the feet. It is said in the comments, but not in the guide. I’m afraid somebody may break the keyboard…
Andreu Rigo Gost -