Einleitung
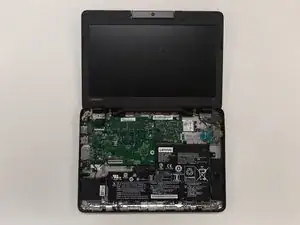
If your Lenovo N23 Chromebook isn’t turning on, or will only turn on when plugged in, follow this guide to replace the battery.
The computer battery powers the device while unplugged from the charger. A faulty battery will not be able to power the laptop properly.
Before using this guide, charge the laptop for about an hour to make sure that it is indeed a faulty battery. If it still does not boot up, that indicates that there is a problem with the power delivery. Sometimes, as a devices battery ages it may become unusable and need to be replaced.
No special skills are required to follow this guide.
Before starting this guide, make sure that the laptop is powered off and completely unplugged from the charger. Wait at least 10 minutes before working on the laptop, as capacitors may carry a charge still for a while after powering off. It is recommended to wear an anti-static wristband, as the components are sensitive to static charge.
If you find when following this guide that your battery is swollen, stop immediately and follow the protocol in the following iFixit guide:
Werkzeuge
Ersatzteile
-
-
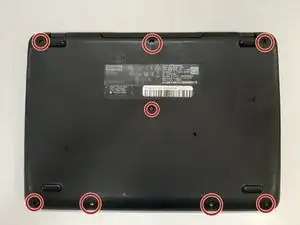
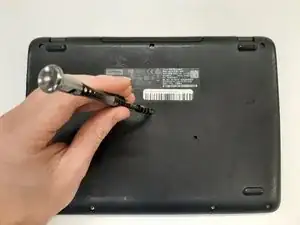
Remove the eight 6.0 mm screws holding the back into place using a Phillips #0 screwdriver.
-
-
-
Flip the device over.
-
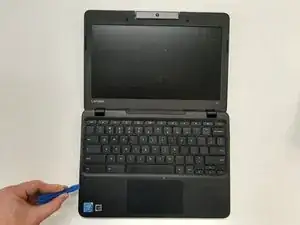
Slide a plastic opening tool between the back cover and keyboard.
-
Carefully pry upwards until you hear a click.
-
Following the seam, slide the opening tool all the way around the front cover, prying upwards occasionally until the keyboard and trackpad are loose from the back cover.
-
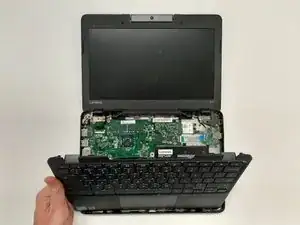
Lift the keyboard panel up to reveal the internals.
-
-
-
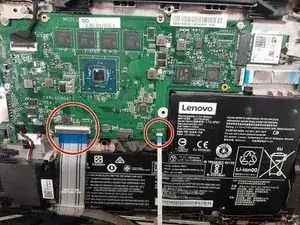
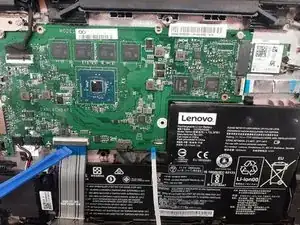
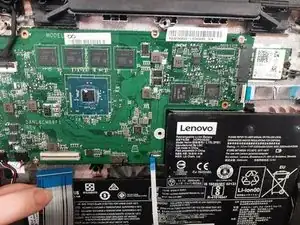
Disconnect the two ribbon cables that connect from the motherboard to the front cover.
-
Using the iFixit opening tool, flip up the black tab holding keyboard ribbon cable and then pull the cable out.
-
Using the opening tool, flip the white tab holding the mouse ribbon cable and then pull the cable out.
-
-
-
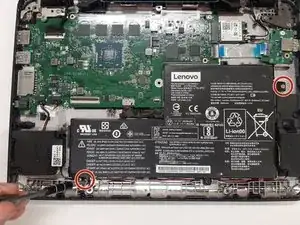
Using the Phillips #0 screwdriver, remove the two 3 mm screws holding the battery in place.
-
-
-
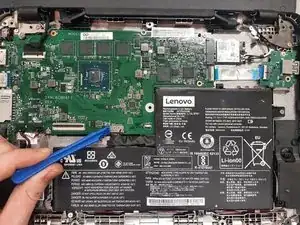
Disconnect the battery cable using a plastic opening tool by pulling on the black plastic lip.
-
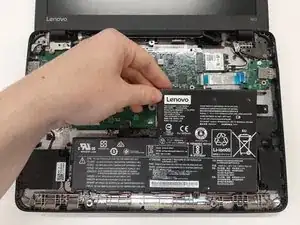
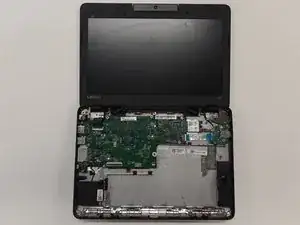
Lift the battery out of the laptop.
-
To reassemble your device, follow these instructions in reverse order.
Ein Kommentar
What happens, say the thing is barely alive and partially destroyed, if the battery is bent? i want save as many parts as posible
