Einleitung
Es ist mühsam die Scheibe beim Lenovo Tab 2 A10-70 zu entfernen. Wenn du allerdings den Kleber entfernen kannst, ist es zu schaffen. Gib nicht auf.
Werkzeuge
-
-
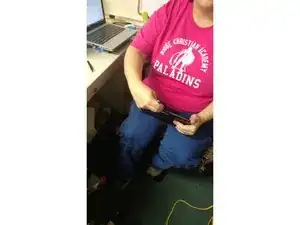
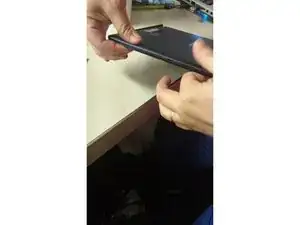
Zuerst muss die Rückabdeckung entfernt werden. Das ist ganz einfach. Mit starken Fingernägeln oder dem Spudger an der Seite einhaken und nach hinten wegziehen.
-
-
-
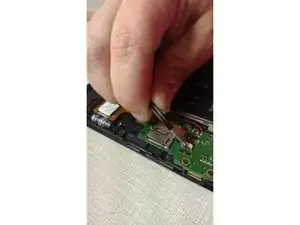
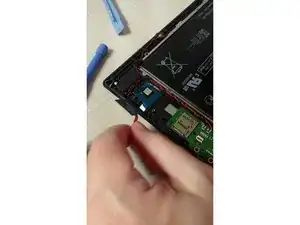
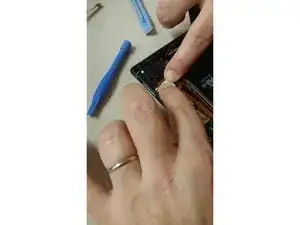
Mit dem Fingernagel oder einer kleinen Pinzette das Touch Screen Kabel des alten Displays lösen.
-
-
-
ACHTUNG: Das Glas splittert sehr leicht! Unbedingt vorsichtig und nicht mit roher Gewalt arbeiten.
-
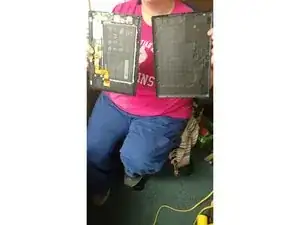
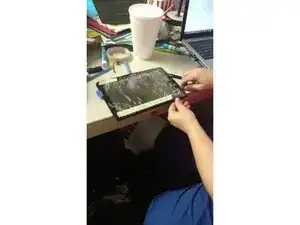
Das Glas ist mit sehr starkem Kleber am Rahmen und am Display befestigt.
-
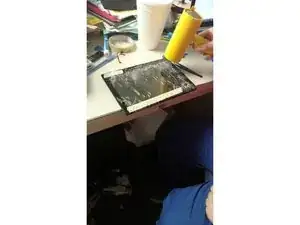
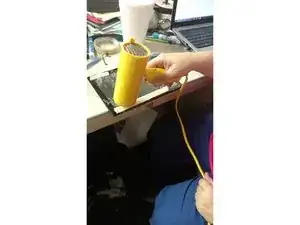
Ein Haushaltsfön, ein Heißluftgebläse (oder iOpener) erwärmt den alten Kleberand an den Seiten des Displays. Beginne in einer Ecke und führe einen Spudger in den Spalt ein.
-
Mit dem Werkzeug nicht zu weit nach innen arbeiten, um das LCD nicht zu beschädigen !
-
-
-
Reinige die Kanten
-
Mit einem scharfen Messer, Skalpell kannst du die restlichen Klebereste entfernen.
-
-
-
Das Kabel des neuen Glases vorsichtig durch die Öffnung im Gehäuse einführen.
-
Drehe das Gehäuse um und verbinde das neue Digitizerkabel.
-
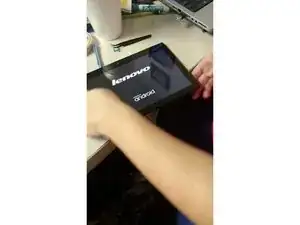
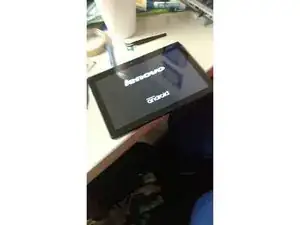
Vorm Zusammenbau einen Testlauf durchführen, um zu prüfen, ob alles funktioniert.
-
-
-
Mein Bildschirm enthielt den Kleber bereits, aber im Netz kann man 3M Tape bestellen. Das eignet sich super als neuer Kleberand.
-
Das neue Display vorsichtig an die richtige Stelle setzen.
-
Rückabdeckung wieder anbringen.
-
-
-
Überprüfe deine Arbeit und sei stolz, dass du alles allein geschafft hast. Nicht ganz einfach, aber du hast es geschafft ;)
-
Um dein Gerät wieder zusammenzusetzen, folge den Schritten in umgekehrter Reihenfolge.
9 Kommentare
Hi Amber,
Thank you for the guide.
How's the replacement screen quality? Can I know where you bought the screen from? I need to replace my screen. Thinking of buying it from the same supplier. Would want a screen with adhesive too.
Thanks
Richard.
I don't quite know but it looks like a regular bootleg one
I just completed this, using a proper heat Gun it took about 10 minutes.
Ebay screen, oem tagged, apparently no adhesive on it.
I love the guide and you have encouraged me to try to replace my screen. Where did you order the replacement screen and did you order just the new glass?
Thanks,
Jack
A good starting point could be the charging port.
lassedollerup -