Einleitung
The motherboard controls all of the processes of the device and if it is faulty must be replaced otherwise the device will not operate.
Werkzeuge
-
-
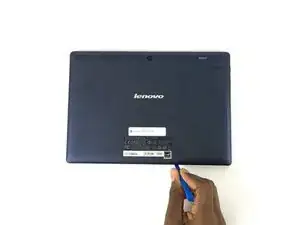
Use a plastic opening tool to pry open the back cover of the tablet.
-
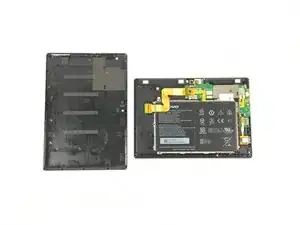
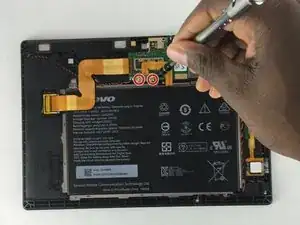
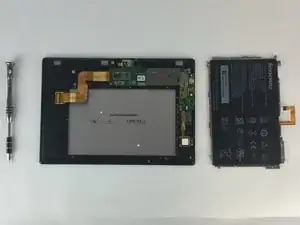
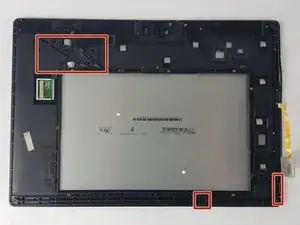
The second picture shows the tablet with the back removed.
-
-
-
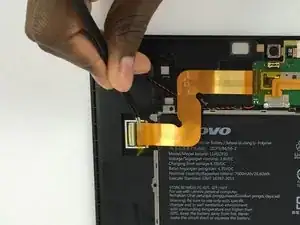
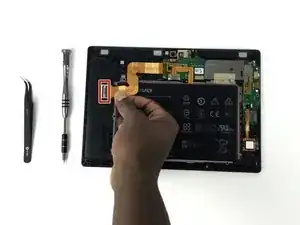
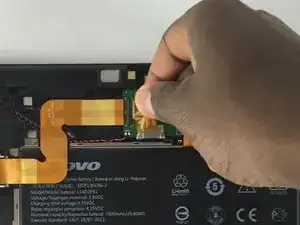
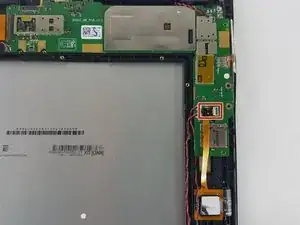
Remove the tape that secures the ribbon cable.
-
Use precision tweezers if the tape cannot be removed by hand.
-
-
-
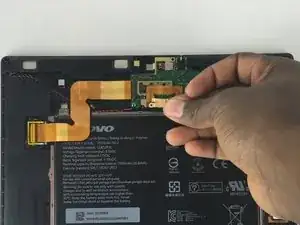
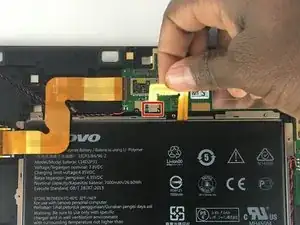
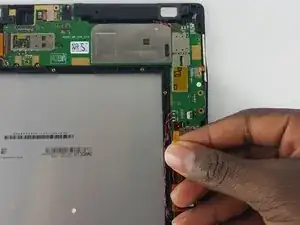
Carefully remove the ribbon cable from the power button connector.
-
To remove the cable, push the clamp on the connector up and pull gently.
-
-
-
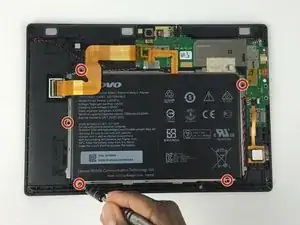
Remove the following screws securing the metal frame holding the battery.
-
Five 2 mm Philips screws.
-
-
-
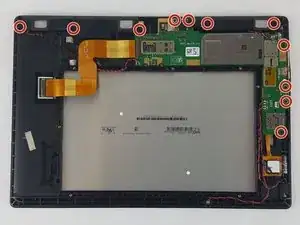
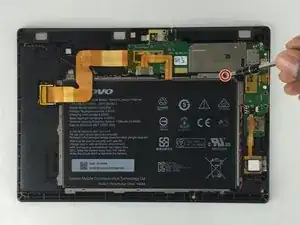
Remove the following screws using the Phillips #000 screwdriver.
-
Eleven 4 mm screws in total.
-
-
-
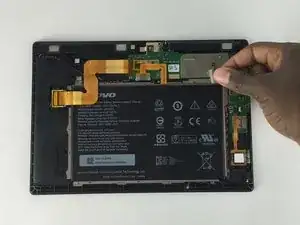
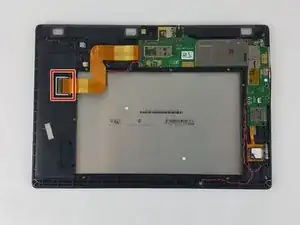
Remove the larger strip on the upper-left on the device by lifting up the clip that holds it in place and gently remove it.
-
-
-
The wire connected to the motherboard can be removed by lifting them from their shown slots.
-
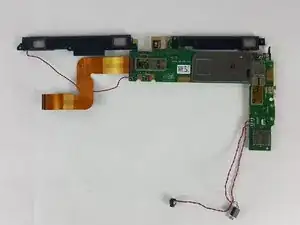
You have now removed the motherboard .
-
To reassemble your device, follow these instructions in reverse order.
5 Kommentare
My daughter's tablet is jumping flashing glitching and showing vertical lines it just started happening out of the blue what can I do to fix it.
Is anybody knows what that black tape thing in the video?
https://youtu.be/etxKSTK3Gno?t=8m19s
Thank you!
voneout -
That’s probably, the wifi antenna/booster….
voneout -
Io volevo comprare una scheda madre Lenovo Tab 2 a 10 - 70 l grazie
fatmax55 -
Removing the cover was a struggle (for me, a newbie). Took 10 minutes+. I don’t have a plastic tool and the small screwdriver left marks. But a non-functioning tablet has zero value so …
Frank Harvey -