Einleitung
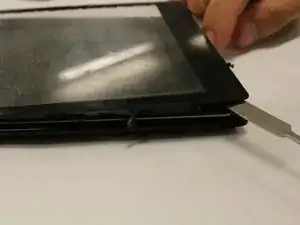
Without a heat gun this job is vastly more delicate of a procedure than with a heat gun to loosen the adhesive the attaches the screen to the case.
Werkzeuge
-
-
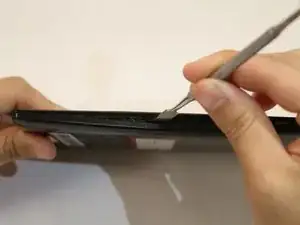
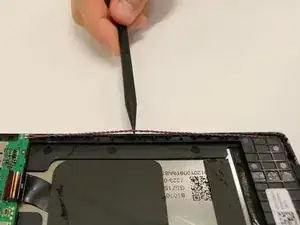
Starting at any point along the seam of the case carefully pry it open with the metal spudger, slowly working your way around the outside until the case can come apart.
-
-
-
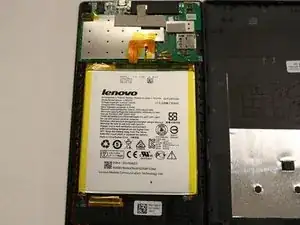
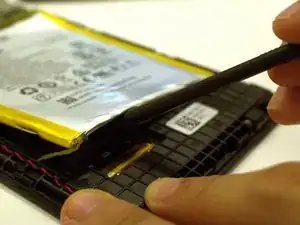
Use the spudger tool to loosen the bond of the adhesive from the double sided tape.
-
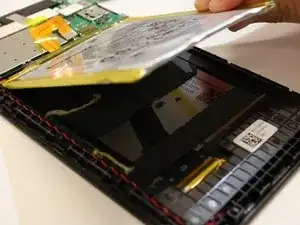
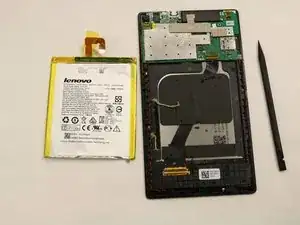
Separate the battery from the case.
-
-
-
Use a plastic opening tool or a tweezer to remove any tape.
-
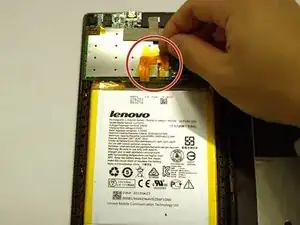
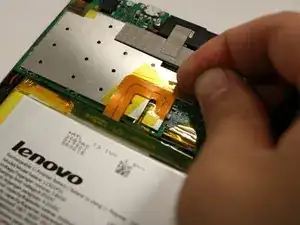
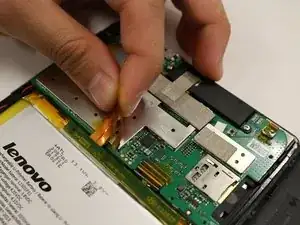
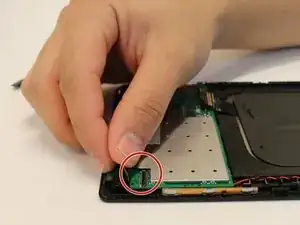
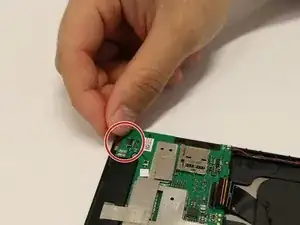
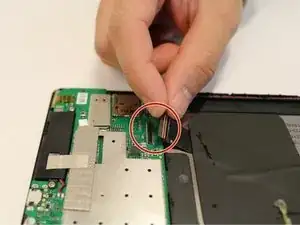
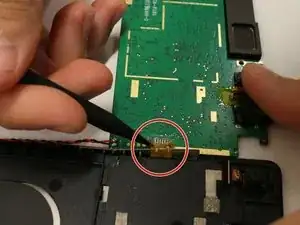
Unplug the electrical connectors by lifting the clip that hold them in place.
-
-
-
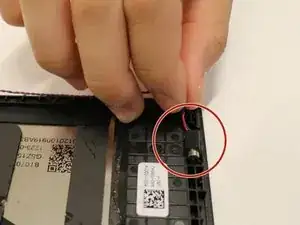
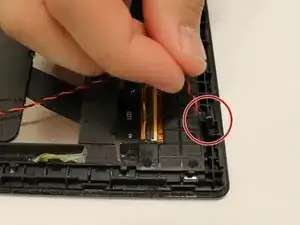
Use a plastic opening tool or tweezers to remove the twisted pairs that are held in place by retaining tabs.
-
-
-
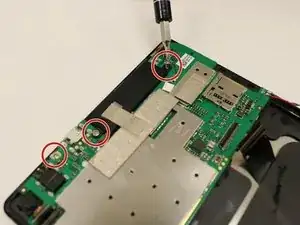
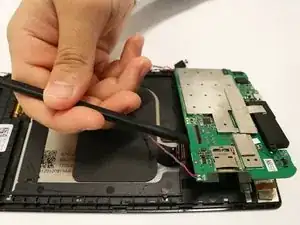
Gently lift up the motherboard starting from the right side. The final strip can be removed by gently pulling it up from the case.
-
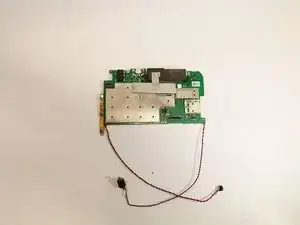
Remove the motherboard completely from the back panel.
-
-
-
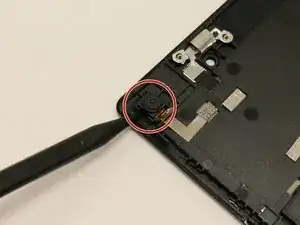
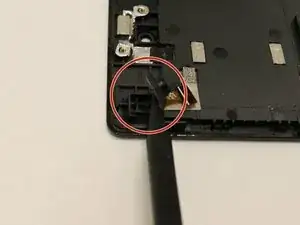
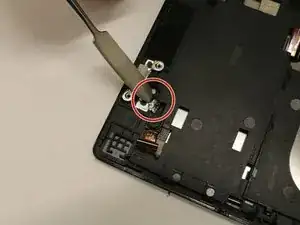
Use the plastic opening tool to lift up the camera lens starting from the left side between the gap.
-
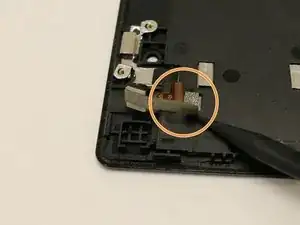
Remove the metal tape that connects the camera lens to the panel in order to remove the camera lens.
-
-
-
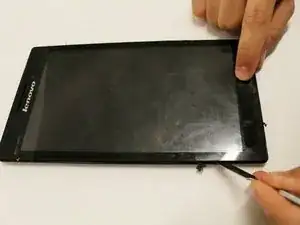
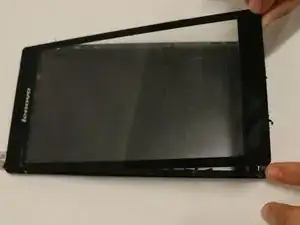
Use the heat gun to loosen the adhesive around the perimeter of the screen(the solid black section).
-
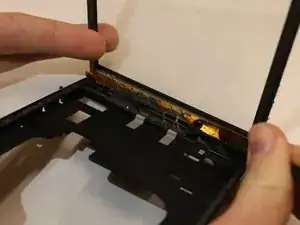
The spudger tools can then be slowly worked under the screen to gradually lift it away from the case.
-
-
-
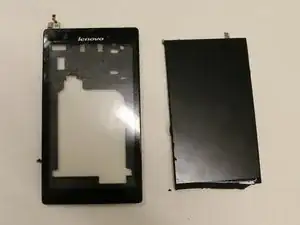
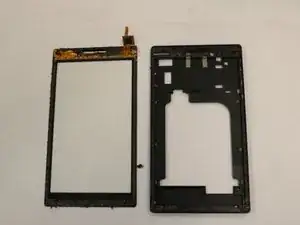
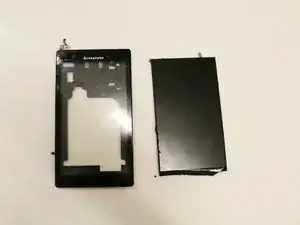
The second photo shows the screen separated from the case with the digitizer already removed.
-
-
-
At this point there are still a few strips of silver tape holding the digitizer in place.
-
Remove these pieces and the digitizer should slip right out of the case.
-
To reassemble your device, follow these instructions in reverse order.
