Einleitung

In this guide, you will learn how to properly access each of the speakers within the Lenovo Tab S8 and remove them safely.

  1. OTT6KkqDUHfvLYCv
    OTT6KkqDUHfvLYCv
    qmnFGcsxhyZhwMty
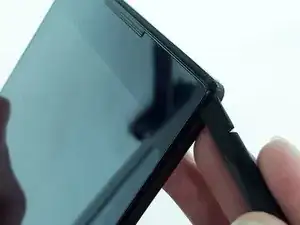
    • Make sure the device is powered off.

    • Gently insert a spudger into one of the bottom corners between the screen and body case.

    • Slide the spudger along the inside of the crack in order to pry the case open.

    • Be careful of the small volume and power buttons when prying the case with the spudger. They are connected with small pieces of plastic that break easily.

    Bought a battery connector gets hot and doesn't turn on

    James Rego -

  2. UAwhDJ2THLNqbOoA
    UAwhDJ2THLNqbOoA
    kuGKMlvvMYtTKZxU
    mnLRcdmJHOYlvvFf
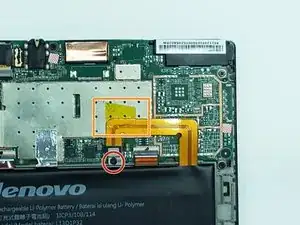
    • After removing the cover, remove the M1.6 x 2 mm screw from the battery cable with the JIS J000 screwdriver.

    • Using screwdriver bits that do not fit in the screw head might strip the screw and render it unusable.

    • Remove the tape by gently scraping the edges up with the spudger.

  3. nrcsaQS6pLVXJhv6
    nrcsaQS6pLVXJhv6
    pwYrITNPWXjwPZwa
    Zs33CPcZLS34f242
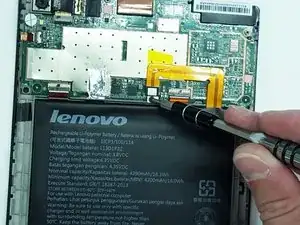
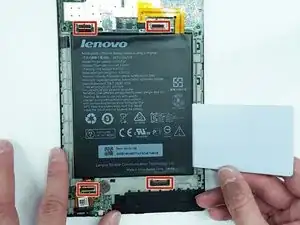
    • Before removing the battery, be sure to disconnect the ribbon cables underneath it. The cables might stick to the battery during removal and cause damage.

    • Gently lift the flaps on the four ZIF connectors to disconnect the cables.

    • Use the plastic card to gently pry the battery from the device.

    • There may be glue holding the battery to the device. Use the spudger to detach any glue while the battery is partially raised by the card.

  4. m1mShVapKEunDNkf
    m1mShVapKEunDNkf
    NwFOdxDL13DAhFGK
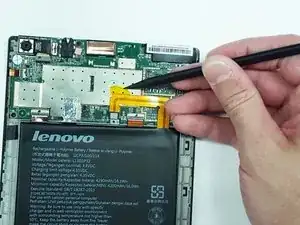
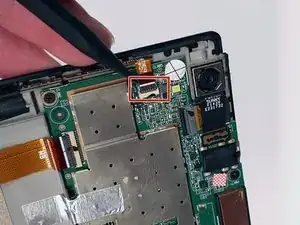
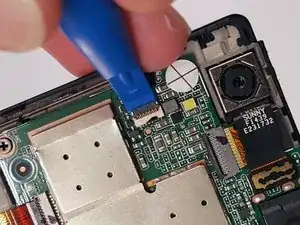
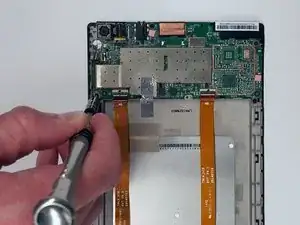
    • Use the tip of a spudger or your fingernail to flip up the small locking flap. Then, you can safely pull the cable out from under the camera.

  5. EhS1oRHffF2R31SH
    EhS1oRHffF2R31SH
    qlLwtmEnSAZAJNak
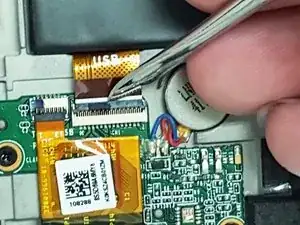
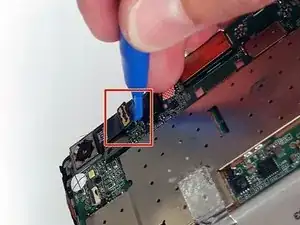
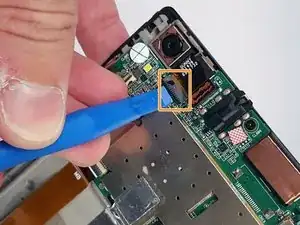
    • Remove the press-fit cable located next to the camera by using opening tool to gently pry it up.

    • Unlock the ZIF connector by lifting the black bar and sliding the ribbon cable out.

  6. plAKxWJAxRq4eFM2
    plAKxWJAxRq4eFM2
    VndG4eNJuUMs1lUD
    GZb6opQtIYjGN1KF
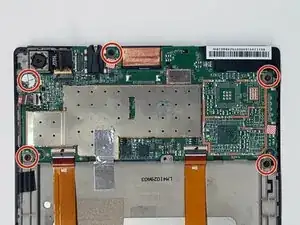
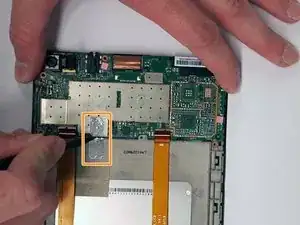
    • Remove the five M1.6 x 2 mm screws from the motherboard with the JIS J000 screwdriver.

    • There is one screw hidden under a circular white sticker directly below the camera. Remove the sticker to take out the screw that is underneath it.

    • Cut or remove the piece of silver tape from the motherboard.

  7. QZX5rKJcdl5gcJcT
    QZX5rKJcdl5gcJcT
    1NLfRXtpVlSCW6ig
    3onAtMPtRUjNCPDX
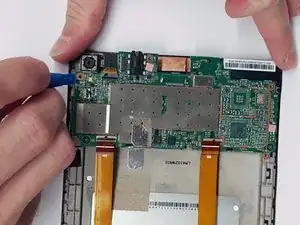
    • Use the spudger to gently pry the motherboard out of the frame from each side.

  8. 34AybtgQITrUfZUR
    34AybtgQITrUfZUR
    qcI3i2nRiN1uPtwQ
    QGJHHwPSeYmu5gMB
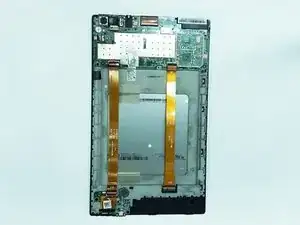
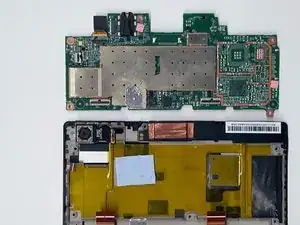
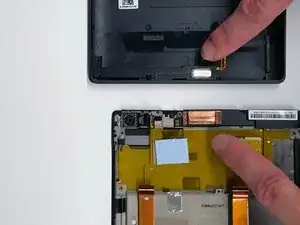
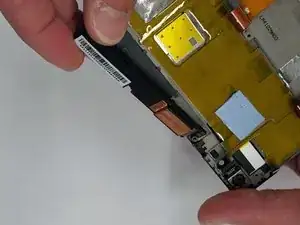
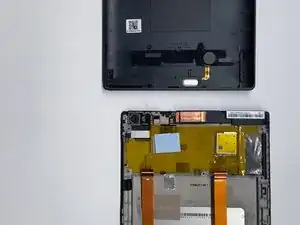
    • Once you have removed the motherboard and the battery, locate both the upper and lower speakers.

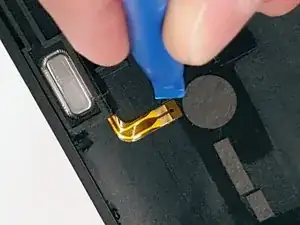
    • The lower speaker wire is glued to the back casing of the device, so be gentle when removing the wire.

    • Lift up the wire with a plastic opening tool. Make sure this tool has a sharp edge.

Abschluss

To reassemble your device, follow these instructions in reverse order.
Thomas Rill

Mitglied seit: 26/08/15

338 Reputation

0 Kommentare