Einleitung

This guide will tell you how to replace the RAM in your Lenovo Thinkpad Edge E520.

  1. 3GuSG6PKKjGb4bo6
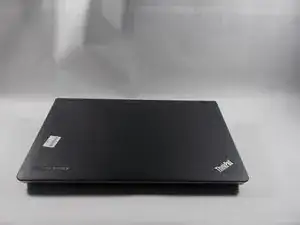
    • Power off and unplug the computer before the start of these steps.

    • Close the laptop lid.

  2. YkciHJTeFBfAw5eJ
    YkciHJTeFBfAw5eJ
    vjSEACZJ6YcwI3Xj
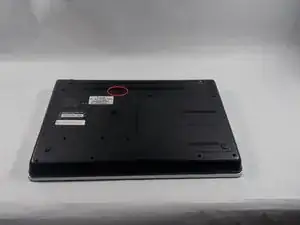
    • Flip the computer so that the back is facing upwards.

    • Locate the switch used to release the battery.

    • The switch should be located towards the hinge of the laptop near the battery pack and have a lock icon associated with it.

  3. q6DXOZAagbFgqMYK
    q6DXOZAagbFgqMYK
    LUe3EFSNLI5SKJx5
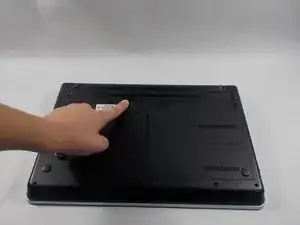
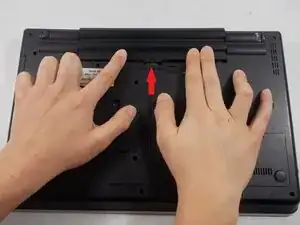
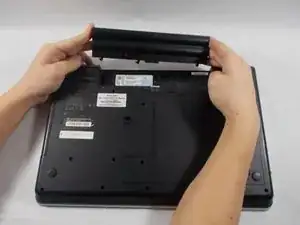
    • Slide the switch towards the unlocked lock icon.

    • While holding it in the unlocked position, slide the battery towards the hinge.

    • Fully separate the battery pack from the back of the laptop.

  4. ZAdsSHShovOWa2uO
    ZAdsSHShovOWa2uO
    xj1UKZREgOmArsxB
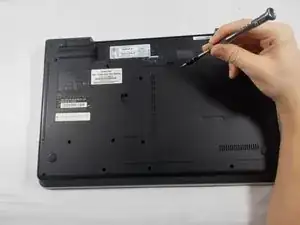
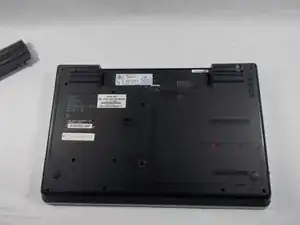
    • Flip over the laptop and position it with the battery being furthest away from you.

    • Remove the four screws on the edges of the T-Shaped plate with a Phillips #0 screwdriver.

    • Remove the T-Shaped plate from the back of the computer. It should come off easily if all four aforementioned screws are removed.

    • Screw length 6.35 mm, head 3.175 mm

  5. 1jqbjQbStDmGVDGO
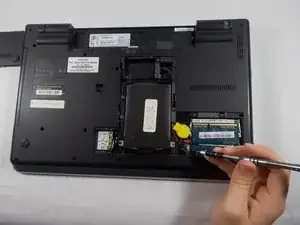
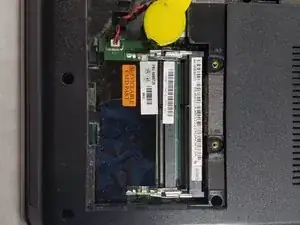
    • The blue tinted rectangular chips will be located opposite of the hinge.

    • They are stacked on top of one another and the second chip will be found underneath the top one.

  6. spGXaKfvJWCeJwCT
    spGXaKfvJWCeJwCT
    IhaWyLLstw1jxS2D
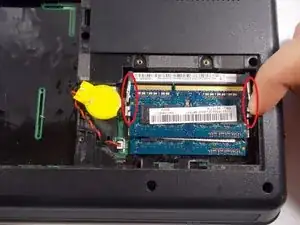
    • Locate the two thin metal tracks that hold each RAM in place.

    • Using light pressure, press the tracks outward and the RAM should pop up.

  7. pVJdNIW3elBphJvs
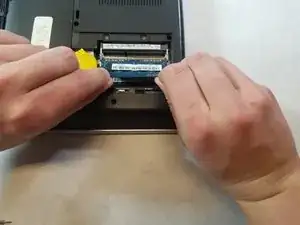
    • A light pull on the RAM should remove it with no issues.

    • Repeat from the second step to the third step to remove the second chip.

    • On reassembly, the RAM may provide some difficulty to put it back in. Be patient and slide the ram back in the metal track and apply pressure to make sure that it is in.

    • Be sure that it is in the track so the pins do not bend. A "click" sound may be heard to indicate when it is fully seated.

Abschluss

To reassemble your device, follow these instructions in reverse order.
Andrew Martin

Mitglied seit: 01/03/18

202 Reputation

0 Kommentare