Einleitung
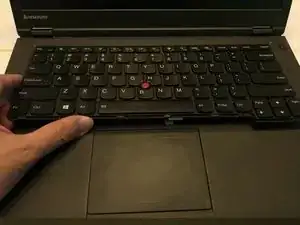
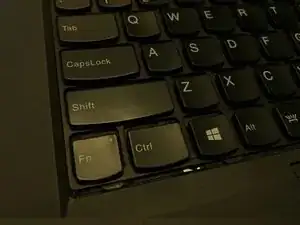
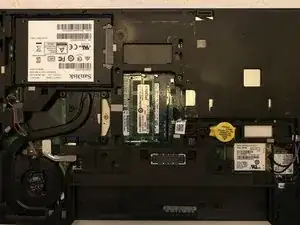
If you need or want to replace the keyboard, palmrest, and/or fingerprint reader on your Lenovo ThinkPad T440p, this guide will show you how. If you only need to replace the keyboard, you can just follow the first four steps of this guide. Otherwise, proceed through all steps of the guide to install a new palmrest and/or fingerprint sensor.
Werkzeuge
Ersatzteile
-
-
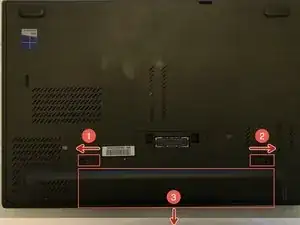
Shut down the computer, then close it, flip it over, and remove the battery by pushing the two spring-loaded locks toward the outside of the laptop.
-
Once both are unlocked, the battery can be pulled away from the laptop and set aside.
-
-
-
Flip the computer back over and open the display.
-
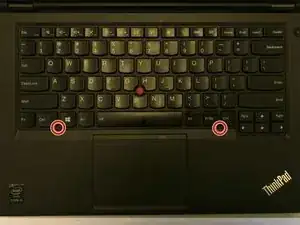
Just beneath the bottom row of keys are two small notches: the left one is below the Ctrl and Windows keys, and the right one is below the PrtSc and Ctrl keys. (U.S. keyboard layout)
-
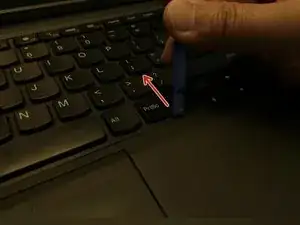
Use a plastic spudger to carefully push these notches toward the display, which will expose hidden screws you'll loosen in the next step.
-
-
-
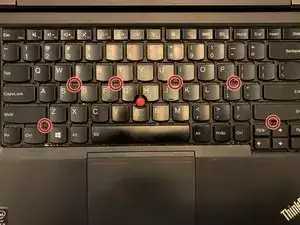
Loosen the six screws shown in the photo (they are designed to not be removed).
-
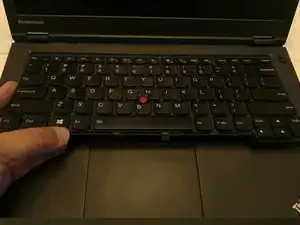
Carefully lift out the keyboard from the front edge, then flip the top edge of the keyboard toward you and lay the keyboard face down over the touchpad.
-
-
-
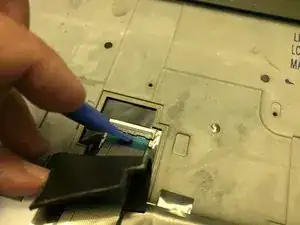
Gently lift up the black rubber cover, then use a spudger to lift up the first and second of three latches securing the ribbon cables beneath it.
-
Gently pull the keyboard and its two attached ribbon cables away from the laptop.
-
-
-
Close the laptop lid, then flip it over.
-
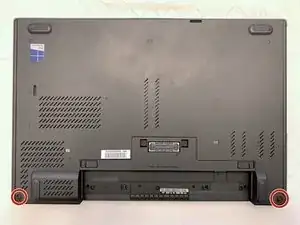
One screw on each bottom corner flanking the battery compartment must be removed.
-
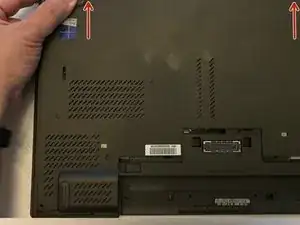
Once removed, press the front footrests toward the front of the laptop to loosen the cover. It can then be lifted off the body of the laptop.
-
-
-
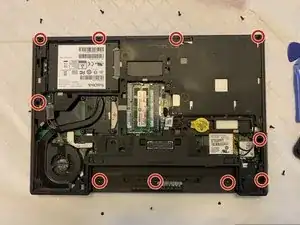
Around the outer edge of the laptop's underside, unscrew 10 screws with the label "C" next to them.
-
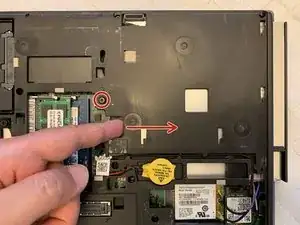
Unscrew the optical drive securing screw (it will loosen but not come out), then pull out the optical drive.
-
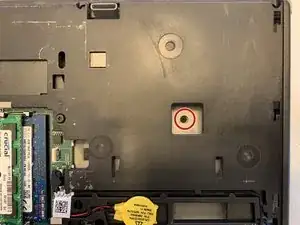
Through the square hole, remove the last securing screw.
-
-
-
Some say it's safest to disconnect this battery before working on your computer. You can use a spudger to unplug its white connector from the motherboard.
-
-
-
To be safe, reattach the laptop bottom cover, then flip the laptop over and open the screen so it lies flat.
-
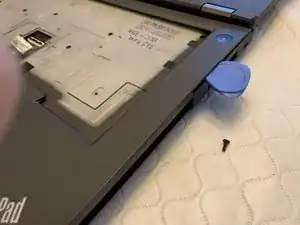
Use the spudger and guitar picks around the edges of the palmrest to unhook it from the rest of the laptop.
-
Lift up the front edge of the palmrest, then carefully wiggle it loose from under the screen hinge, paying special attention to the touchpad's thin ribbon cable: you need to pull out underneath the black metal keyboard frame.
-
-
-
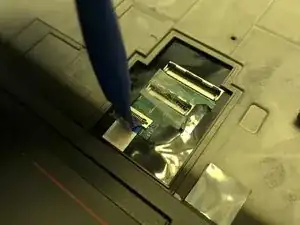
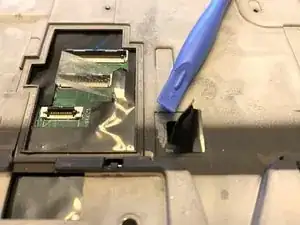
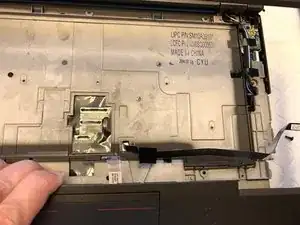
To the right of the three latches should be a square of black tape. Using a spudger and/or your fingers, lift it up and remove it.
-
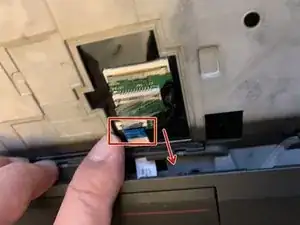
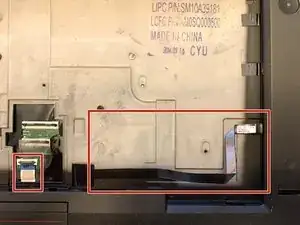
Your new palmrest with fingerprint sensor will have a long ribbon cable, likely with a black square of tape attached to it. Thread the end of the ribbon cable through the hole, then use the attached square of black tape to keep it in place.
-
-
-
Gently insert the top edges of the palmrest under the screen hinges, then lay it down onto the rest of the laptop.
-
Carefully slide the touchpad ribbon cable back under the metal frame and latch it back to the motherboard. (I found it easiest to do with a spudger or blunt tweezers on plastic edges of the ribbon cable.)
-
Your fingerprint sensor's ribbon cable should already be pre-bent to match grooves in the metal frame below it. Try to position in it that groove as you reattach the palmrest.
-
Gently press down around the edges of the palmrest to snap it back into the body of the laptop.
-
-
-
Close the lid, then flip the laptop over again.
-
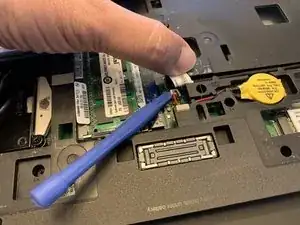
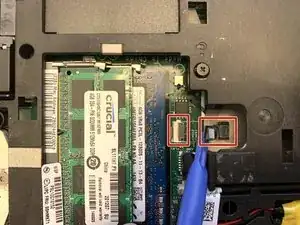
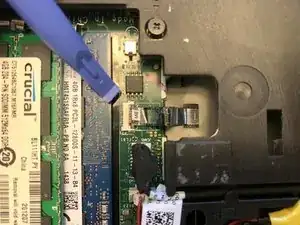
To the right of the RAM slots, you should now see the ribbon cable for the fingerprint sensor you threaded through a hole in an earlier part of this step.
-
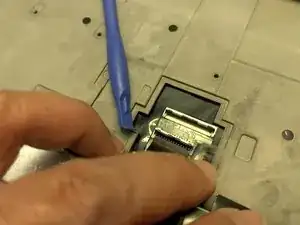
Insert the end of the ribbon cable into the motherboard and use a spudger to latch it in place.
-
To reassemble your device, follow these instructions in reverse order.
