Einleitung

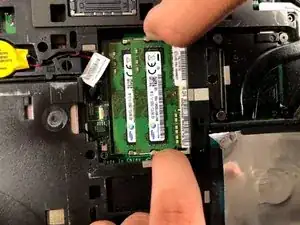
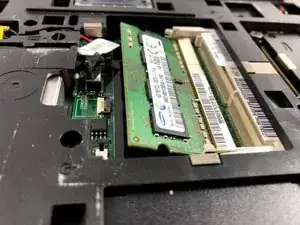
The RAM is a simple replacement that only requires your fingers to remove it. Make sure to only apply pressure on the edges and not the RAM itself so as not to damage any parts it might be connected to.

  1. ksusH3IDUnrrJvCF
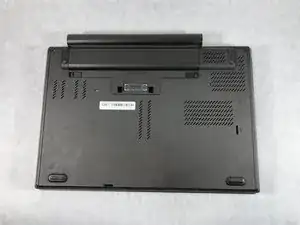
    • Flip the laptop so that the back is facing up.

  2. 1eRdgiumIRcw5Tsq
    1eRdgiumIRcw5Tsq
    dDnKAtcTColIODed
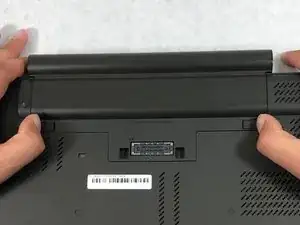
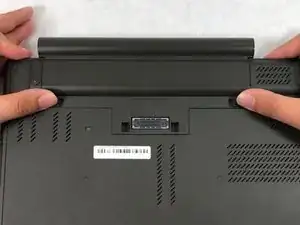
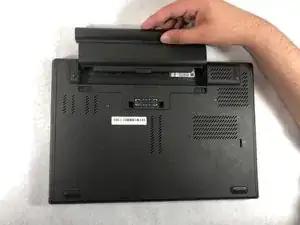
    • Slide the battery latches to the unlocked position.

  3. XZwXNgqoVPPbBGU4
    XZwXNgqoVPPbBGU4
    vyWtOfI6GgUUOFiH
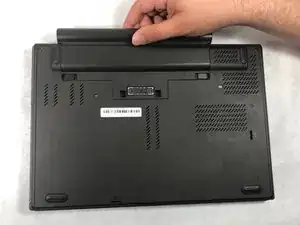
    • Slide the battery pack out of the battery slot.

  4. pQeOjNUJNlygihtI
    pQeOjNUJNlygihtI
    q6WB6awCXUkUrJ6p
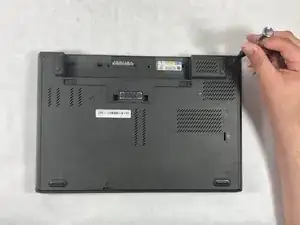
    • Use a Phillips #1 screwdriver to remove the two 9mm screws holding the back cover.

  5. 1eT2CjLvOIVXY4lq
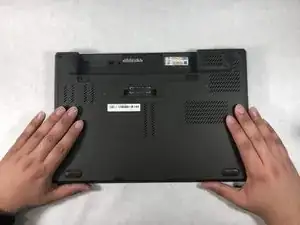
    • Slide down the back cover.

  6. kqPxtExYtrPDdlDy
    • Remove the back cover.

  7. 3hAM1tMtXNPSUs2U
    3hAM1tMtXNPSUs2U
    e2s6oU6CRtvqoNLa
    MXUPEUsng4hcdP64
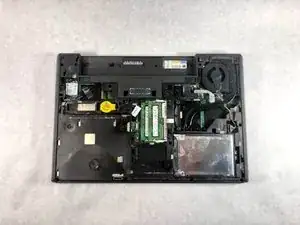
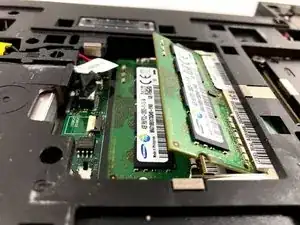
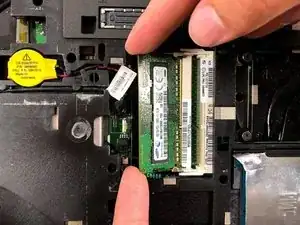
    • In the first memory slot, use your fingertips to spread the two white tabs that are holding down the RAM. The RAM will raise to an angle.

  8. n5JUJJkrSctRQMmM
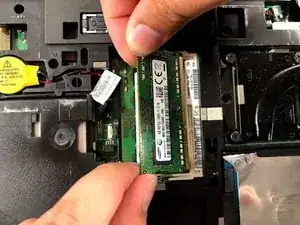
    • Remove the RAM by holding on its edges.

  9. fSCvEkk2OeLvMEBX
    fSCvEkk2OeLvMEBX
    i2yHwIFbGnWhredq
    QCg41RUMc1Baoeli
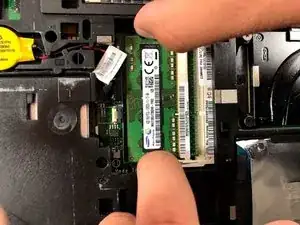
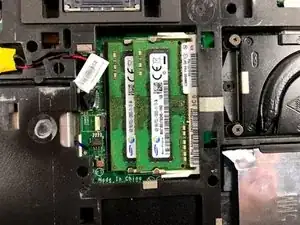
    • Repeat steps 1 and 2 to remove the second RAM.

Abschluss

To reassemble your device, follow these instructions in reverse order.
Christian Abad

Mitglied seit: 20/03/19

1285 Reputation

0 Kommentare