Einleitung

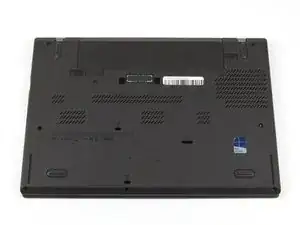
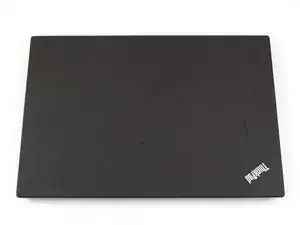
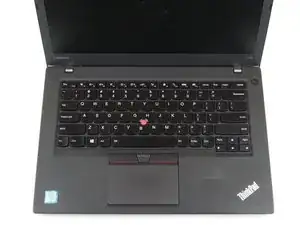
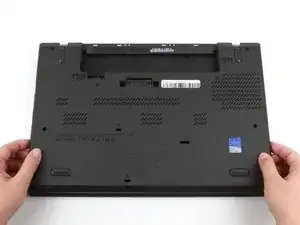
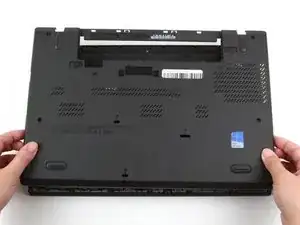
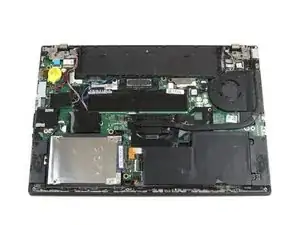
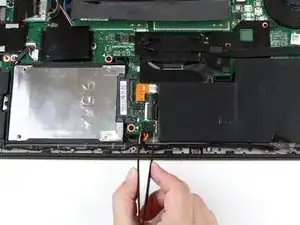
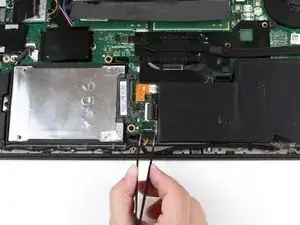
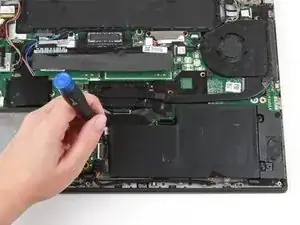
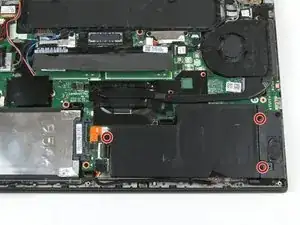
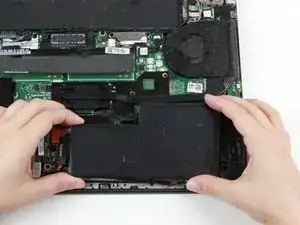
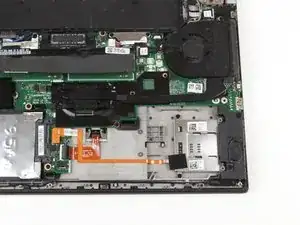
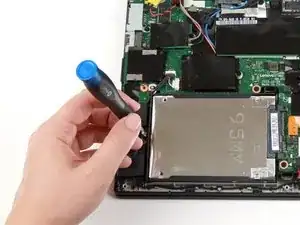
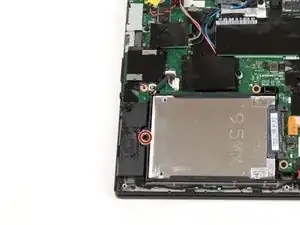
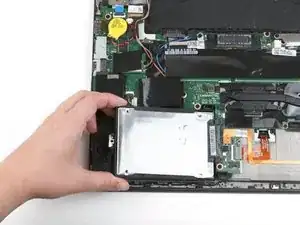
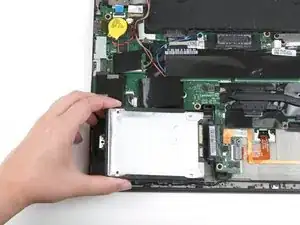
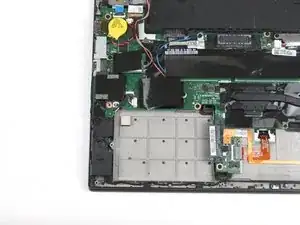
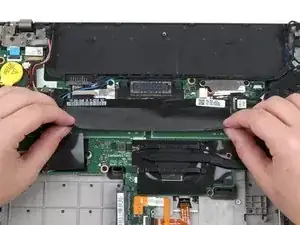
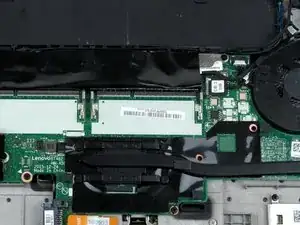
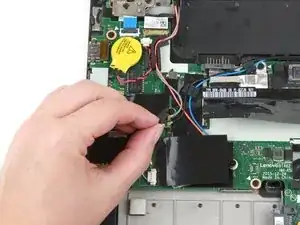
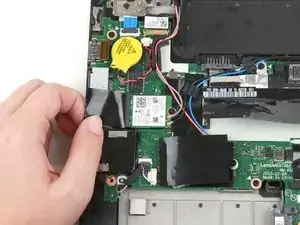
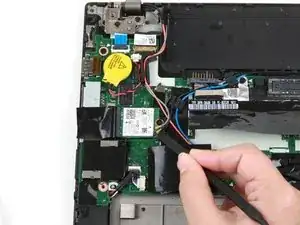
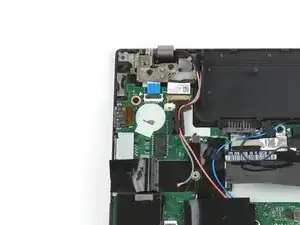
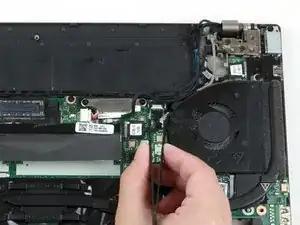
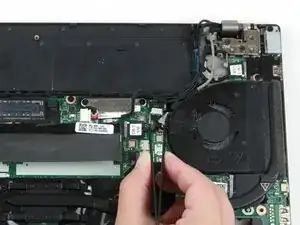
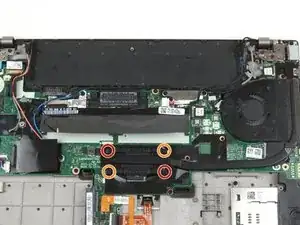
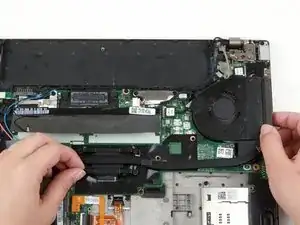
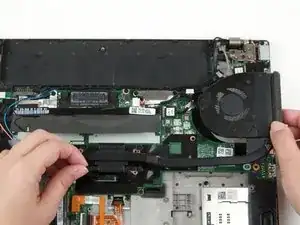
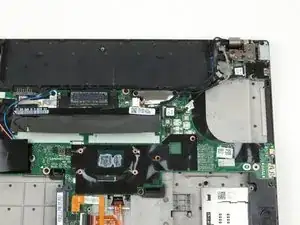
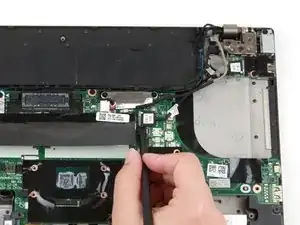
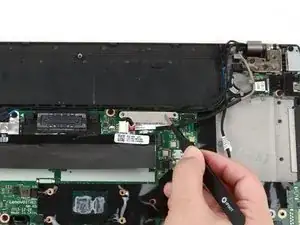
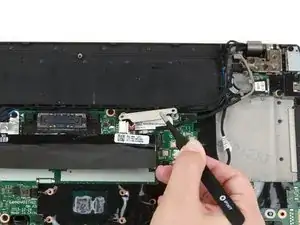
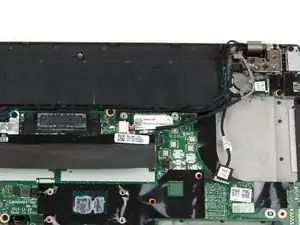
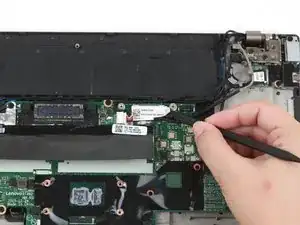
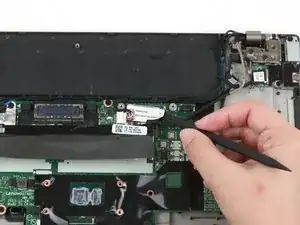
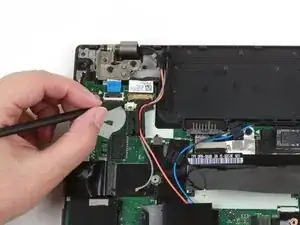
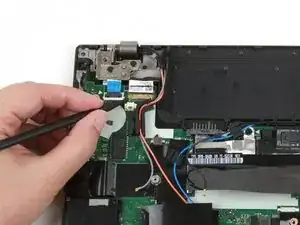
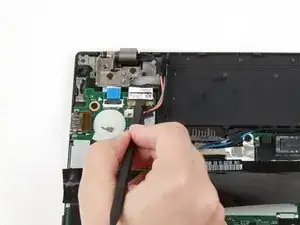
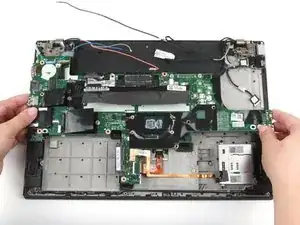
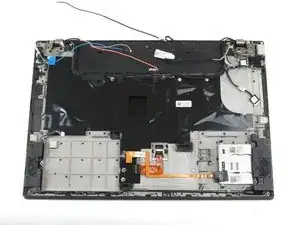
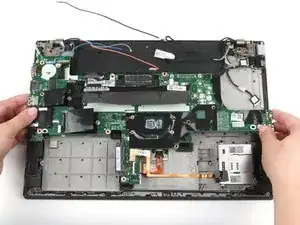
Use this guide to replace the motherboard in your Lenovo ThinkPad T460 laptop.

The motherboard, also known as a system board or mainboard, is the primary printed circuit board (PCB) in a computer that enables communication between the internal components.

Diagnosing a faulty motherboard is tricky since the symptoms are similar to other failing components. Signs of a faulty motherboard may include overheating, error codes, the blue screen of death, or failure of other ports and components.

Make sure to disable the internal battery, power down your device, and disconnect from any external power sources before you begin.

  1. hpGBLDjKCJOAmOhp
    hpGBLDjKCJOAmOhp
    nVEmNtOLUmvCRuxI
    KXrNpWJaYJPtKlUh
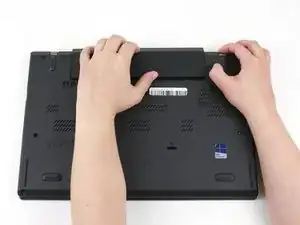
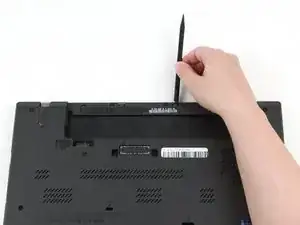
    • Before you begin this guide, make sure to disable the internal battery, power down your device, and disconnect from any external power sources.

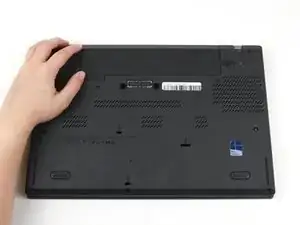
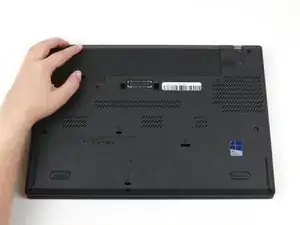
    • Place the laptop so that the bottom is facing upwards.

    • Slide the latch on the left side of the battery to the left until it clicks in place.

  2. 2XWHAAAk5aRY3BQV
    2XWHAAAk5aRY3BQV
    sgvRkAHRYSkDSJTx
    SM4Ogc4Z5LSH3IfF
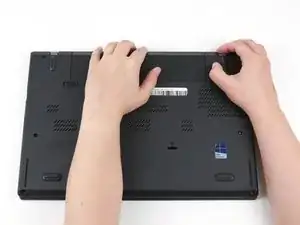
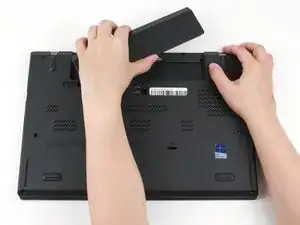
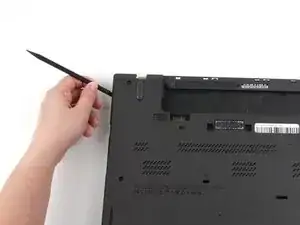
    • Slide the latch on the right side of the battery to the right and hold it in place with your thumb.

    • Use your other hand to slide the battery towards the back of the laptop.

    • Lift the battery up and away from the laptop.

  3. kAiuXIWXBTKjnWq2
    kAiuXIWXBTKjnWq2
    OXOyBITKOSLXDRVd
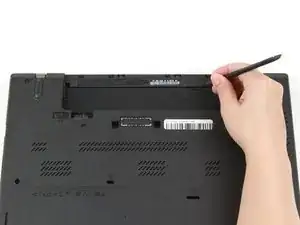
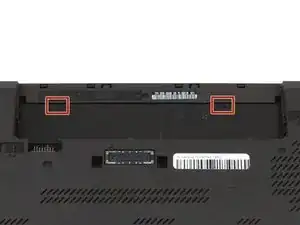
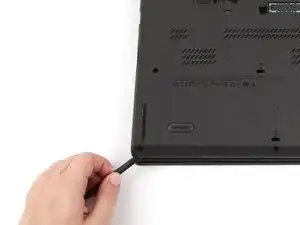
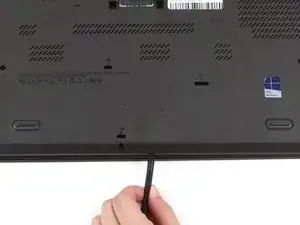
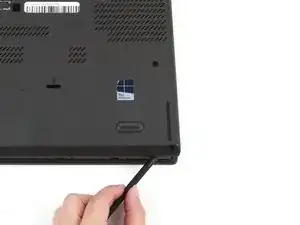
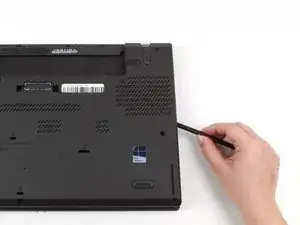
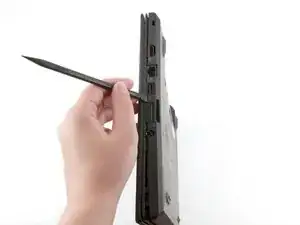
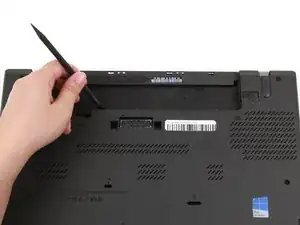
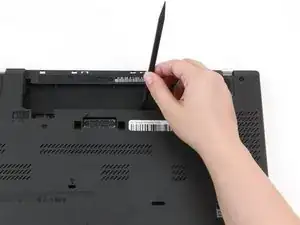
    • Use the pointed end of a spudger to pry the two rubber stoppers out of the battery compartment.

  4. 2TOwtA1lmhOwDwxP
    2TOwtA1lmhOwDwxP
    55OSwC133vIQxkCY
    • Place the laptop so that the top is facing upwards.

    • Open the lid of the laptop.

  5. eL3iUsiZjGfvxK1A
    eL3iUsiZjGfvxK1A
    1AnRtr4kwSFQaGjw
    HhxwXmwsdnxpwONc
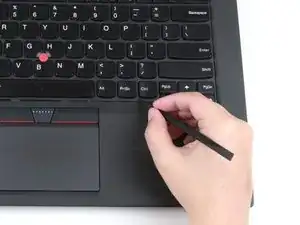
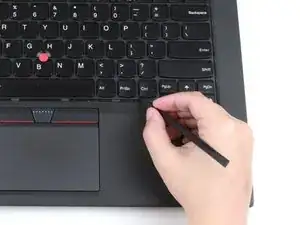
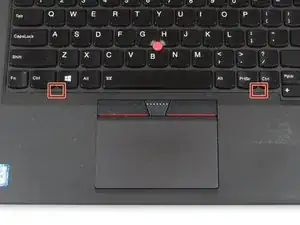
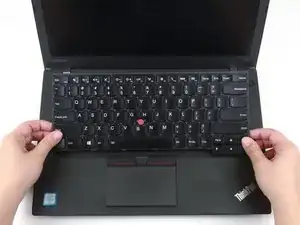
    • Use the pointed end of a spudger to push the keyboard towards the screen using the two notches on the bottom of the keyboard.

  6. XdKyryLlosIYG1Ql
    XdKyryLlosIYG1Ql
    P1OJVGZMDnUuQFXT
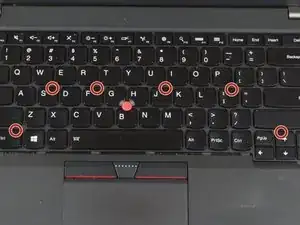
    • Loosen the six captive screws in the keyboard frame using a Phillips #0 screwdriver.

    • These screws are hard to see. Make sure you have pushed the keyboard towards the screen as far as it will go to see the screws better.

  7. fLxjKBZMJhlgNutf
    fLxjKBZMJhlgNutf
    ZOYNGiyKLrn5rWfX
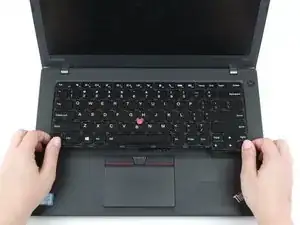
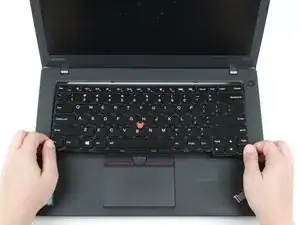
    • Use your hands to pull the keyboard up and towards you by a few millimeters to remove it from its tray.

    • Potential for device damage: The keyboard is still attached to the rest of the laptop, so be gentle when lifting it.

  8. Mq5FvKQbhcCnytN6
    Mq5FvKQbhcCnytN6
    mWRNJD63wKWQjshE
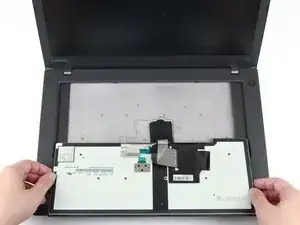
    • Grab the bottom edge of the keyboard with your hands, and flip the keyboard upside-down, so it rests on the bottom of the laptop.

    • Potential for device damage: The keyboard is still attached to the rest of the laptop, so be gentle when flipping it over.

  9. AgCrly16YJBUZrfq
    AgCrly16YJBUZrfq
    h61k5NoSHcFBEB36
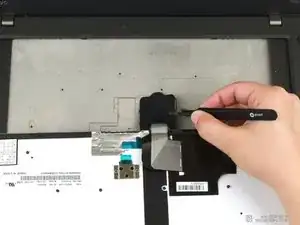
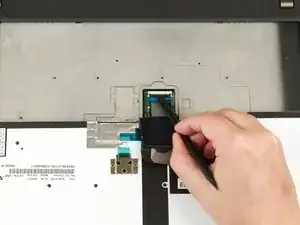
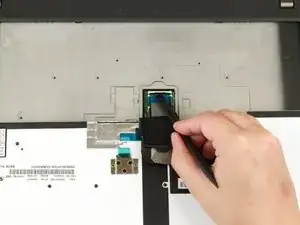
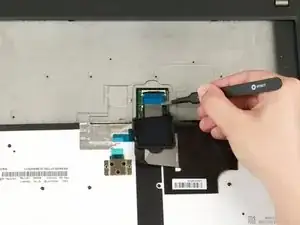
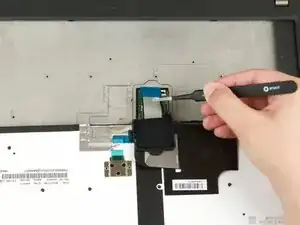
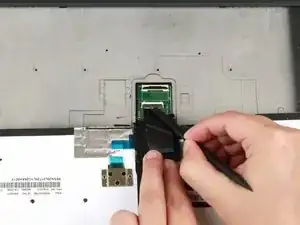
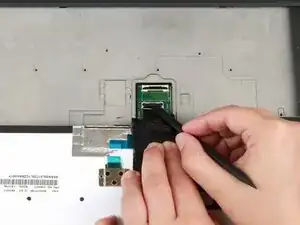
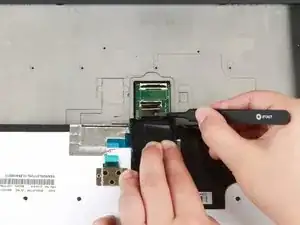
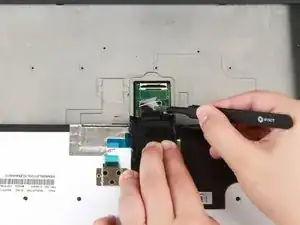
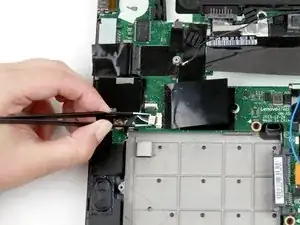
    • Use a pair of blunt-nosed tweezers to lift the black flap away from the cable connectors.

  10. HZpbliIEOWeJlQ6D
    HZpbliIEOWeJlQ6D
    Crd1PU4mvYZFSnT2
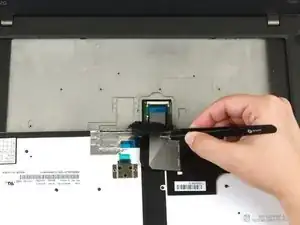
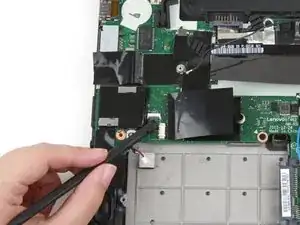
    • Use the flat end of a spudger to flip up the locking flap securing the ribbon cable.

  11. aDQlTuVEHlsdoMMR
    aDQlTuVEHlsdoMMR
    mDacWuNELgaNbhKB
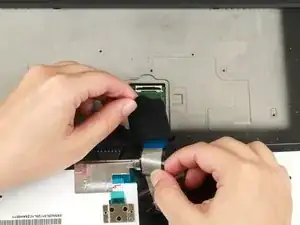
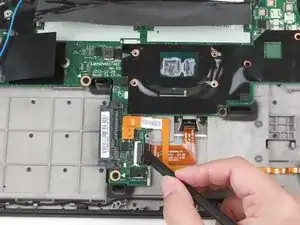
    • Use a pair of blunt-nosed tweezers to pull the ribbon cable out of its connector.

  12. ABQV5AJWJImtc1Fk
    ABQV5AJWJImtc1Fk
    FaHWeM2xVEoqGojP
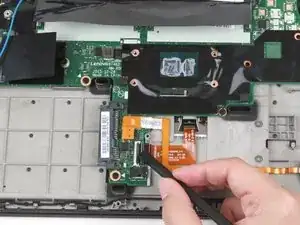
    • Use the flat end of a spudger to flip up the locking flap securing the bottom ribbon cable.

  13. jeHopePy5cBqBhVK
    jeHopePy5cBqBhVK
    ou2mgZ3BTQtASrCF
    • Use a pair of blunt-nosed tweezers to pull the ribbon cable out of its connector.

  14. hSrUhLbTfpsDaji3
    hSrUhLbTfpsDaji3
    XCV4COWyo2NNGvHN
    • Pull the ribbon cables through the slot in the black flap.

    • Remove the black flap from the keyboard.

  15. 5aFQGRadCf6sUXFO
    5aFQGRadCf6sUXFO
    lN23ZMiXcLVrca2f
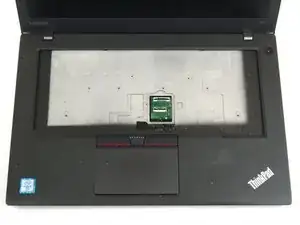
    • Use your hands to lift the keyboard up and away from the laptop.

  16. fJAPIITqhnHVPha4
    fJAPIITqhnHVPha4
    rwxpCLeElhMO4mTL
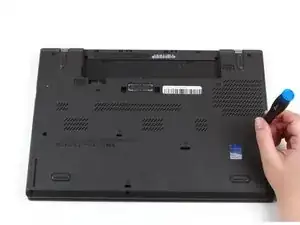
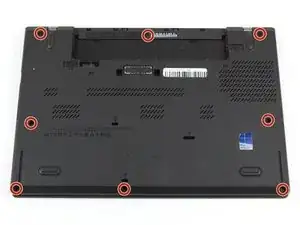
    • Loosen the eight captive screws in the bottom cover using a Phillips #1 screwdriver.

  17. EhKT3cNUv5X5iyZS
    EhKT3cNUv5X5iyZS
    5pFBdiIBNnCjeOF3
    OMTnCkNweBXQPVAG
    • Insert the flat end of a spudger in between the bottom cover and the rest of the laptop, starting in the lower left corner.

    • Pry the lower left corner of the bottom cover up by a few millimeters.

    • Slide the spudger along the bottom of the laptop to release the clips until you reach the lower right corner.

    • You may hear some snapping noises as the clips are released.

  18. qZwtknGXRD1PjfGp
    qZwtknGXRD1PjfGp
    jJZ16u4lDwoyXlaU
    • Slide the spudger along the right and top sides of the bottom cover to release the clips.

    • You may hear some snapping noises as the clips are released.

    • Potential for device damage: If the clips do not release easily, check to ensure that the captive screws are fully loosened. Forcing the clips to detach can crack the bottom cover.

  19. MJKPDKiCCtb1hUIW
    MJKPDKiCCtb1hUIW
    ZOTL1WgX1W5e6HF3
    • Use the spudger to pry the upper left corner up by a few millimeters.

    • Pry up the sections of the bottom cover with printed logos of the ports.

    • Potential for device damage: Prying inside the ports themselves can damage your laptop. Be sure to only pry up on the sections of the cover that extend past the ports.

  20. KH1EpFUDcRAWNgBc
    KH1EpFUDcRAWNgBc
    gFHT5lrXqHwjvojq
    • Use the spudger to pry up the bottom cover in the lower portion of the external battery compartment by a few millimeters.

  21. PXAlHYCI2dgVnfIR
    PXAlHYCI2dgVnfIR
    DZlWteBTPOcMcdTj
    Ob1hlBRQeQFTcalZ
    • Use both hands to lift the bottom cover up and away from the laptop.

  22. jMDvHCqWJZtshNcx
    jMDvHCqWJZtshNcx
    i3XJF5HwAX3LkuJ6
    • Use a pair of blunt nose tweezers to pull the black connector out of its socket.

    • This connector may be difficult to remove. You can use a pair of tweezers to gently rock the connector back and forth until it is free from the socket.

  23. SqxlVyN3pGbGnjPN
    SqxlVyN3pGbGnjPN
    wKbwAuoLkbkNcQDd
    • Remove the three 3.7 mm screws from the internal battery using a Phillips #1 screwdriver.

  24. yGKy2lXQkKXkrOdJ
    yGKy2lXQkKXkrOdJ
    jkEsGJStxbBnW1cS
    • Use your hands to lift the battery up and away from the laptop.

  25. yjjStC2Pt2r21Kqk
    yjjStC2Pt2r21Kqk
    DCimbcikSPFxiHhG
    • Remove the single 3.7 mm screw from the left side of the hard drive using a Phillips #1 screwdriver.

  26. IoiYA1cabTS2E5aR
    IoiYA1cabTS2E5aR
    CUPMAZXkQVMLe6Rb
    exthTxcIV2NfLPJE
    • Use your hand to lift up the hard drive by a few millimeters.

    • Pull the hard drive to the left to detach it from its connector and remove it from the laptop.

  27. oZ3gebDH2IAPiNUA
    oZ3gebDH2IAPiNUA
    adNkVCixVTWqsili
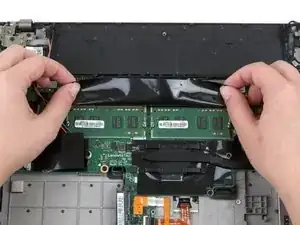
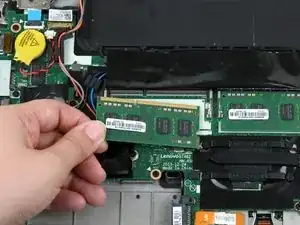
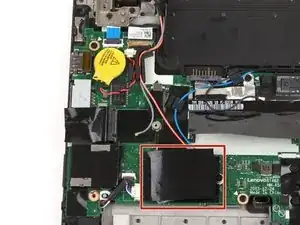
    • Use your fingers to lift up the black flap covering the RAM.

  28. EQ2Vah4YuqXCFxQJ
    EQ2Vah4YuqXCFxQJ
    pdEiKFNEEF6tYPKQ
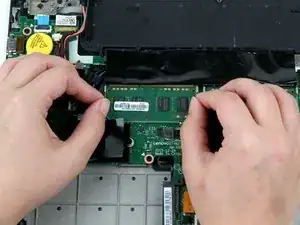
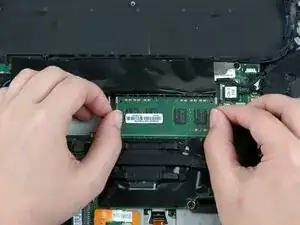
    • Use your fingers to push the metal clips on either end of the first RAM stick outwards.

    • The RAM stick will pop up by a few millimeters.

  29. IIKFXXReAg1BJoXT
    IIKFXXReAg1BJoXT
    yFUhIJG2MFQKfa5R
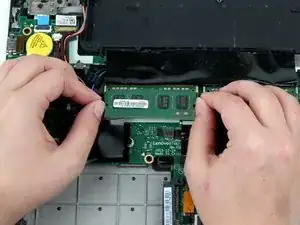
    • Use your fingers to lift the RAM out of its socket and away from the laptop to remove it.

  30. veSdtNJ6I1NqSvSX
    veSdtNJ6I1NqSvSX
    CSJu2FHD3tZwmv6T
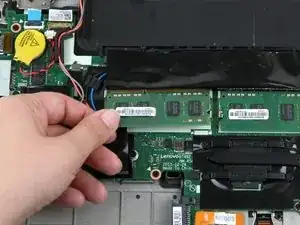
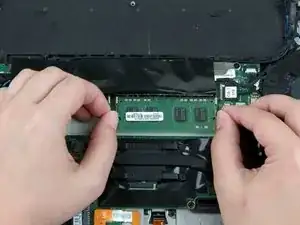
    • Use your fingers to push the metal clips on either end of the second RAM stick outwards.

    • The RAM stick will pop up by a few millimeters.

  31. rJRx2HrGhbytH6b5
    rJRx2HrGhbytH6b5
    UiUZ6Ye3mpHcZXqd
    1lqUB6DNZLWtxtkb
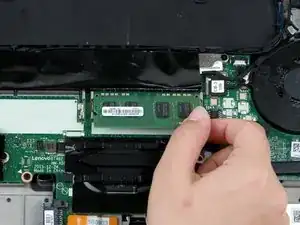
    • Use your fingers to lift the RAM out of its socket and away from the laptop to remove it.

  32. EPV1dDuMWZCFFvVR
    EPV1dDuMWZCFFvVR
    SsnqStSyNxQECAhX
    • Use your fingers to lift up the black flap covering the Wi-Fi card.

  33. KPT36wn5yJxZMtaL
    KPT36wn5yJxZMtaL
    XNHroLkIjvRXOyEy
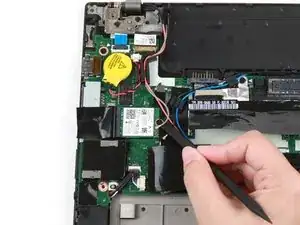
    • Use the flat end of a spudger to disconnect the gray and black coaxial wires from the Wi-Fi card.

    • When reassembling, reattach the gray wire on the top and the black wire on the bottom.

  34. SGNHcuDqFw6tG3qG
    SGNHcuDqFw6tG3qG
    mUbZRykChZaCGQVd
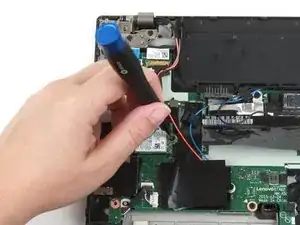
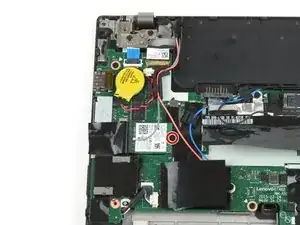
    • Remove the single 3.7 mm screw from the right side of the Wi-Fi card using a Phillips #1 screwdriver.

  35. TFR53RHKDsbpkBTS
    TFR53RHKDsbpkBTS
    VyYgOIxQJpUCYMJU
    1AigJFaUJiYnNuOP
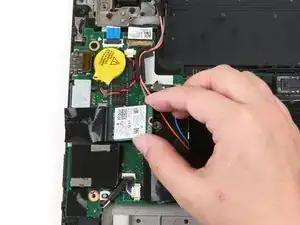
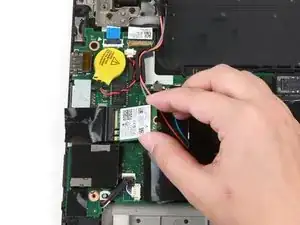
    • Use your fingers to lift the Wi-Fi card up and out of its slot.

    • This laptop does not include a WWAN card, but if yours does, follow the same procedure as Steps 32-35 to remove it.

  36. BXE1FsOQfTJFsnEW
    BXE1FsOQfTJFsnEW
    UQUPgLEcViY4OZDB
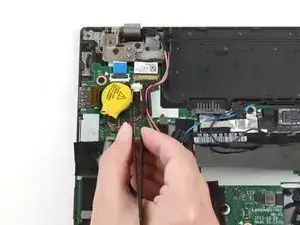
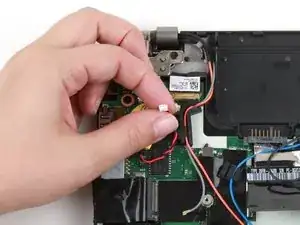
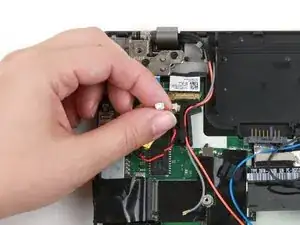
    • Use a pair of blunt nose tweezers to pull the white CMOS battery connector out of its socket.

    • This connector may be difficult to remove. You can use a pair of tweezers to gently rock the connector back and forth until it is free from the socket.

  37. FySc5YeflocjKprD
    FySc5YeflocjKprD
    cHNiN6F3UBKyRwsF
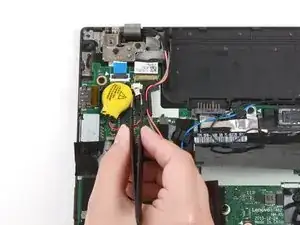
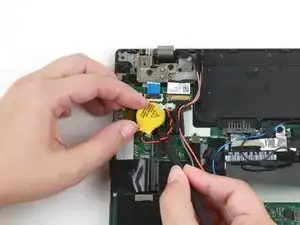
    • Use your fingers to pull the red and black bundled wire from its slot.

  38. syoPM3LyIYqLuIqf
    syoPM3LyIYqLuIqf
    g6CRcnhOer2mudmQ
    B3bkEmIXkJcjpsCT
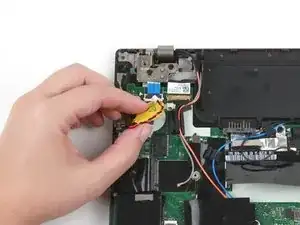
    • Pry the CMOS battery up using the flat end of a spudger.

    • You may need to loosen the adhesive underneath the battery with the spudger before the battery can be removed.

  39. nFtXhSR1L1OKBDKJ
    nFtXhSR1L1OKBDKJ
    Ko4iWdLEgQDTP6mK
    • Use a pair of blunt nose tweezers to pull the white fan connector out of its socket on the motherboard.

    • This connector may be difficult to remove. You can use a pair of tweezers to gently rock the connector back and forth until it is free from the socket.

  40. n2WfMVbk63ogMACZ
    n2WfMVbk63ogMACZ
    Rv2JyPExgreJc5gp
    • Use a Phillips #1 screwdriver to loosen the first pair of captive screws on the fan assembly in a crosswise pattern.

    • Use a Phillips #1 screwdriver to loosen the second pair of captive screws on the fan assembly in a crosswise pattern.

    • Secure the screws using the same cross-pattern when reassembling the fan.

  41. DAXHNEoaMRH1SIyg
    DAXHNEoaMRH1SIyg
    DyUiFfI1Vya2jxsa
    S3W6cC6ogmWMf3CF
    • Use your hands to lift the fan assembly up and away from the laptop.

  42. LuilVwEoZyBJFr4A
    LuilVwEoZyBJFr4A
    KoGgU22gkSCF6sCv
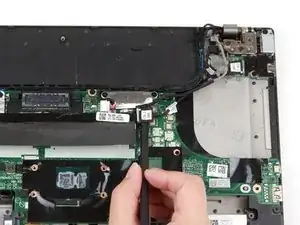
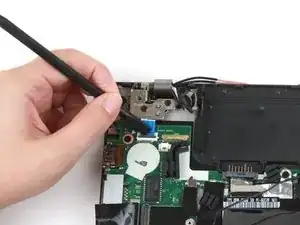
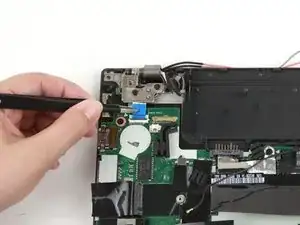
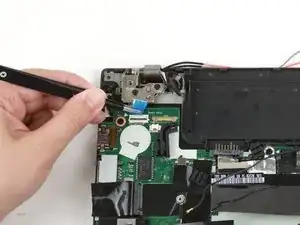
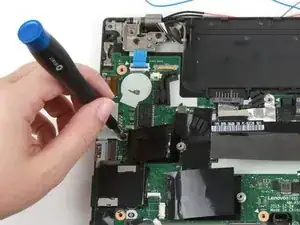
    • Use the flat end of a spudger to detach the USB cable from the motherboard.

  43. B1NVEyvrdsTqVFYh
    B1NVEyvrdsTqVFYh
    veYhZOnkluK5E35v
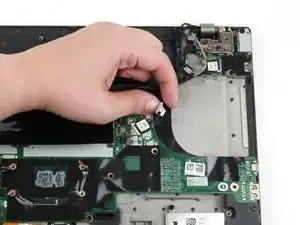
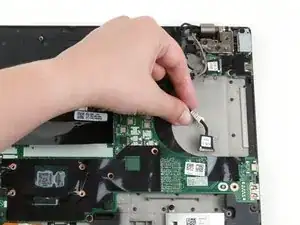
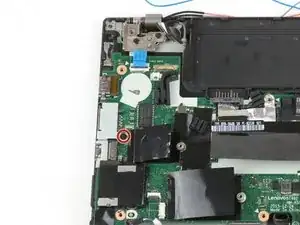
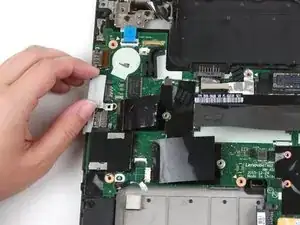
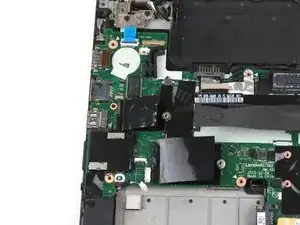
    • Use your fingers to move the detached part of the USB cable away from the motherboard.

  44. 3HXRXUEtsYomReBF
    3HXRXUEtsYomReBF
    NpArCKExHFFTIrcC
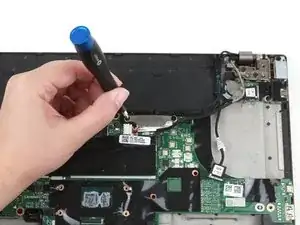
    • Remove the two 3.7 mm screws from the LCD cable bracket using a Phillips #1 screwdriver.

  45. BGaWwcD53QUJGu1C
    BGaWwcD53QUJGu1C
    ZHnVFFOalWGiPxo1
    feRHVkb24Qd2S2KU
    • Use a pair of tweezers to lift the LCD cable bracket away from the motherboard.

  46. ciMLfOaaRfhoNWWM
    ciMLfOaaRfhoNWWM
    We13u5v2T1TCI1EY
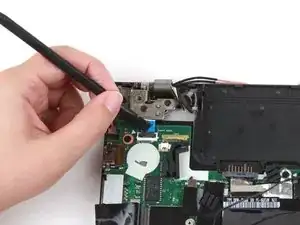
    • Use the flat end of a spudger to disconnect the flat-topped LCD cable connector.

  47. NZETfGBUPQBnAHmK
    NZETfGBUPQBnAHmK
    kbUMNT4X2pSaWKMI
    • Use the pointed end of a spudger to lift up the metal bracket on the camera/microphone cable.

  48. YFWO62QNT3h1iKMb
    YFWO62QNT3h1iKMb
    PT21qEUrPKJUIeKW
    • Use the flat end of a spudger to detach the camera/microphone cable connector from its socket.

  49. uKRhyp2KKnyoYCsa
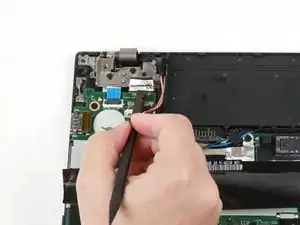
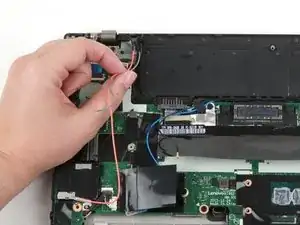
    • Use your fingers to remove the gray and red coaxial cables from their slots along the motherboard.

  50. smjMErL2XYpP3mIZ
    smjMErL2XYpP3mIZ
    VocINMRAJmnSXdHP
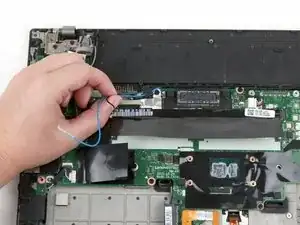
    • Use your fingers to remove the blue and black coaxial cables from their slots along the top of the motherboard.

  51. PqjJOdZf3HWIhLFB
    PqjJOdZf3HWIhLFB
    panwqNMwVAReolJl
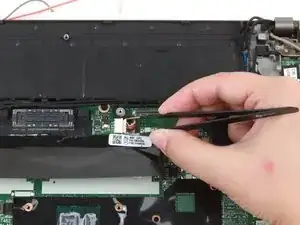
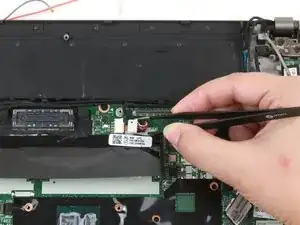
    • Use the flat end of a spudger to flip up the locking flap securing the power button cable.

  52. KgXrbaES2g4YcQeT
    KgXrbaES2g4YcQeT
    UOwKoLwJ56QHCGQI
    • Use a pair of blunt nose tweezers to slide the power button cable out of its connector on the motherboard.

  53. iitRaOlPkUwWSxDp
    iitRaOlPkUwWSxDp
    ggIAKirNZbSr1OmZ
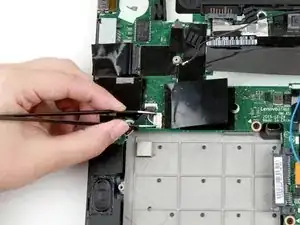
    • Use a pair of blunt nose tweezers to pull the white speaker cable out of its socket on the motherboard.

    • This connector may be difficult to remove. You can use a pair of tweezers to gently rock the connector back and forth until it is free from the socket.

  54. aUnjhHaXkEMc3M4O
    • This laptop does not have a fingerprint reader.

    • If your laptop has a fingerprint reader, use the flat end of a spudger to lift up the black tab and slide the cable out of its socket on the motherboard.

  55. 4dT6TyQZtZtCW61i
    4dT6TyQZtZtCW61i
    KQBcDJPmfdS2IVSJ
    • Use the flat end of a spudger to flip up the locking flap securing the trackpad ribbon cable.

  56. uwRvpEAZ1idouw2W
    uwRvpEAZ1idouw2W
    2MDHMEdJotWjyljD
    • Use a pair of blunt-nosed tweezers to pull the ribbon cable out of its connector.

  57. joHbwSTU3DpUYNua
    joHbwSTU3DpUYNua
    dWrUBoDjVZQfK5WC
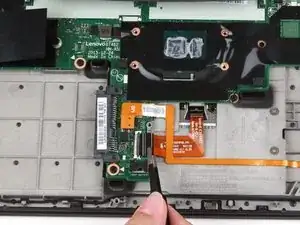
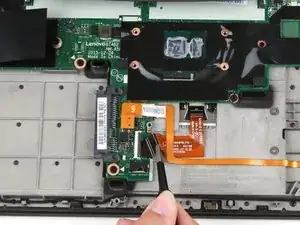
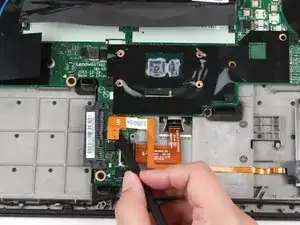
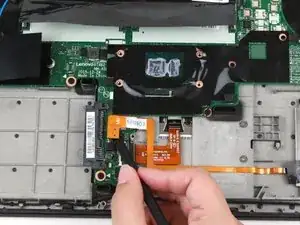
    • Use the flat end of a spudger to disconnect the smart card cable from the motherboard.

  58. hDsj1hWxY3lEDXBC
    hDsj1hWxY3lEDXBC
    yLiVEOXbtM5CAVIu
    • Use a pair of blunt nose tweezers to pull the white DC-in cable out of its socket on the motherboard.

  59. VkVdQNagdGUXurTF
    VkVdQNagdGUXurTF
    E5oQbWj4FjWoHKU3
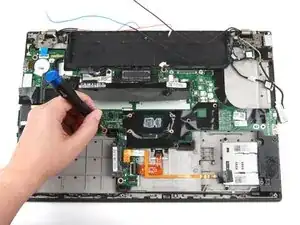
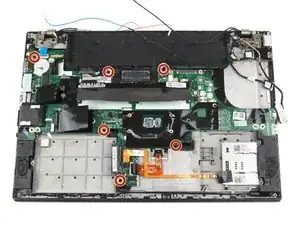
    • Remove the six 3.7 mm screws from the motherboard using a Phillips #1 screwdriver.

  60. 2GYmFkTLfyCnfnyM
    2GYmFkTLfyCnfnyM
    jcFZh4AflN6yh1j1
    • Remove the single 5.6 mm screw from the Ethernet/USB port bracket using a Phillips #1 screwdriver.

  61. HtLsLbqMB2IXcBjT
    HtLsLbqMB2IXcBjT
    qSVfy1HbkJX1kQmV
    • Use your fingers to slide the bracket to the left and away from the motherboard.

  62. cRXIcTyQPCsHWkIF
    cRXIcTyQPCsHWkIF
    K1yUQG4DVPUbi36p
    • Use both hands to pull the motherboard straight up and away from the laptop.

Abschluss

To reassemble your device, follow these instructions in reverse order.

Take your e-waste to an R2 or e-Stewards certified recycler.

Repair didn’t go as planned? Try some basic troubleshooting, or ask our Answers community for help.
Kristen Gismondi

Mitglied seit: 12/11/14

71827 Reputation

0 Kommentare