Einleitung
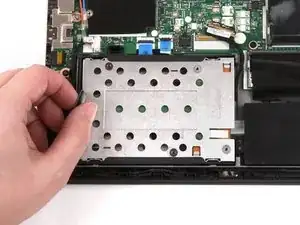
Use this guide to replace the SSD assembly in your Lenovo ThinkPad T470. The SSD assembly includes a plastic bracket, a metal enclosure, the SSD itself, and the SSD connector board. If you need to replace any of these individual components, follow the Lenovo ThinkPad T470 SSD Replacement guide.
Make sure to disable the internal battery, power down your device, and disconnect from any external power sources before you begin.
Werkzeuge
-
-
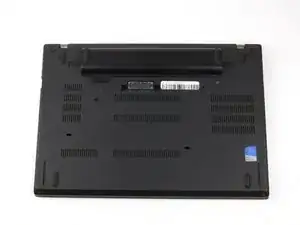
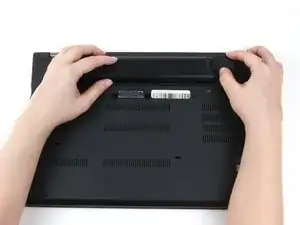
Place the laptop so that the bottom is facing upwards.
-
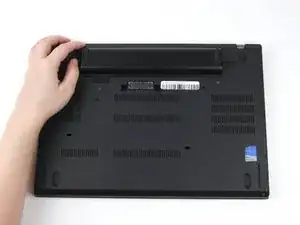
Slide the latch on the left side of the battery to the left until it clicks in place.
-
-
-
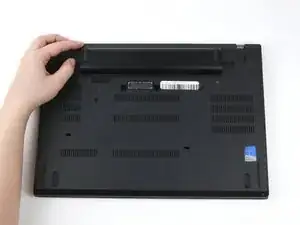
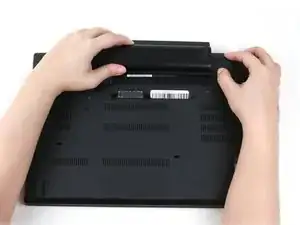
Slide the latch on the right side of the battery to the right and hold it in place with your thumb.
-
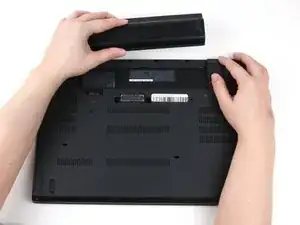
Use your other hand to slide the battery towards the back of the laptop.
-
Lift the battery up and away from the laptop.
-
-
-
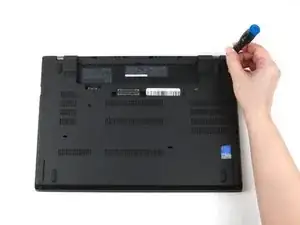
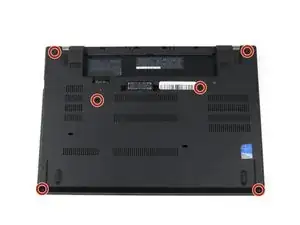
Use a Phillips #1 screwdriver to loosen the six captive screws on the bottom cover of the laptop.
-
-
-
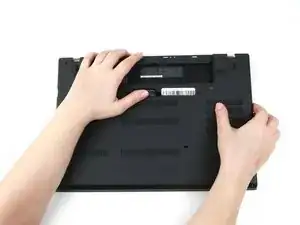
Use your hands to pull up on the back cover and release the plastic clips starting on the bottom side of the battery compartment.
-
Use your hands to pull up on the right side of the bottom cover to release the plastic clips.
-
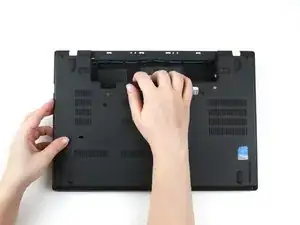
Use your hands to pull up on the left side of the bottom cover to release the plastic clips.
-
-
-
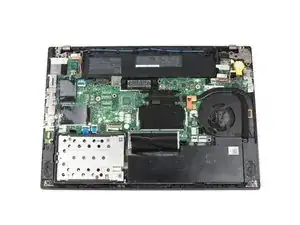
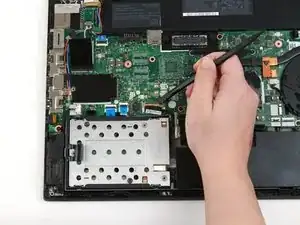
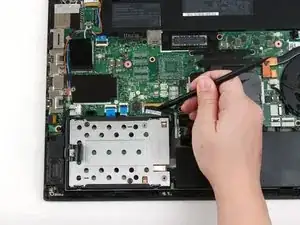
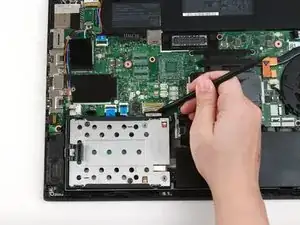
Use the flat end of a spudger to flip up the metal clip securing the SSD connector to the motherboard.
-
-
-
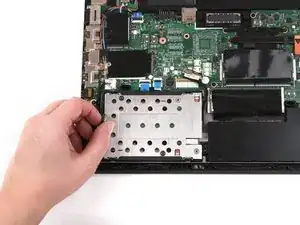
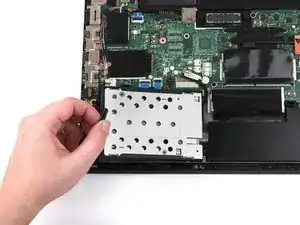
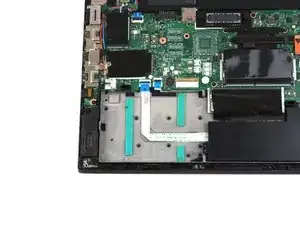
Grab the tab on the left side of the SSD assembly, and pull up to remove it from the laptop.
-
To reassemble your device, follow these instructions in reverse order.
Take your e-waste to an R2 or e-Stewards certified recycler.
Repair didn’t go as planned? Try some basic troubleshooting, or ask our Answers community for help.
