Einleitung
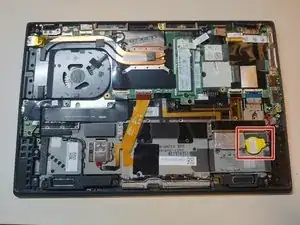
If your Thinkpad X1 Carbon 6th Gen shows a date/time error when powering on, your CMOS battery may need replacement.
Werkzeuge
Ersatzteile
-
-
Turn the laptop off and unplug the charger if necessary.
-
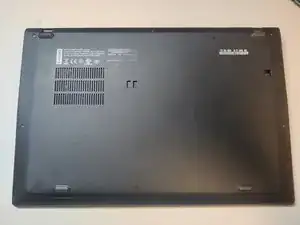
Close the lid and flip the laptop upside down.
-
-
-
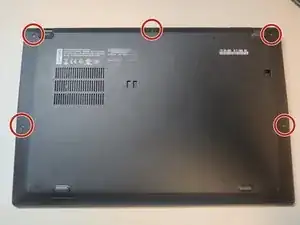
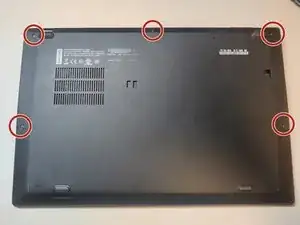
Unscrew the 5 screws holding the back cover on.
-
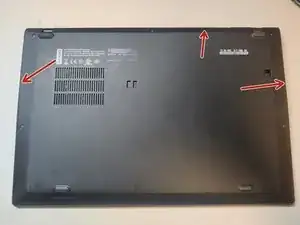
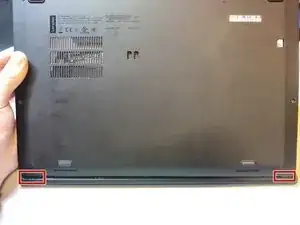
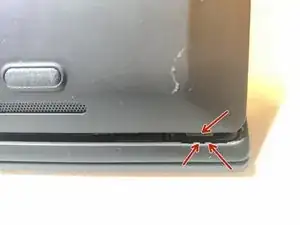
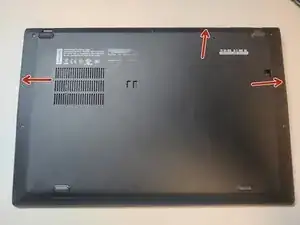
Use a spudger or pry tool to release the retention clips on the cover at the indicated points
-
Tilt the top of the cover up and away from the body, then remove the cover.
-
-
-
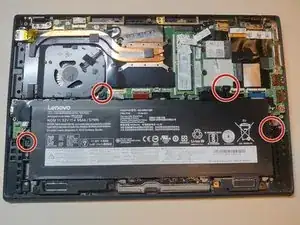
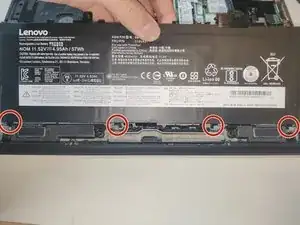
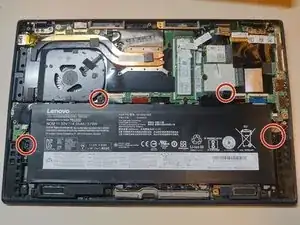
Unscrew the 4 screws holding the battery in place.
-
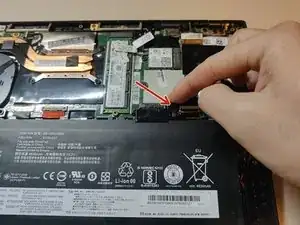
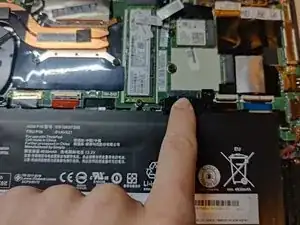
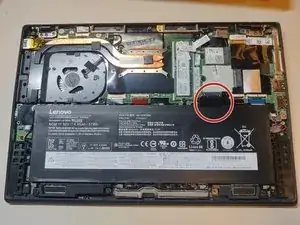
Disconnect the battery by prying it away from the chassis at the indicated point.
-
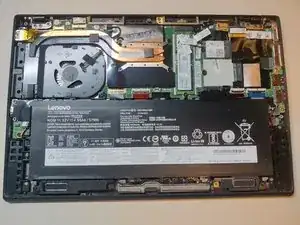
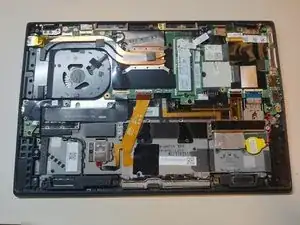
Remove the battery.
-
-
-
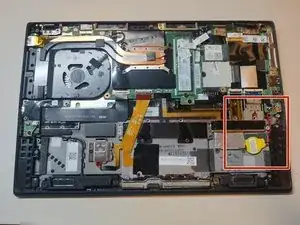
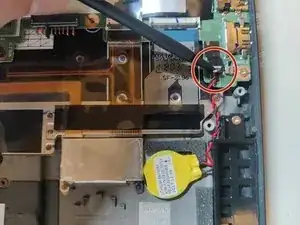
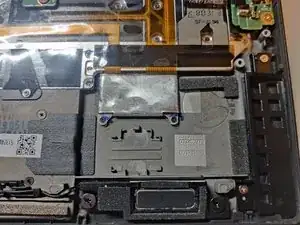
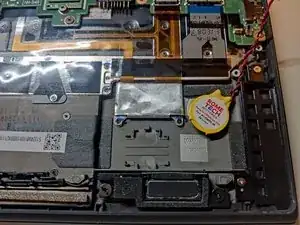
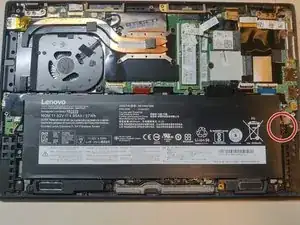
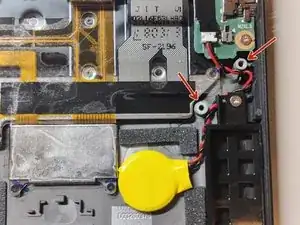
Disconnect the CMOS battery connector. A spudger may be helpful here.
-
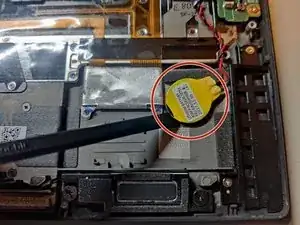
Pry up the original CMOS battery. A spudger or pry tool may be helpful here.
-
-
-
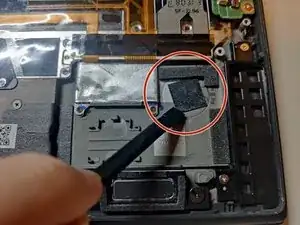
Remove the old adhesive pad underneath the CMOS battery. A spuger or pry tool may be helpful to scrap it off the chassis.
-
-
-
Place the new CMOS battery in the same spot as the original.
-
Align the tabs on the bottom of the main battery with the retention clips on the chassis and slide the tabs into place.
-
Press down on the battery connector to fully seat it.
-
-
-
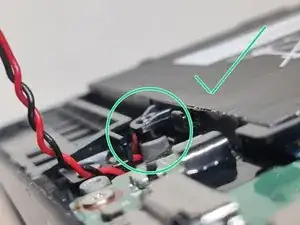
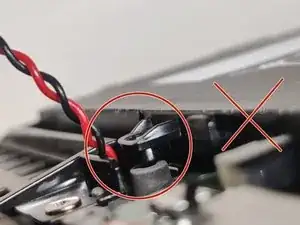
Check the fit between the tab on the battery and the screw standoff on the chassis closest to the CMOS battery.
-
-
-
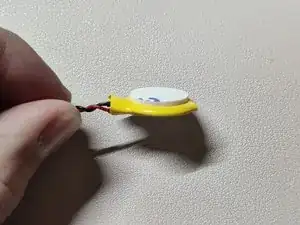
If there was too large of a gap during the fit check, remove any pre-applied padding/adhesive from the new battery to decrease the thickness.
-
Repeat the fit check.
-
-
-
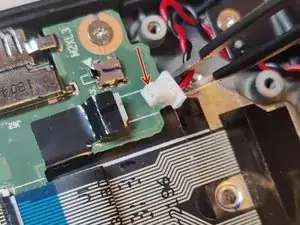
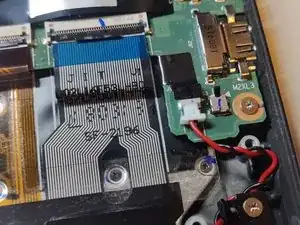
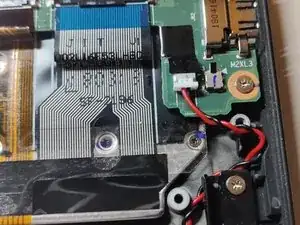
Align the connector of the new battery with it's receptacle on the circuit board. The openings on the connector should be a the top.
-
Push the connector directly into its receptacle until it clicks into place.
-
-
-
If there is adhesive on the new CMOS battery, remove the backing paper from it.
-
Place the new CMOS battery into the correct spot, adhesive facing down.
-
-
-
Following the same procedure from the test fit, re-install the main battery.
-
Screw in the 4 battery retention screws.
-
-
-
Align the tabs on the bottom corners of the back cover with the retention clips on the chassis and slide the tabs into place. Lower the back cover onto the chassis.
-
Firmly press at the indicated areas to engage the retention clips on the back cover. There should be a click or pop as each clip snaps into place.
-
-
-
Power on the laptop. When prompted on screen, press 'Enter' to interrupt startup. Follow the remaining on-screen prompts to enter the system setup/BIOS menu.
-
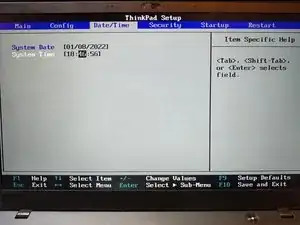
Follow the on screen prompts to navigate to the Date/Time page of the BIOS and set the current date an time.
-
Follow the on screen prompts to save any changes and exit the BIOS.
-
