Einleitung
This guide will take you through the process of replacing the Wifi Card on your Lenovo ThinkPad X1 Carbon 6th Gen. Make sure that your drivers are up to date and the Wi-Fi card is visible in “Device Manager”. If your computer is having difficulty connecting to Wi-Fi and the card is not visible, this replacement will help.
Before you begin: Please remove the power from the unit as this could cause harm during the process. Also, make sure to ground yourself on any nearby metal or wear a grounding bracelet. This is to prevent any damage to the electrical components that could be touched.
In order to complete this project, provided are 8 simple steps to complete the project and get back to surfing the net.
Werkzeuge
Ersatzteile
-
-
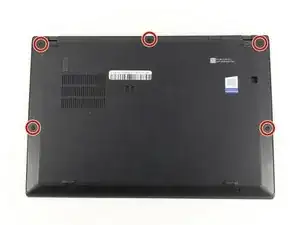
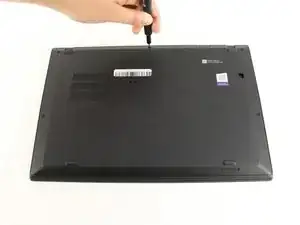
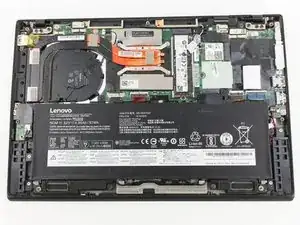
Use a Phillips #0 screwdriver to unscrew the five screws that secure the back cover to the laptop.
-
-
-
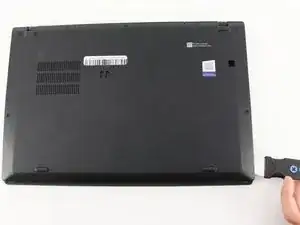
Use a Jimmy to lift the cover directly up off of the locating pins.
-
Remove the back cover.
-
-
-
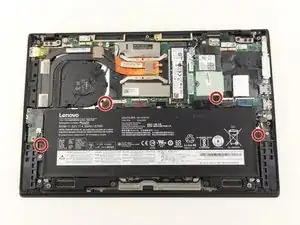
Use the Phillips #0 screwdriver to remove the four 5 mm screws that secure the battery to the laptop frame.
-
-
-
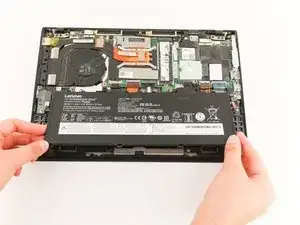
Take out the battery by lifting it from the bottom edge of the laptop, and then pulling away from the motherboard.
-
-
-
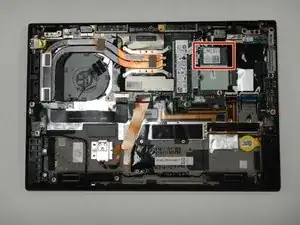
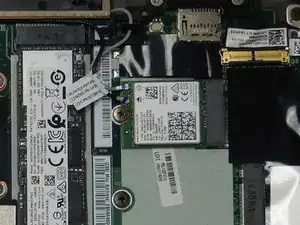
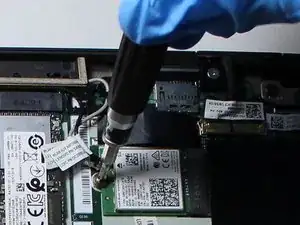
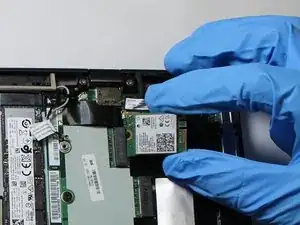
Locate the Wi-Fi Card on the side of the device opposite to the fan. It should have one black and one white pin connector wires as well as one retainer screw.
-
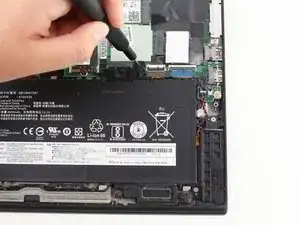
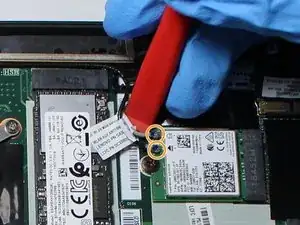
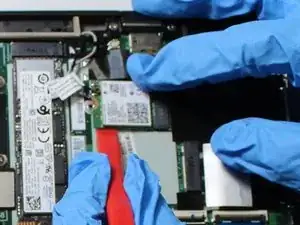
Use a plastic opening tool to lift up the two coaxial cables from the Wi-Fi Card.
-
To reassemble your device, follow these instructions in reverse order.
