Einleitung

This guide will show you how to replace the keyboard in your Lenovo ThinkPad X1 Carbon 7th Generation laptop. Reasons for failure of your keyboard may include the keyboard becoming unresponsive, dust or particles stuck that must be removed to allow functionality of the keyboard, visible damage to the keyboard, or loosened keys. If you are experiencing any of these issues, a keyboard replacement should restore your laptop to working condition.

  1. xjUTndxP5QoSGLm1
    xjUTndxP5QoSGLm1
    xQlcma2edcb4NRgB
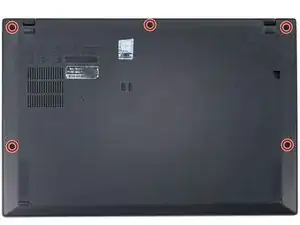
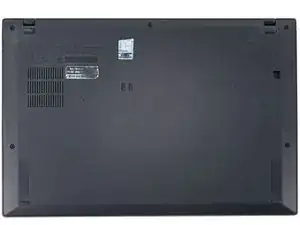
    • Use a Phillips #1 screwdriver to loosen the five captive screws securing the back cover.

  2. dNJZNyWIerbt5ycp
    dNJZNyWIerbt5ycp
    IS2TTkcFxt1PAVtE
    k6MWeuOQ1ZgPfvZf
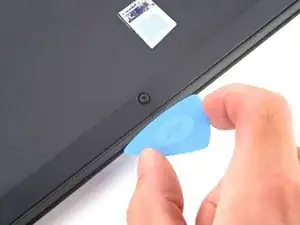
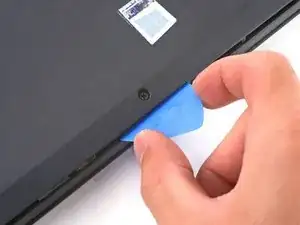
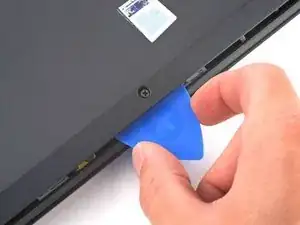
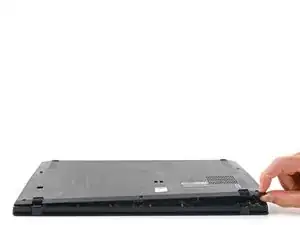
    • Insert an opening pick at a 45˚ angle between the back cover and frame near the rear middle screw.

    • Pry up on the pick to release the clips securing the back cover to the frame.

    • You will hear several clicks while prying up.

  3. W5K1uGLZ1U5RUdPk
    W5K1uGLZ1U5RUdPk
    DTNWxxJF4lEpZsWY
    GnFK6P6bhrixKaSV
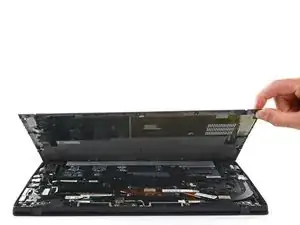
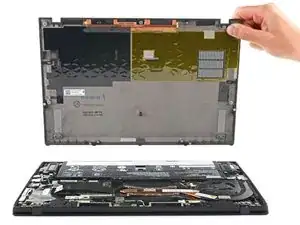
    • Lift the back cover up and remove it from the chassis.

    • You will hear several clicks while lifting up.

    • During reassembly, this is a good point to power on your laptop and test all functions before sealing it up. Be sure to power your laptop back down before you continue working.

  4. 1ZAXKaZ1DgMRmvbq
    1ZAXKaZ1DgMRmvbq
    dAoPsi4SbSZRkMrD
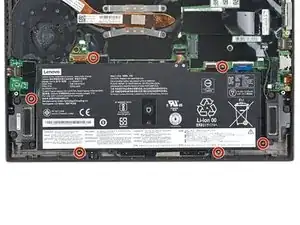
    • Use a Phillips #0 screwdriver to remove the six 4.9 mm-long screws securing the battery.

  5. Q2AWsSGjlGZ5qgMX
    Q2AWsSGjlGZ5qgMX
    DU2a6S6dXJlsjuHf
    3HSMgMsiwIaGwmAj
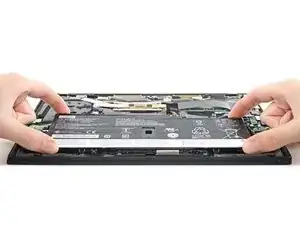
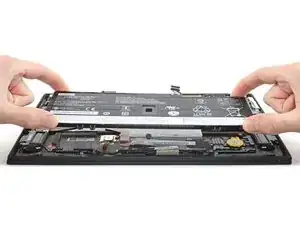
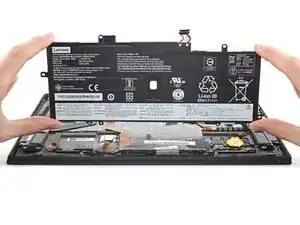
    • Lift the battery straight out of its recess and remove it.

    There is a tab on the side toward the wires. Be sure to lift from the top edge in the picture, and slide the bottom edge (the side with the wires) in first when reconnecting the battery.

    Bill Denney -

  6. WyGst2dJNlwKNLNh
    WyGst2dJNlwKNLNh
    sCXk1TbhCJA6wjuu
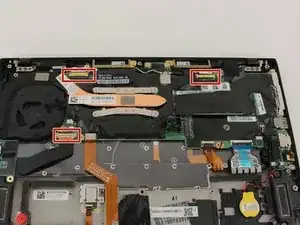
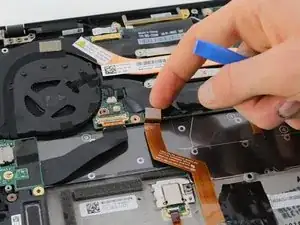
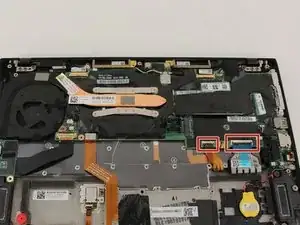
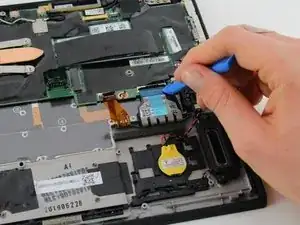
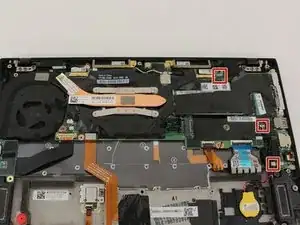
    • Remove the connectors with bar latches by lifting up on the small bar behind the port and pulling the circuit ribbon away from the port.

  7. F6IPGLYvnHGe3HZs
    F6IPGLYvnHGe3HZs
    UIUjXHEphiQgVJQE
    Y1RFXZa4LHNYHRhB
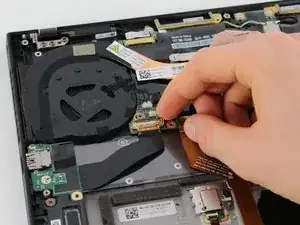
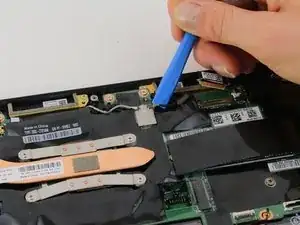
    • Remove the snap connectors by lifting straight up until the connection pops out.

    • Use an opening tool to pry them off if a finger cannot get underneath the connection.

  8. MsKPRnCpe2wZoZQA
    MsKPRnCpe2wZoZQA
    jCgS5TBPN3cq6ZCP
    Z1eNrnObFAiF6tOL
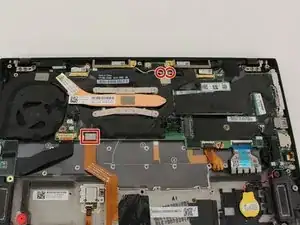
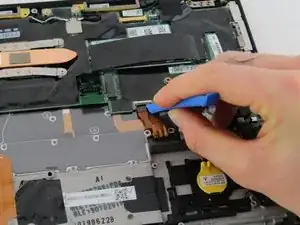
    • Remove the latch connections by lifting the latch up, releasing the circuit ribbon.

    • Use an opening tool to get underneath the latch if a finger cannot.

  9. gNdPIQGqJYOMVonC
    • Remove the insert connections by pulling the connector away from the port.

  10. YHtaGZZFaa3ctrCB
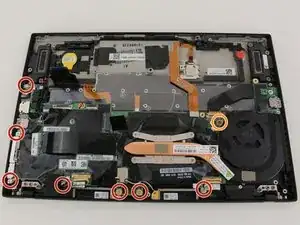
    • Remove the seven 4 mm Phillips #0 screws that hold the motherboard in place

    • Remove the 3 mm Phillips #0 screw located near the fan.

  11. KBGj2MfARW2ATCHI
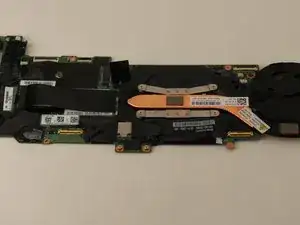
    • Lift the motherboard with the fan still connected straight up and out of the device.

  12. FHBcX1tyFHfAsGNo
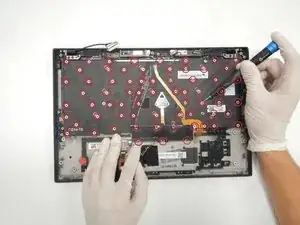
    • Using a Phillips #00 screwdriver, remove sixty-six 0.5 mm screws from the keyboard.

  13. sCqWOgdoGFOurwHu
    • Lift the keyboard straight up and out of the computer.

Abschluss

To reassemble your device, follow these instructions in reverse order.
Everett James Barkley

Mitglied seit: 16/09/20

338 Reputation

0 Kommentare