Einleitung
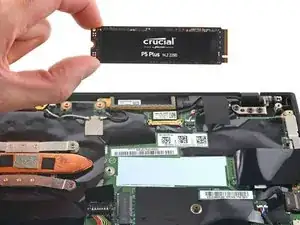
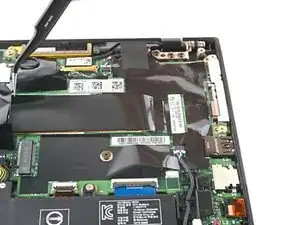
Use this guide to upgrade or replace the M.2 solid-state drive (SSD) in a Lenovo ThinkPad X1 Carbon 7th Gen laptop. This laptop is only compatible with NVME SSDs, and is therefore not compatible with SATA SSDs.
Before you perform this repair, back up your existing SSD if possible. If you are replacing the SSD where your operating system is installed, familiarize yourself with a disk cloning utility so you’ll be ready to migrate your data to the new SSD.
Finally, be sure to completely power off and unplug your laptop. Make sure the laptop is not in standby, sleep, or hibernation mode.
Werkzeuge
Ersatzteile
-
-
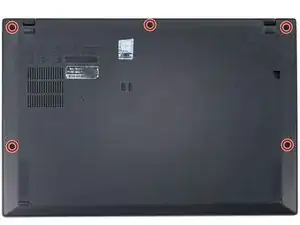
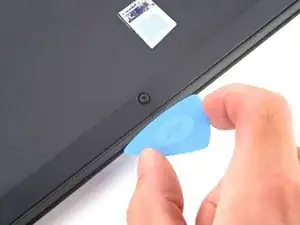
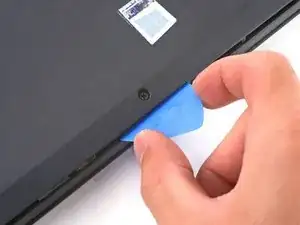
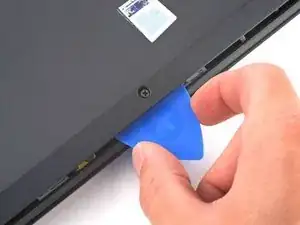
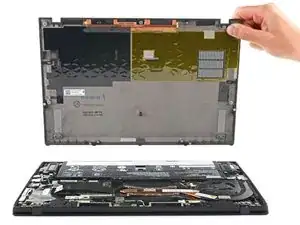
Insert an opening pick at a 45˚ angle between the back cover and frame near the rear middle screw.
-
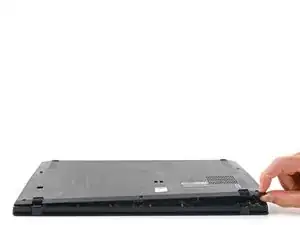
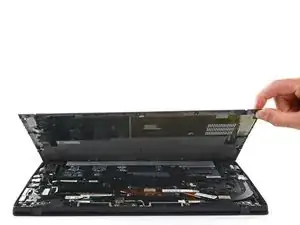
Pry up on the pick to release the clips securing the back cover to the frame.
-
-
-
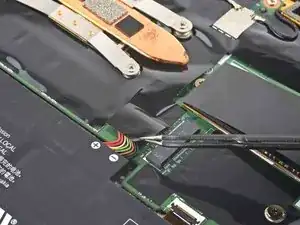
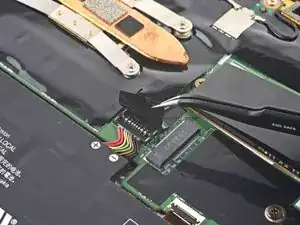
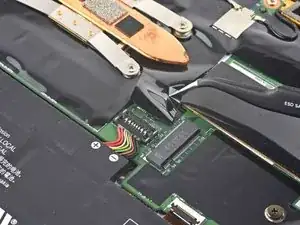
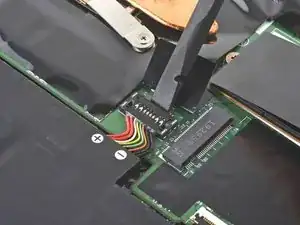
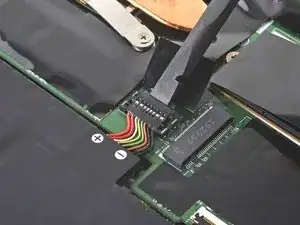
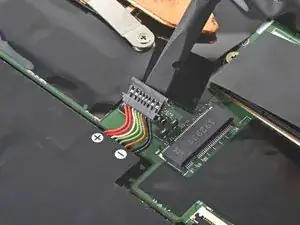
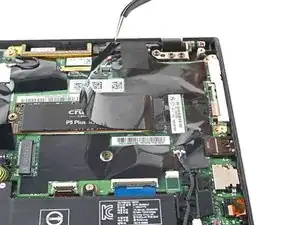
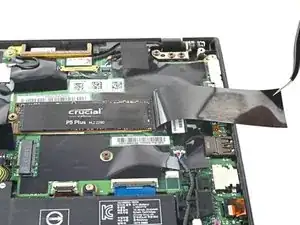
Use tweezers or your fingers to peel back the plastic shield covering the battery connector.
-
-
-
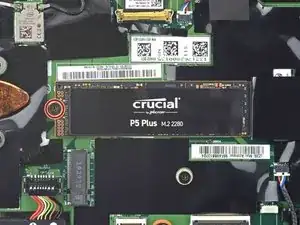
Use a Phillips screwdriver to remove the 2.9 mm screw securing the SSD to the motherboard.
-
-
-
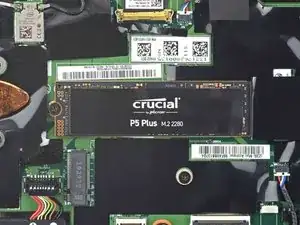
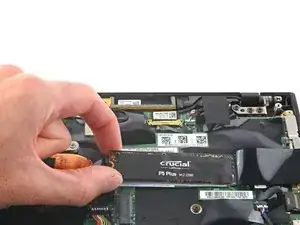
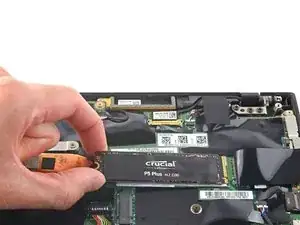
Grip the edges of the SSD near the screw indent.
-
Lift the SSD up to separate it from the thermal pad.
-
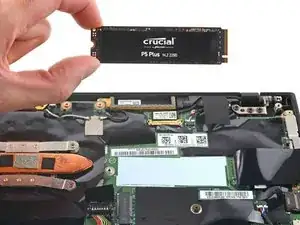
Gently pull to remove the SSD.
-
To reassemble your device, follow these instructions in reverse order.
Take your e-waste to an R2 or e-Stewards certified recycler.
Repair didn’t go as planned? Try some basic troubleshooting, or ask our Lenovo ThinkPad X1 Carbon Answers community for help.
