Einleitung

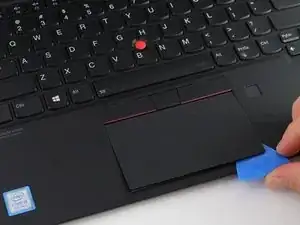
This guide will teach you how to remove the trackpad, the component used to move the cursor, for the Lenovo Thinkpad X1 Carbon 7th Gen computer.

Often when a computer is getting older the trackpad will start to deteriorate , see our trouble shooting page, making basic computer functions much more difficult. This guide will teach you how to uninstall and reinstall a new trackpad into your computer.

Make sure your computer is unplugged and powered off before attempting any repairs.

  1. xjUTndxP5QoSGLm1
    xjUTndxP5QoSGLm1
    xQlcma2edcb4NRgB
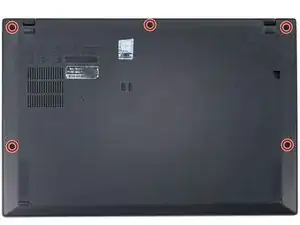
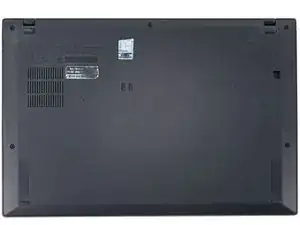
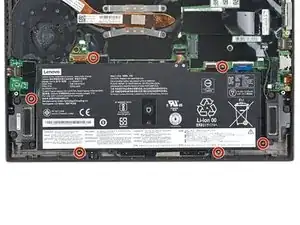
    • Use a Phillips #1 screwdriver to loosen the five captive screws securing the back cover.

  2. dNJZNyWIerbt5ycp
    dNJZNyWIerbt5ycp
    IS2TTkcFxt1PAVtE
    k6MWeuOQ1ZgPfvZf
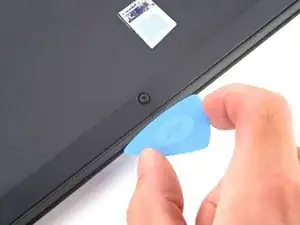
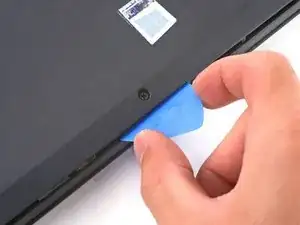
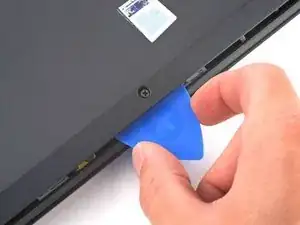
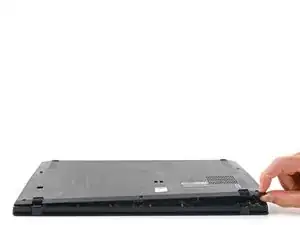
    • Insert an opening pick at a 45˚ angle between the back cover and frame near the rear middle screw.

    • Pry up on the pick to release the clips securing the back cover to the frame.

    • You will hear several clicks while prying up.

  3. W5K1uGLZ1U5RUdPk
    W5K1uGLZ1U5RUdPk
    DTNWxxJF4lEpZsWY
    GnFK6P6bhrixKaSV
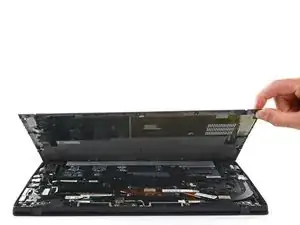
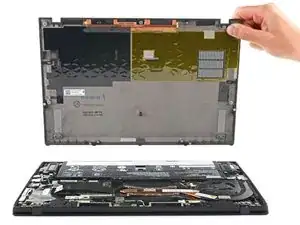
    • Lift the back cover up and remove it from the chassis.

    • You will hear several clicks while lifting up.

    • During reassembly, this is a good point to power on your laptop and test all functions before sealing it up. Be sure to power your laptop back down before you continue working.

  4. 1ZAXKaZ1DgMRmvbq
    1ZAXKaZ1DgMRmvbq
    dAoPsi4SbSZRkMrD
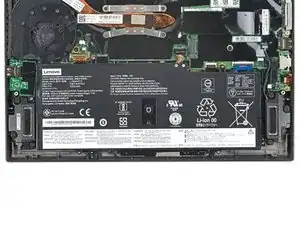
    • Use a Phillips #0 screwdriver to remove the six 4.9 mm-long screws securing the battery.

  5. Q2AWsSGjlGZ5qgMX
    Q2AWsSGjlGZ5qgMX
    DU2a6S6dXJlsjuHf
    3HSMgMsiwIaGwmAj
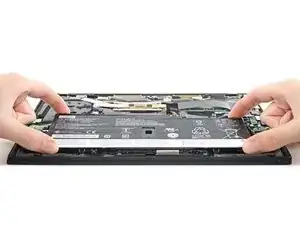
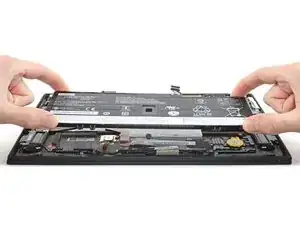
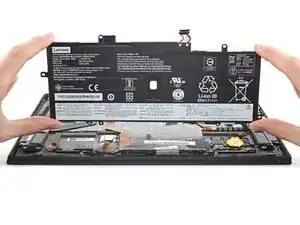
    • Lift the battery straight out of its recess and remove it.

    There is a tab on the side toward the wires. Be sure to lift from the top edge in the picture, and slide the bottom edge (the side with the wires) in first when reconnecting the battery.

    Bill Denney -

  6. iHKcjBUtQNjTSkgW
    iHKcjBUtQNjTSkgW
    PAYfdDBOINij6cFx
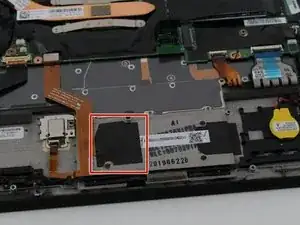
    • Peel back the black adhesive tape covering the ribbon cable connecting the trackpad and fingerprint scanner to the motherboard.

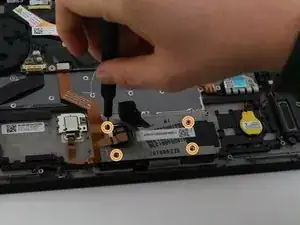
    • Remove the four 2mm screws securing the trackpad with a Phillips #000 screwdriver.

  7. vkdufJTUDFv2cffC
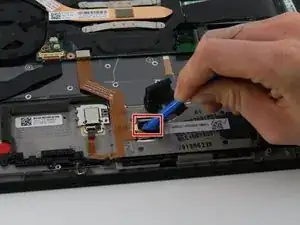
    • Use an opening tool to lift up the connecter ribbon lock and pull the connector ribbon out allowing the track pad to be removed.

  8. CqeGcSHMKPtNKQ1E
    CqeGcSHMKPtNKQ1E
    IUEGkpRvRBatqkKM
    • Flip the laptop over and open it.

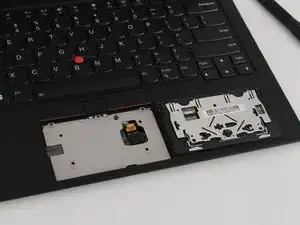
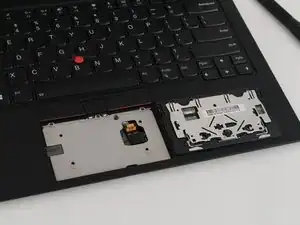
    • Use an opening pick to carefully lift the trackpad out.

Abschluss

To reassemble your device, follow these instructions in reverse order.

Oliver Parker

Mitglied seit: 23/01/20

133 Reputation

Ein Kommentar

Where did you get the new trackpad?
janamansour -