Einleitung

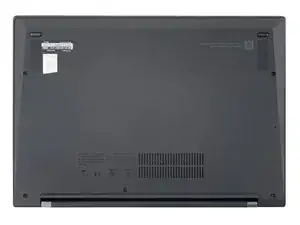
Use this guide to remove and replace the back cover on your Lenovo ThinkPad X1 Carbon 9th Gen.

  1. QLeQ6IknW64i4kYj
    QLeQ6IknW64i4kYj
    aWrMPLVxyaSet2MU
    • For your safety, discharge the battery below 25% and power down your device before disassembly.

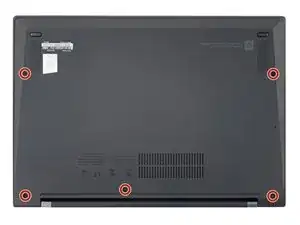
    • Use a Phillips #1 screwdriver to loosen the five captive screws holding the back cover.

  2. rmOIFYuKidyRpAhZ
    rmOIFYuKidyRpAhZ
    Hk1C6WNOkjH6IIZy
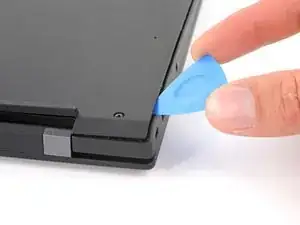
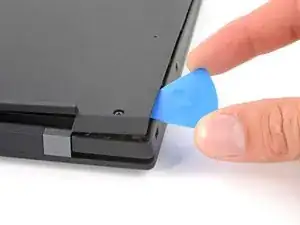
    • Insert an opening pick between a corner of the back cover and the chassis, near a hinge.

    • Pry upward to release the retaining clips.

    • Listen for a click sound when clips release.

    • Repeat this process for the opposite corner.

  3. kMDHNTOO2dfusOA5
    kMDHNTOO2dfusOA5
    OFv3IerGjVLyZH5M
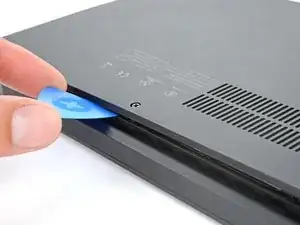
    • Insert the opening pick between the cover and the body.

    • Pry upward and release all of the retaining clips.

  4. jf1TX1gfHSL6jomY
    jf1TX1gfHSL6jomY
    DKEpm4MChEpIEonE
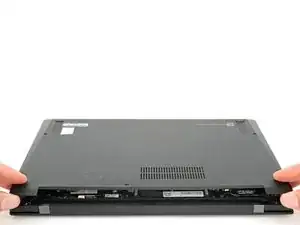
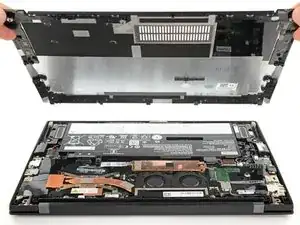
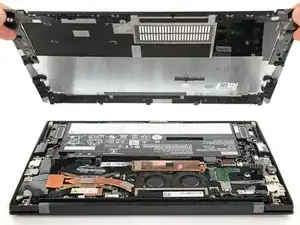
    • Lift the back cover off the chassis and remove it.

    • If the cover feels stuck to the chassis, use an opening pick to release any remaining clips around the perimeter of the back cover.

Abschluss

To reassemble your device, follow these instructions in reverse order.

Take your e-waste to an R2 or e-Stewards certified recycler.

Repair didn’t go as planned? Try some basic troubleshooting, or ask our Lenovo ThinkPad X1 Carbon community for help.
Clay Eickemeyer

Mitglied seit: 19/09/22

23447 Reputation

0 Kommentare