Einleitung

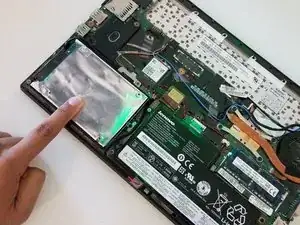
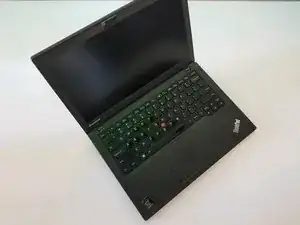
Having a problem with Hard Disk in your Lenovo X240 ? Follow along while we show you how to get it replaced! All you need is your iFixit Toolkit.

  1. GGAGJ2X1uXMTVBug
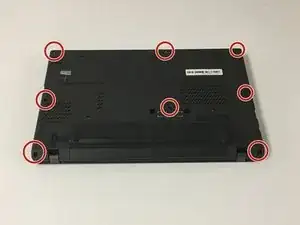
    • Flip the laptop upside down as shown in the photo.

  2. pNwgNMcKlZTJeOqL
    pNwgNMcKlZTJeOqL
    RC6vEHJWKbSYLAMX
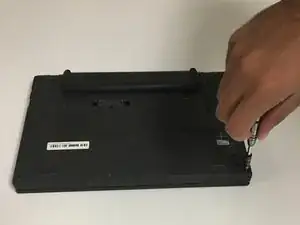
    • Remove the 8 0.2mm Phillips screws connecting the back cover to the laptop.

  3. AGD3KdDTBDvogcoo
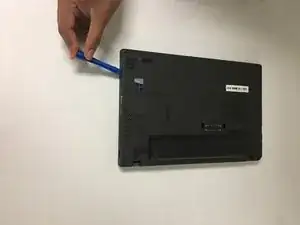
    • Remove the back cover using the opening tools.

    • Gently use the plastic opening tools to prevent scratching your device.

  4. 4PrOvLgF4TgmaLOC
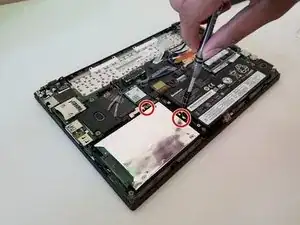
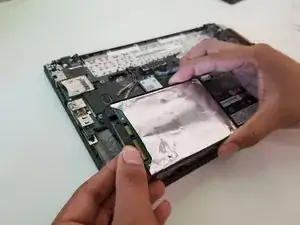
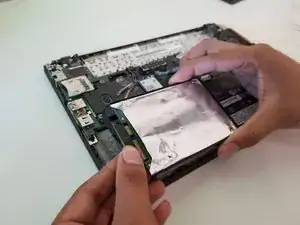
    • Remove the Hard Disk Drive card by screwing the 2 0.2mm Phillips screw

  5. 4Bl1XvcOMOjqqkne
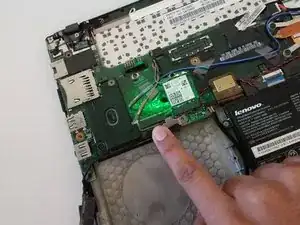
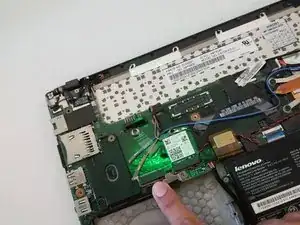
    • Disconnect the SATA cable from the hard drive.

  6. dhH5UVanhhsa6yLN
    • Take off the connector by carefully popping its holders out of place

  7. vMtHsFJktiqbDGRq
    • Reconnect the cable to the new Hard Disk Drive

  8. TLLWTMfnK6BtFAX2
    • place the connector in order to hold the cable

  9. xREwOHbJbnjQlsxX
    • Place the new Hard Drive Disk

Abschluss

To reassemble your device, follow these instructions in reverse order.

Mohammed Alsaadi

Mitglied seit: 20/09/17

522 Reputation

3 Kommentare

Hello, i think you forgot to disconnect internal battery first before you replace something

shofaribagus -

Tip for the case screws, they are captive don’t worry about them

Baddo-M _ -

Yes, good point - case screws are captive and easy to keep in place when lifting the cover. But overall this is a well written guide, so thanks for this.
Ricky Las Vegas -