Einleitung

This will take approximately 50 minutes to complete from beginning to end.

  1. LbGdYpaKVCEDgeTF
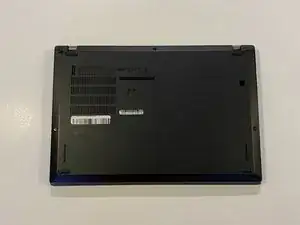
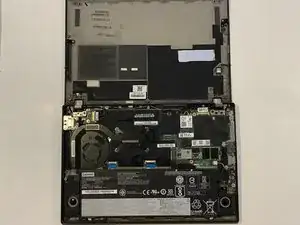
    • To begin, ensure that the device is completely powered off and not connected to an energy supply.

    • Close the device and flip it over to expose the back panel.

  2. kCAJQ6NRJyjIpQJ6
    kCAJQ6NRJyjIpQJ6
    vAvTvuYrVqPyi1XF
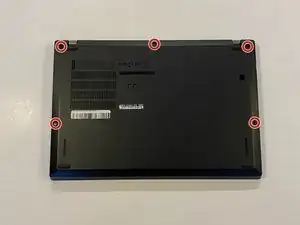
    • Use a Phillips #1 screwdriver to unscrew the five captive screws on the back panel until a small pop is heard.

    • These are captive screws and do not come out completely.

  3. tdURQQikBpcB6Aeq
    tdURQQikBpcB6Aeq
    PIrBlwPDQyt2dFSZ
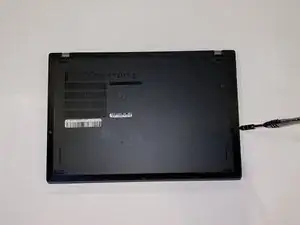
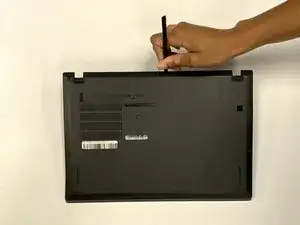
    • Gently wedge an opening tool or spudger under the back panel, and loosen the clips around the perimeter until the back panel comes off.

    • Remove the back cover.

  4. CDc3tKl3jveRmvRw
    CDc3tKl3jveRmvRw
    WuIgHA42wXknVcPi
    hpQCeuRNoGK5OBep
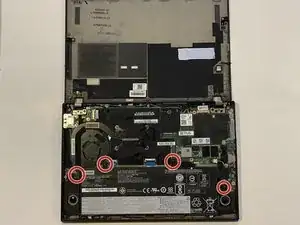
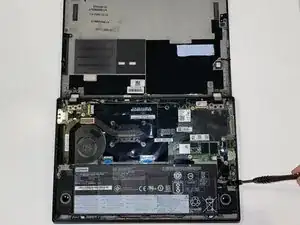
    • Using the Phillips #1 screwdriver, remove the four 5 mm screws that are holding the battery down.

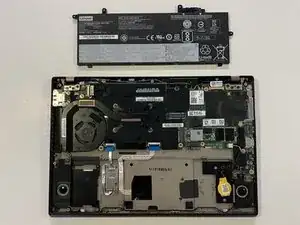
    • Remove the battery.

  5. Z2ViiXoZtSsphLww
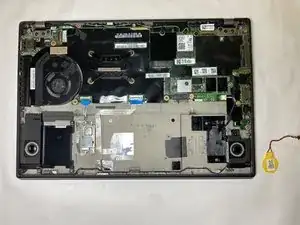
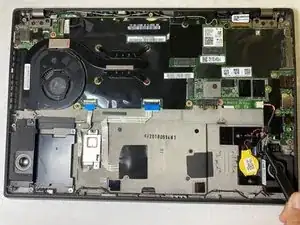
    • Use tweezers to gently unplug the CMOS Battery from the port on the right side.

  6. GikkXNZVSBtcTydU
    • Work the wire out from its holding brackets and is now free to be removed.

Abschluss

To reassemble your device, follow these instructions in reverse order.
Hannah Bryn Cullen

Mitglied seit: 03/10/22

370 Reputation

0 Kommentare