Einleitung

This guide will demonstrate how to remove and replace the fan and heat sink in the Lenovo ThinkPad X390 Yoga.

Before starting this guide, power off the laptop and unplug it from the charging cord.

  1. xnwhamDkGlyKXQjy
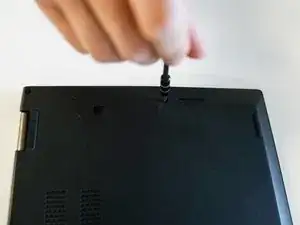
    • Use a Phillips #1 screwdriver to unscrew the eight captive screws from the back of the device.

    • The screws should not be removed from the back panel, so don't try to force them out.

  2. FeHKPMYaSseYOWcS
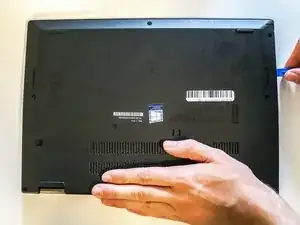
    • Use the iFixit opening tool to remove the back case by entering the tip of the tool into the seam and prying up.

    • This can be tough so take your time to undo the clips around the perimeter before removing the back cover.

  3. JwMukBgcZP3GOiOd
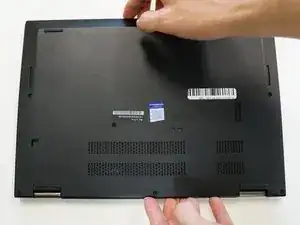
    • Once the back cover is no longer attached carefully remove it by lifting straight up.

  4. fI4suRnGvAxVeNwS
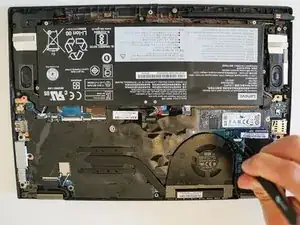
    • Disconnect the fan connector from the moetherboard with a spudger or opening tool.

  5. IpsaY6pMWnJNRuVR
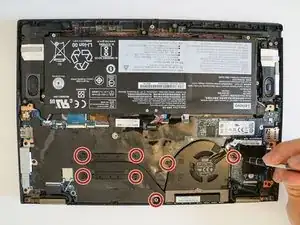
    • Loosen the seven screws surrounding the fan and heatsink using the Phillips #1 screwdriver.

  6. sFaohSET3XRCbX3k
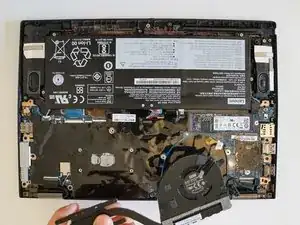
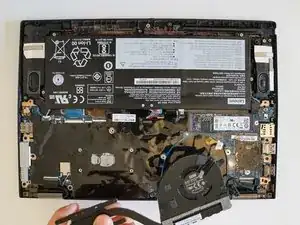
    • Carefully remove the fan from the laptop by lifting it up and off the frame.

Abschluss

To reassemble your device, follow these instructions in reverse order.
Drew Mercier

Mitglied seit: 08/09/21

97 Reputation

0 Kommentare